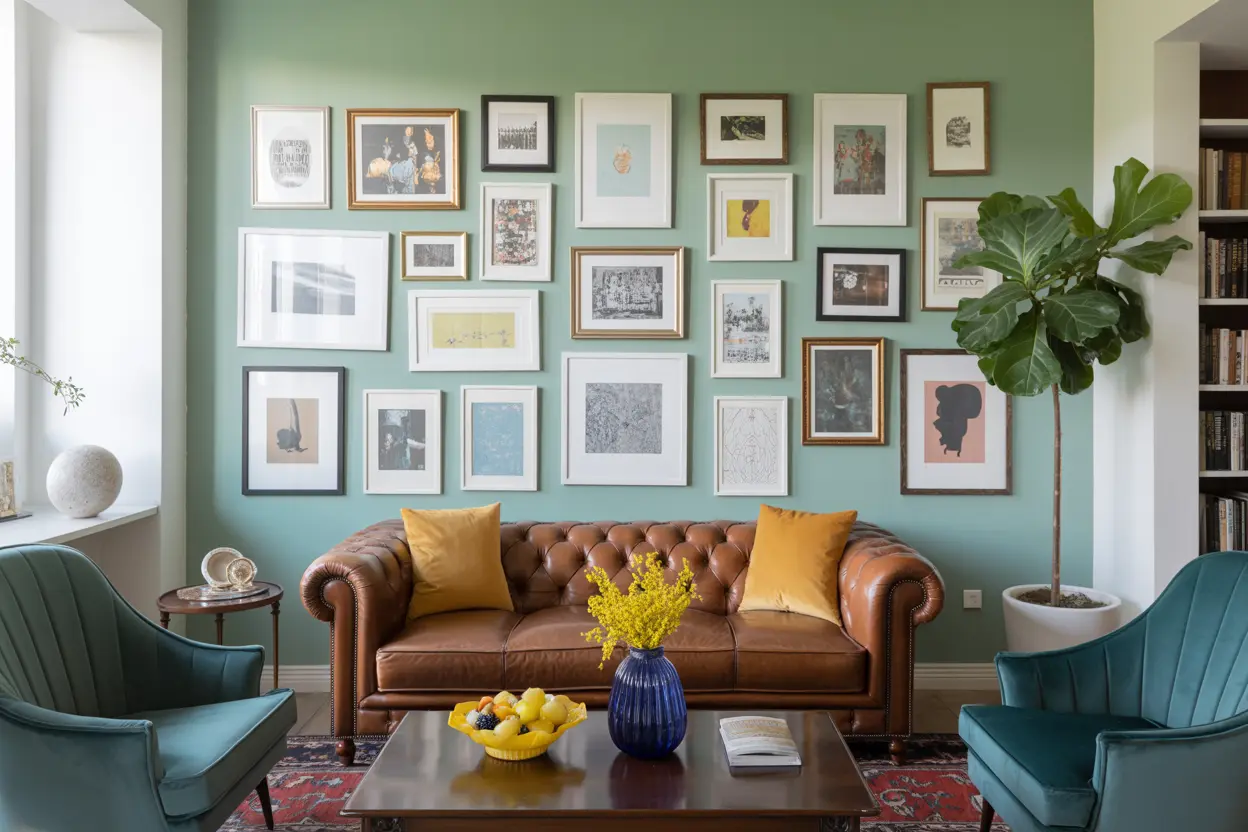
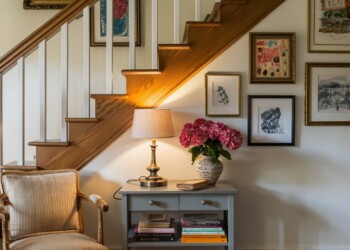
So, you’ve got those bare walls staring at you, and you’re thinking, “How can I turn this blank canvas into a masterpiece?” Fear not, because it’s time to unleash your inner art curator and transform your space into a gallery of wonders! In this step-by-step guide, we’ll dive into the nitty-gritty of creating a gallery wall that reflects your personality, style, and, of course, showcases your favorite artworks. Get ready to embark on a journey of creativity and self-expression!
Table of Contents
Getting Started: Unleash Your Inner Curator
Choose Your Theme
Before you dive headfirst into hanging frames, think about the vibe you want your gallery wall to exude. Are you into a sleek and modern look, a bohemian dream, or a quirky mishmash of styles? Choosing a theme will help you curate a cohesive collection that speaks to your aesthetic taste.
Gather Your Artillery
Now that you have a theme in mind, it’s time to gather your art supplies! No, not paint and brushes-this time, it’s all about frames, artwork, and a trusty level. Raid your attic, visit thrift stores, and scour online marketplaces to collect an assortment of frames in different shapes and sizes. Pro tip: don’t shy away from mixing materials like wood, metal, and even acrylic for that extra flair!
The Gallery Wall Blueprint
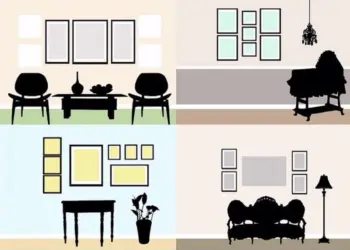
Plan Your Layout
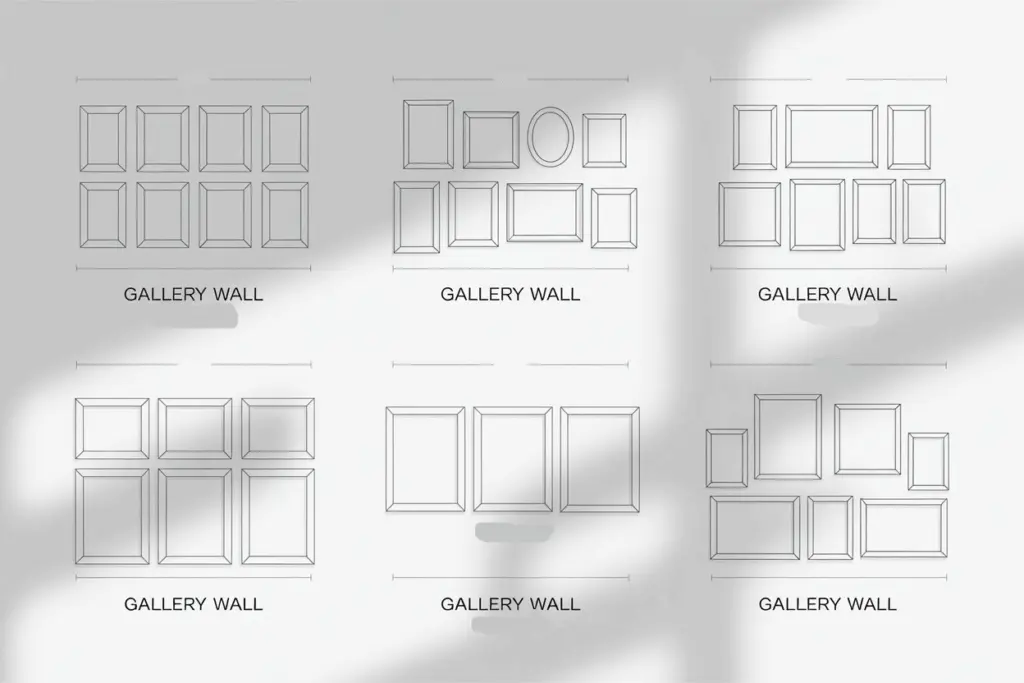
Grab a pencil and paper (or go tech-savvy with a digital planner) because it’s time to sketch out your gallery wall. Experiment with different arrangements until you find the perfect layout that complements your space. Remember, there are no hard and fast rules-just go with what feels visually appealing!
Mock It Up
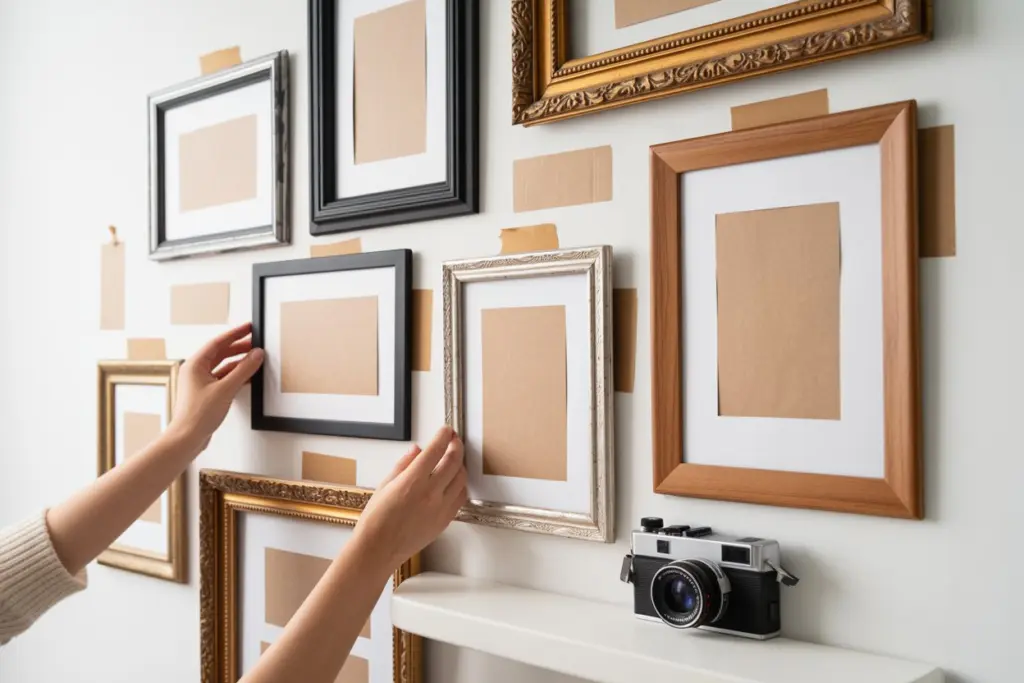
Feeling unsure about your layout? Take it from the sketchpad to the wall with a mock setup. Use kraft paper or old newspapers to trace and cut out the shapes of your frames. Tape these “mock frames” to the wall to get a feel for how everything will come together. It’s like a test run without committing to nails in the wrong places!
Hang Like a Pro
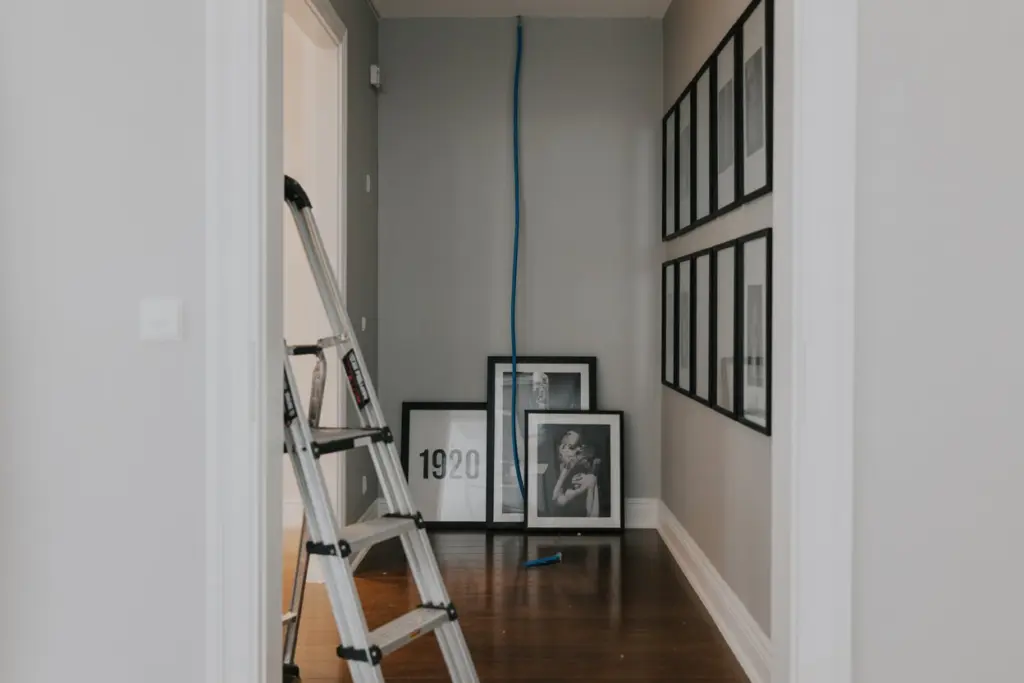
Now that you’ve nailed down your layout (pun intended), it’s time to get those frames up on the wall. Grab a friend for some extra hands, use a level to ensure everything is straight, and start hammering away! Don’t be afraid to mix up frame orientations-some vertical, some horizontal-for an eclectic touch.
Filling the Frames: The Art of Selection
Choose Your Centerpiece
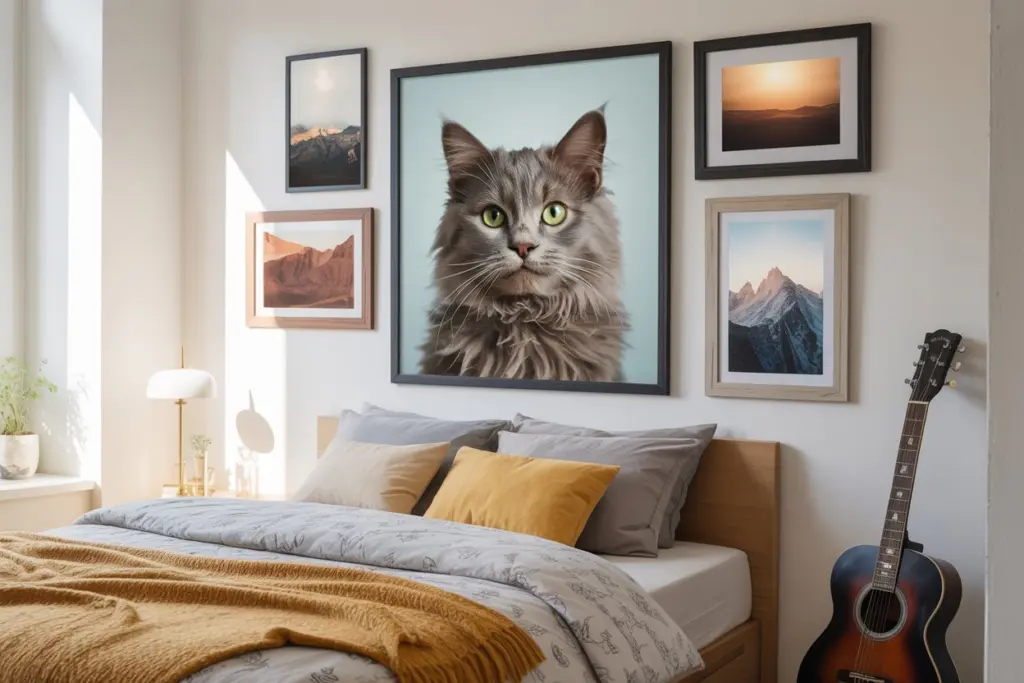
Every gallery wall needs a star, a focal point that draws the eye. Select a standout piece-a large painting, a unique photograph, or even a statement mirror-and let it take center stage. This sets the tone for the entire ensemble.
Mix It Up
Variety is the spice of life, and the same goes for your gallery wall! Mix up different art forms-photography, paintings, prints, and maybe even a 3D element or two. This eclectic mix keeps things interesting and ensures your wall is a true reflection of your taste.
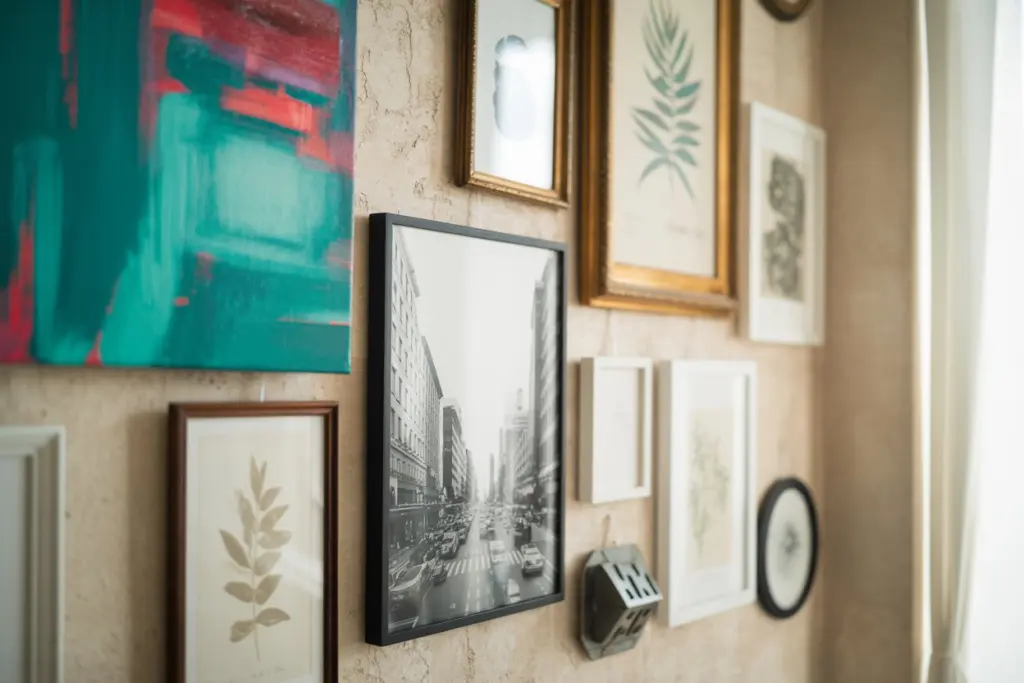
Fine-Tuning: The Devil’s in the Details
Mind the Gaps
As you’re hanging your frames, pay attention to the spaces between them. Aim for a balanced distribution, avoiding large gaps that can make your wall look disjointed. Don’t be afraid to overlap frames slightly for that curated, layered look.
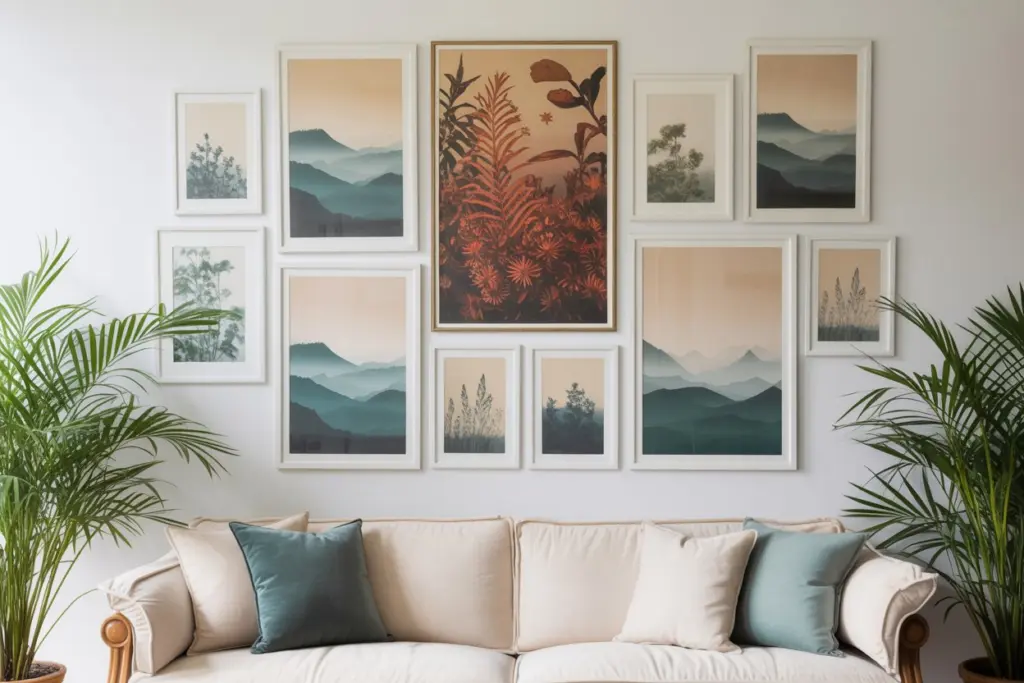
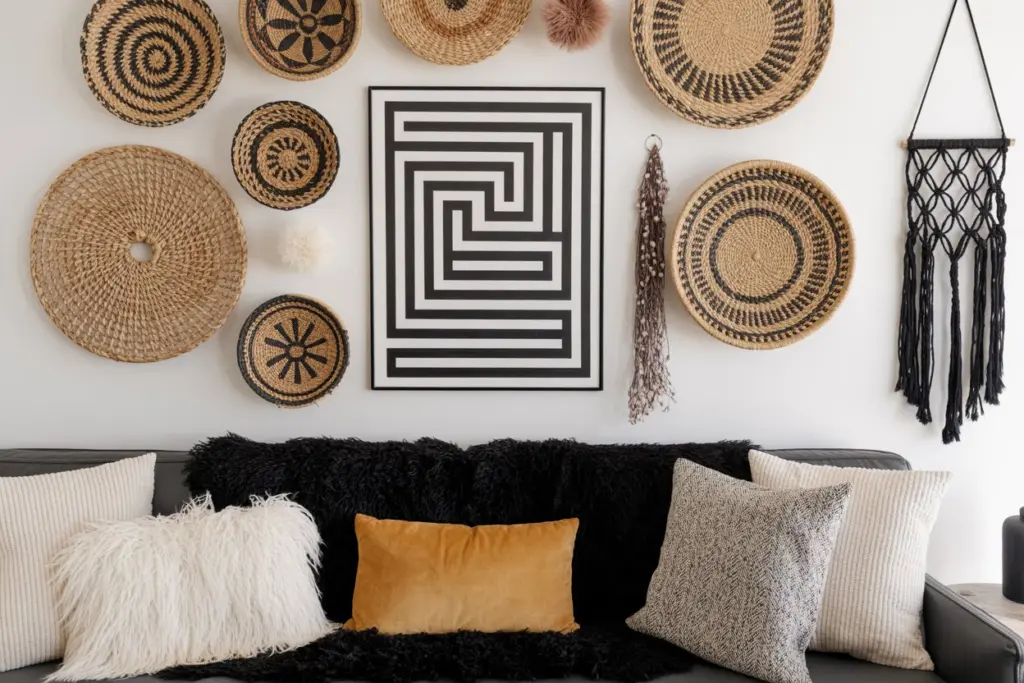
Experiment with Textures
Who said a gallery wall is all about visuals? Throw in some texture to spice things up! Integrate elements like woven baskets, small shelves, or even a sconce to add dimension and break up the monotony of frames.
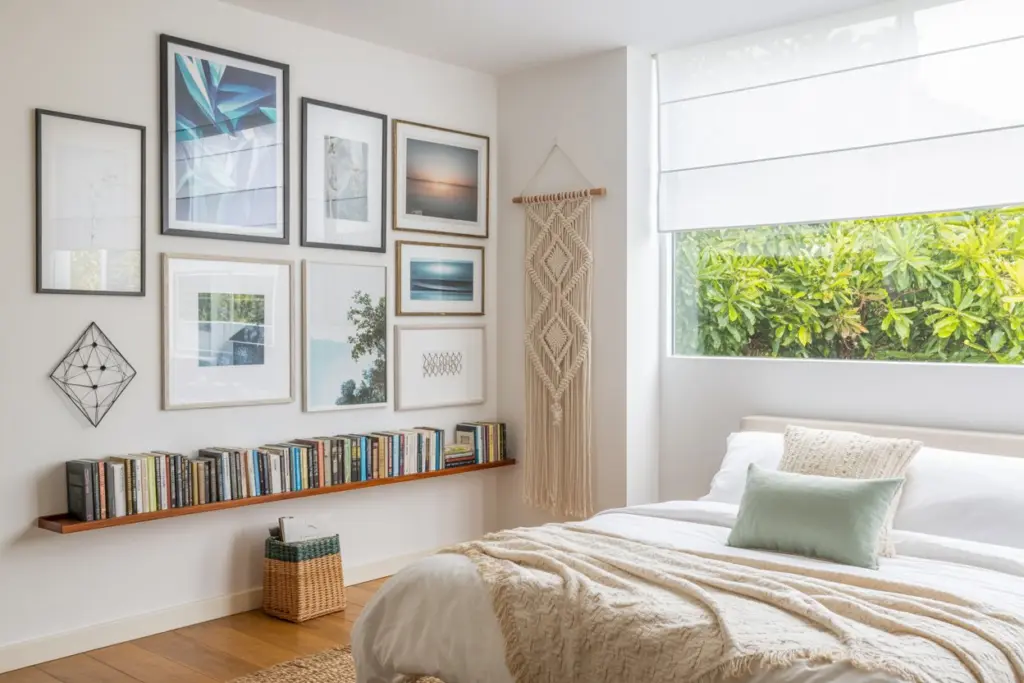
Maintaining Harmony: The Final Touches
Lighting Matters
Don’t let your hard work go unnoticed in the dark! Invest in proper lighting to highlight your gallery wall. Whether it’s a spotlight on your centerpiece or ambient lighting to set the mood, good illumination can make all the difference.
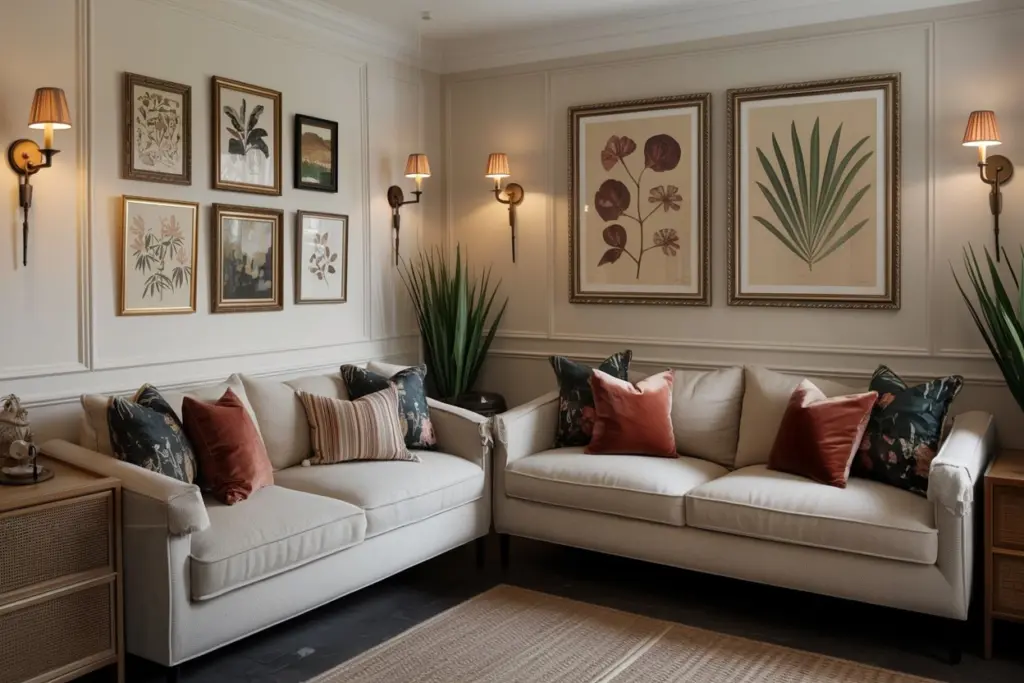
Step Back and Admire
You did it! Your gallery wall is a masterpiece, a testament to your creativity. Step back, grab a cup of coffee (or a tea), and admire your handiwork. After all, you’re now the proud curator of a personalized art haven!
Your Gallery, Your Rules
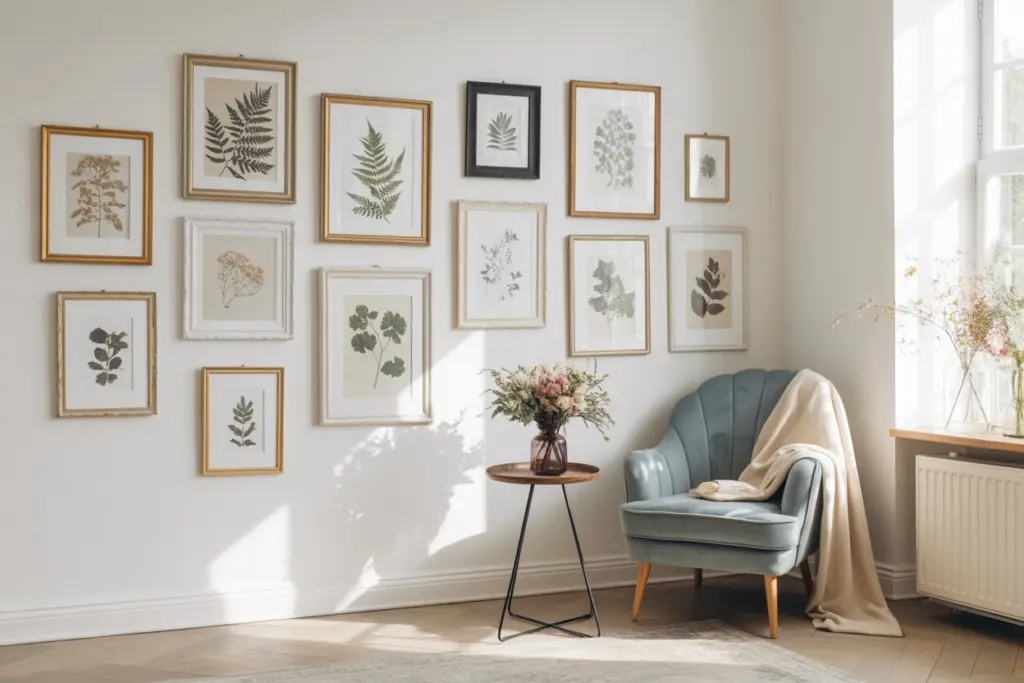
Congratulations, you gallery guru! You’ve successfully navigated the world of frames, layouts, and artwork to create a gallery wall that’s uniquely yours. Remember, there are no rigid rules-let your creativity flow and adapt the process to suit your style. So, the next time someone asks, “How did you create such an amazing gallery wall?” you can confidently say, “It’s my secret recipe, but I’ll share the basics: just follow the How To Lay Out A Gallery Wall: Step By step Guide!” Now, go on, bask in the glory of your curated masterpiece!
FAQs
How do you make a hanging gallery?
To create a hanging gallery, follow these steps: plan the layout, gather a variety of artwork, choose matching frames, use a level for accuracy, and secure the pieces to the wall. Experiment with arrangements before finalizing the layout for a visually appealing display.
Is there an app to create a gallery wall?
Yes, there are apps like WALLARY that use augmented reality (AR) to visualize artworks on your wall. WALLARY allows you to test pictures with AR, helping you choose the best layout and arrangement for your gallery wall.
How do I make my own gallery?
Make your own gallery by collecting artwork, choosing matching frames or opting for a cohesive style, planning the layout, using a level for accuracy, and securing pieces to the wall. Mix various sizes and styles for a dynamic and personalized gallery.
What is the rule of thumb for a gallery wall?
A common rule of thumb for a gallery wall is to maintain consistency in spacing between frames, creating a cohesive look. Also, consider the eye level rule-hang artwork at average eye level height, around 57 to 60 inches from the floor.
How many pictures should go on a gallery wall?
The number of pictures for a gallery wall depends on the available wall space and personal preference. It can range from a few key pieces to an extensive collection. Consider the overall balance and visual appeal when determining the quantity.
How many pictures is too many for a gallery wall?
There’s no fixed number of pictures considered “too many” for a gallery wall. Just follow the A general rule is that you can cover 60% of the area with wall art and must leave 40% of the area blank. and don’t forget that the number of pictures depends on the available space, the size of the pictures, and your aesthetic preference.
