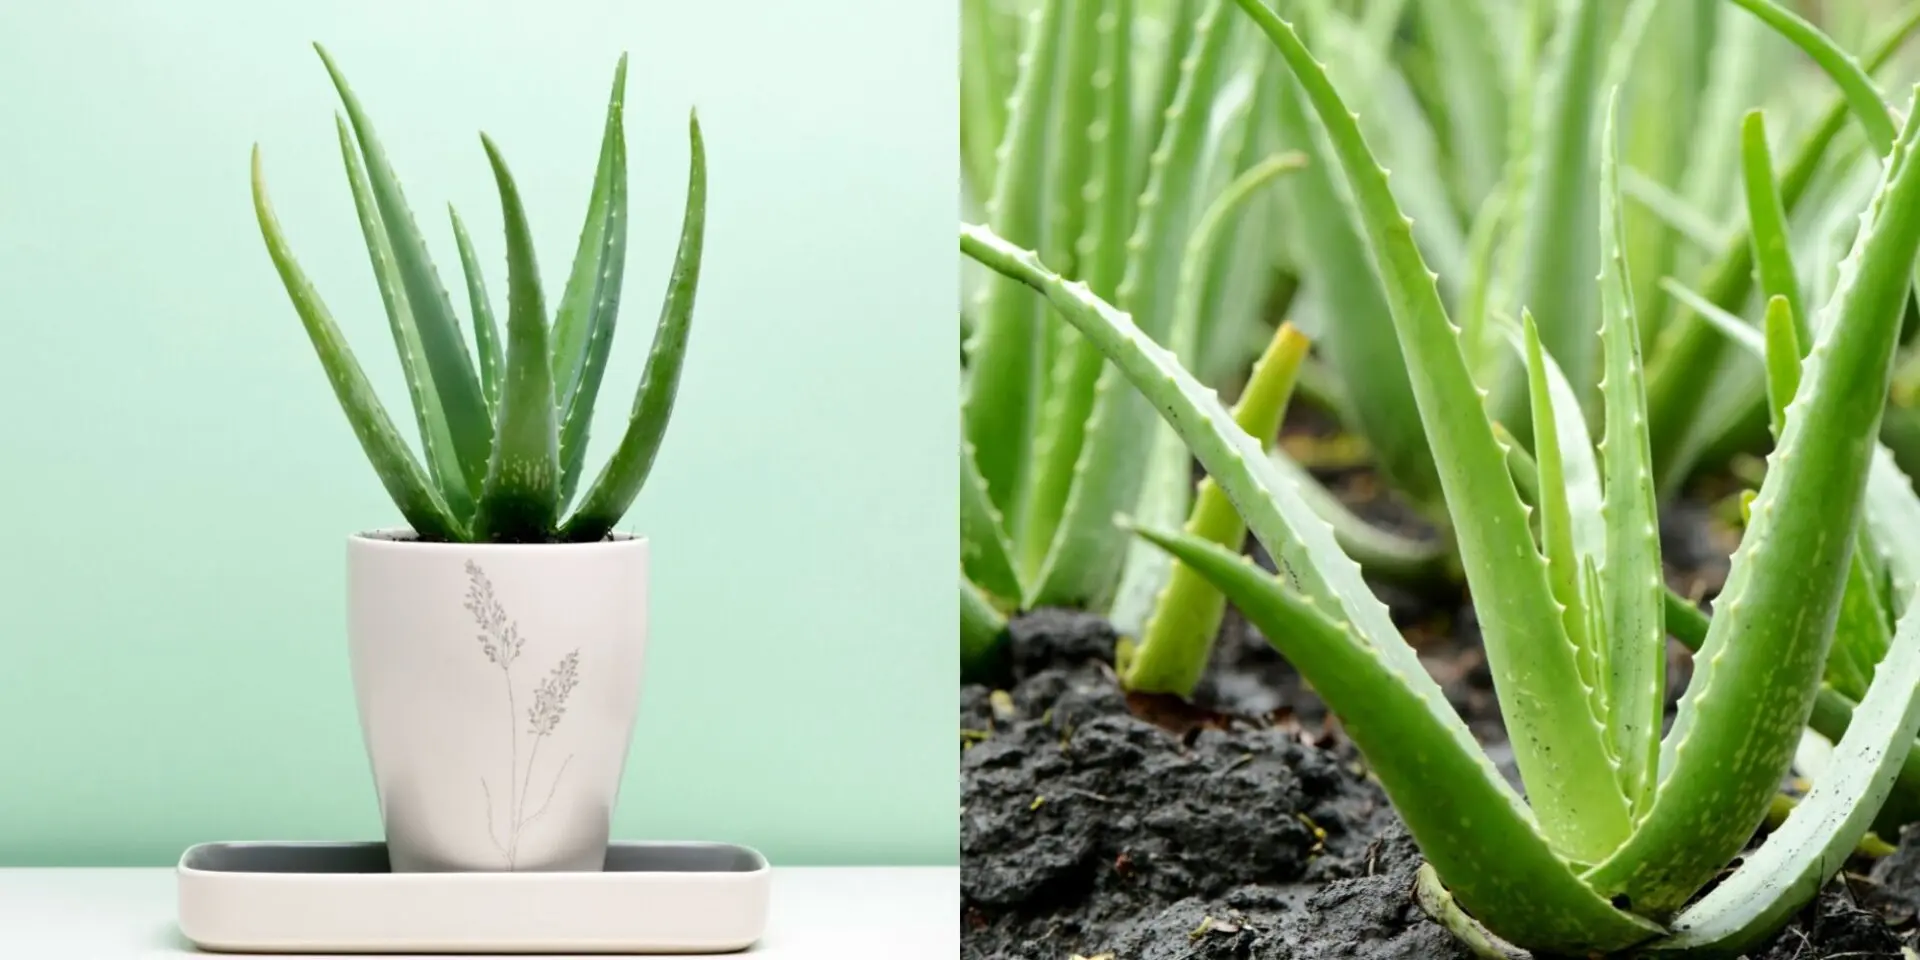
So, you’ve decided to bring a little green friend into your home – the fabulous aloe vera plant! Great choice! Aloe vera isn’t just a trendy succulent; it’s a powerhouse of benefits, from healing sunburns to purifying the air. But, and there’s always a but, caring for this spiky wonder indoors requires more than just the occasional splash of water. Fear not, dear plant parent! In this essential guide, we’ll dive deep into the art of keeping your aloe vera plant thriving and happy within the confines of your cozy abode.
Table Of Contents
Chapter 1: The Perfect Spot
Find That Sweet Spot!
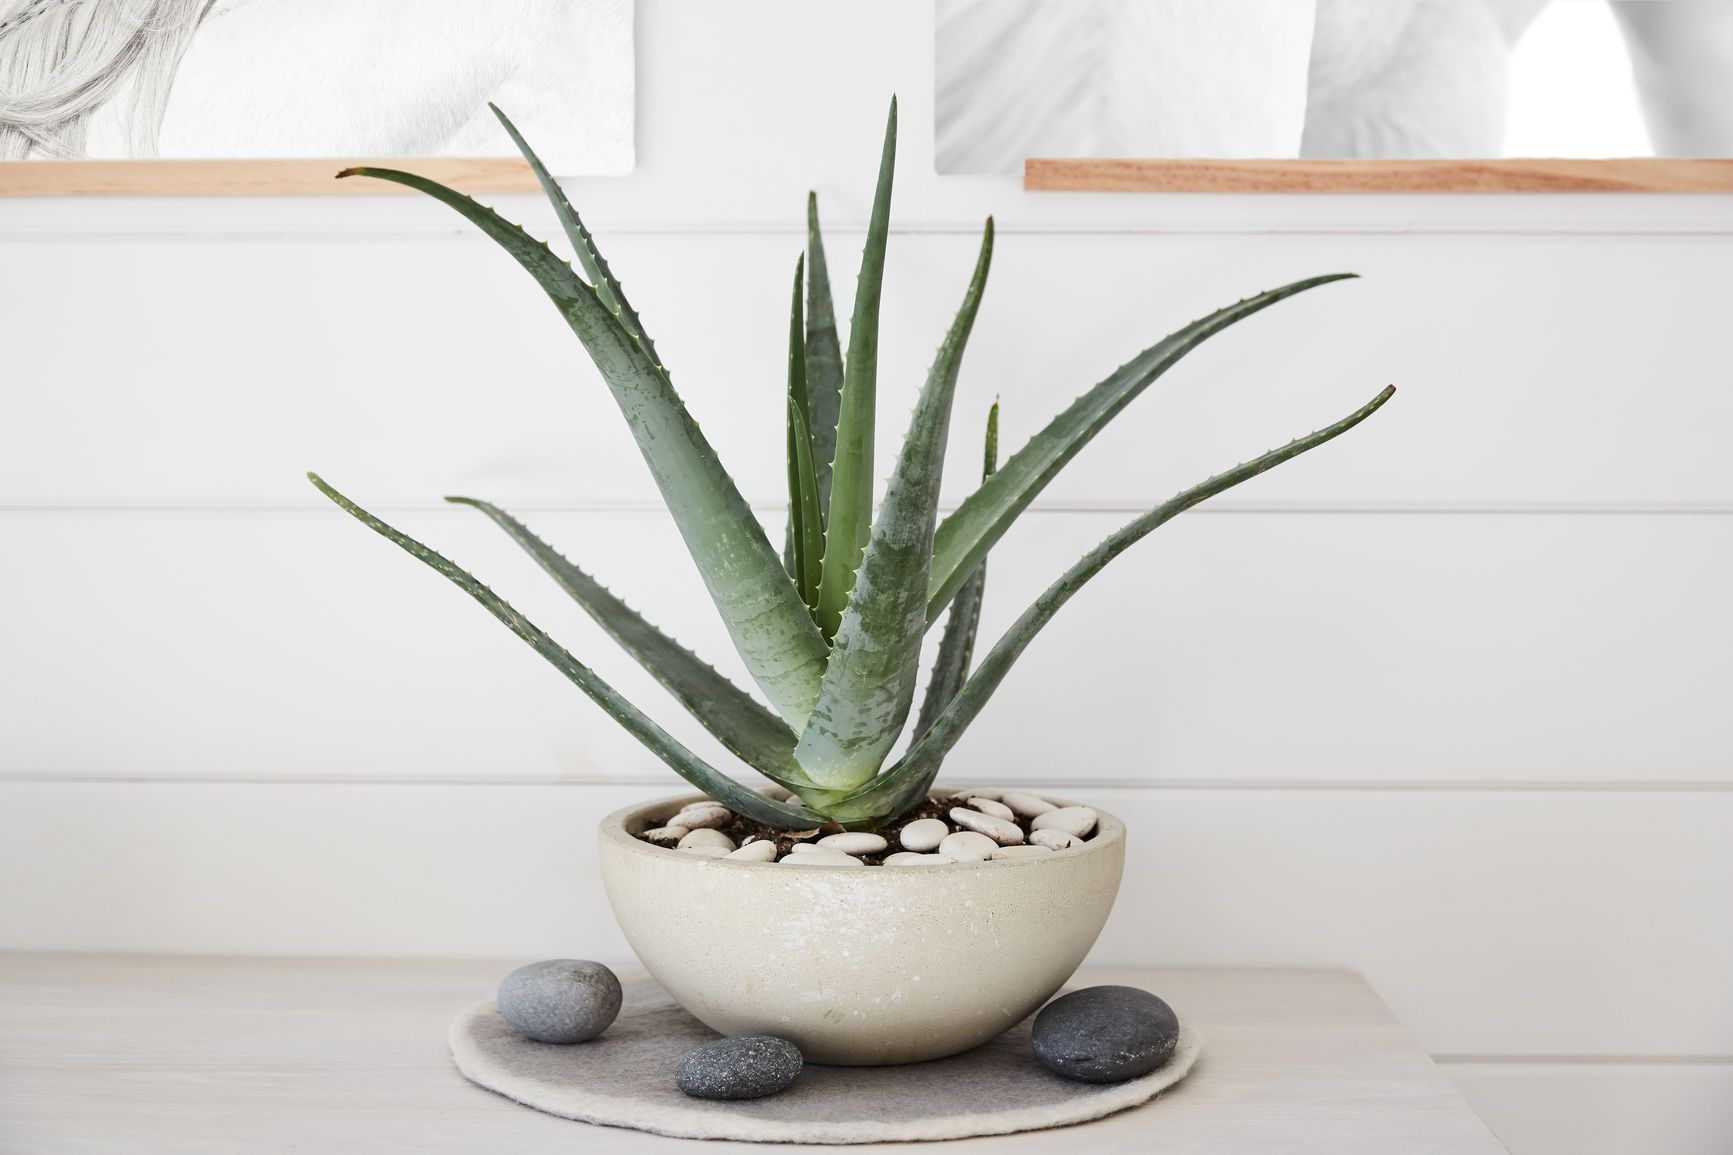
Your aloe vera plant isn’t just another piece of furniture. It has needs, preferences, and a personality (well, almost). To kick things off in this care extravaganza, let’s talk location. Your aloe vera needs sunlight like a sunbather needs sunscreen. Place it in a spot where it can bask in bright, indirect sunlight. Don’t shove it into a dark corner and expect it to flourish – it’s not a vampire, it’s a succulent!
Temperature Tango
Aloes are chill, but not that chill! Keep the thermostat between 59°F to 77°F (15°C to 25°C). Avoid extreme temperature swings, as your aloe vera might start feeling like it’s on a rollercoaster – and plants are terrible at rollercoasters. Shield it from frost, relocating potted plants indoors during colder months. Surprisingly adaptable, aloe doesn’t demand additional humidity, flourishing in standard indoor conditions. A meticulous understanding of temperature and humidity fosters an environment mirroring its native habitats.
Chapter 2: Watering Wisdom
Less is More
Listen up, overwatering is the enemy here! Your aloe vera plant is like that friend who doesn’t appreciate clinginess. Water sparingly; let the soil dry out between waterings. Stick your finger into the soil – if it’s dry up to your knuckle, it’s time to hydrate. If not, leave it be. Your aloe will thank you for respecting its personal space.
H2O Schedule
Your aloe vera doesn’t need a daily spa treatment. In fact, it’s more of a once-every-two-to-three-weeks kind of plant. Adjust your watering frequency based on the season – more in the summer, less in the winter. Imagine you’re giving your aloe a vacation in the Bahamas during summer and a cozy staycation during winter.
Chapter 3: The Dirt on Soil
Aloes Hate Crowded Parties
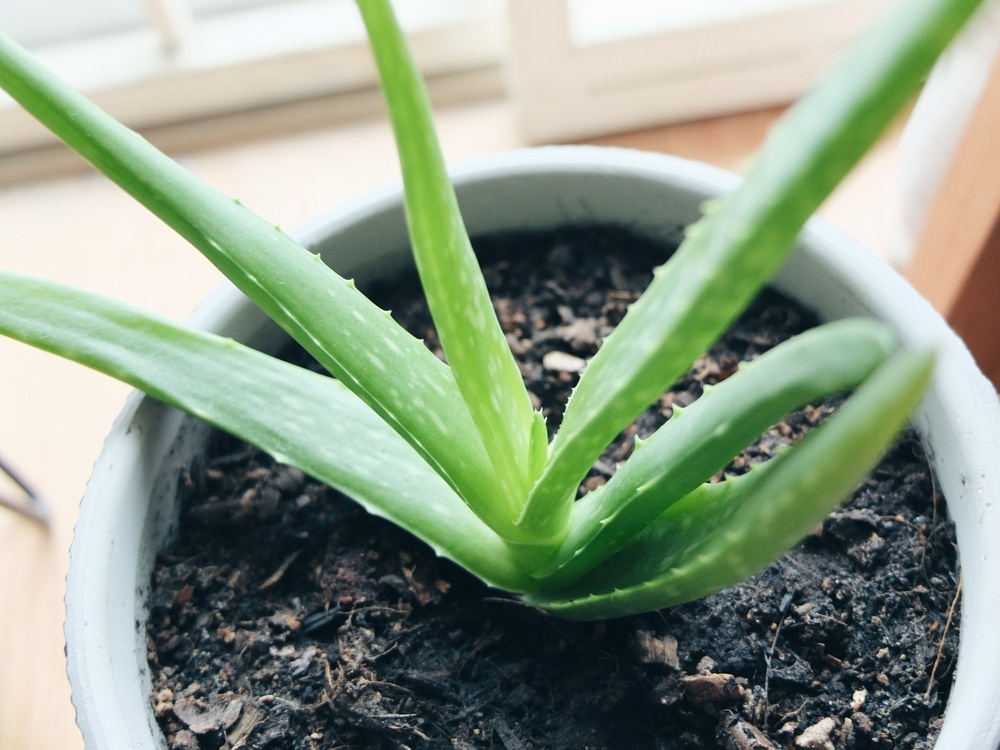
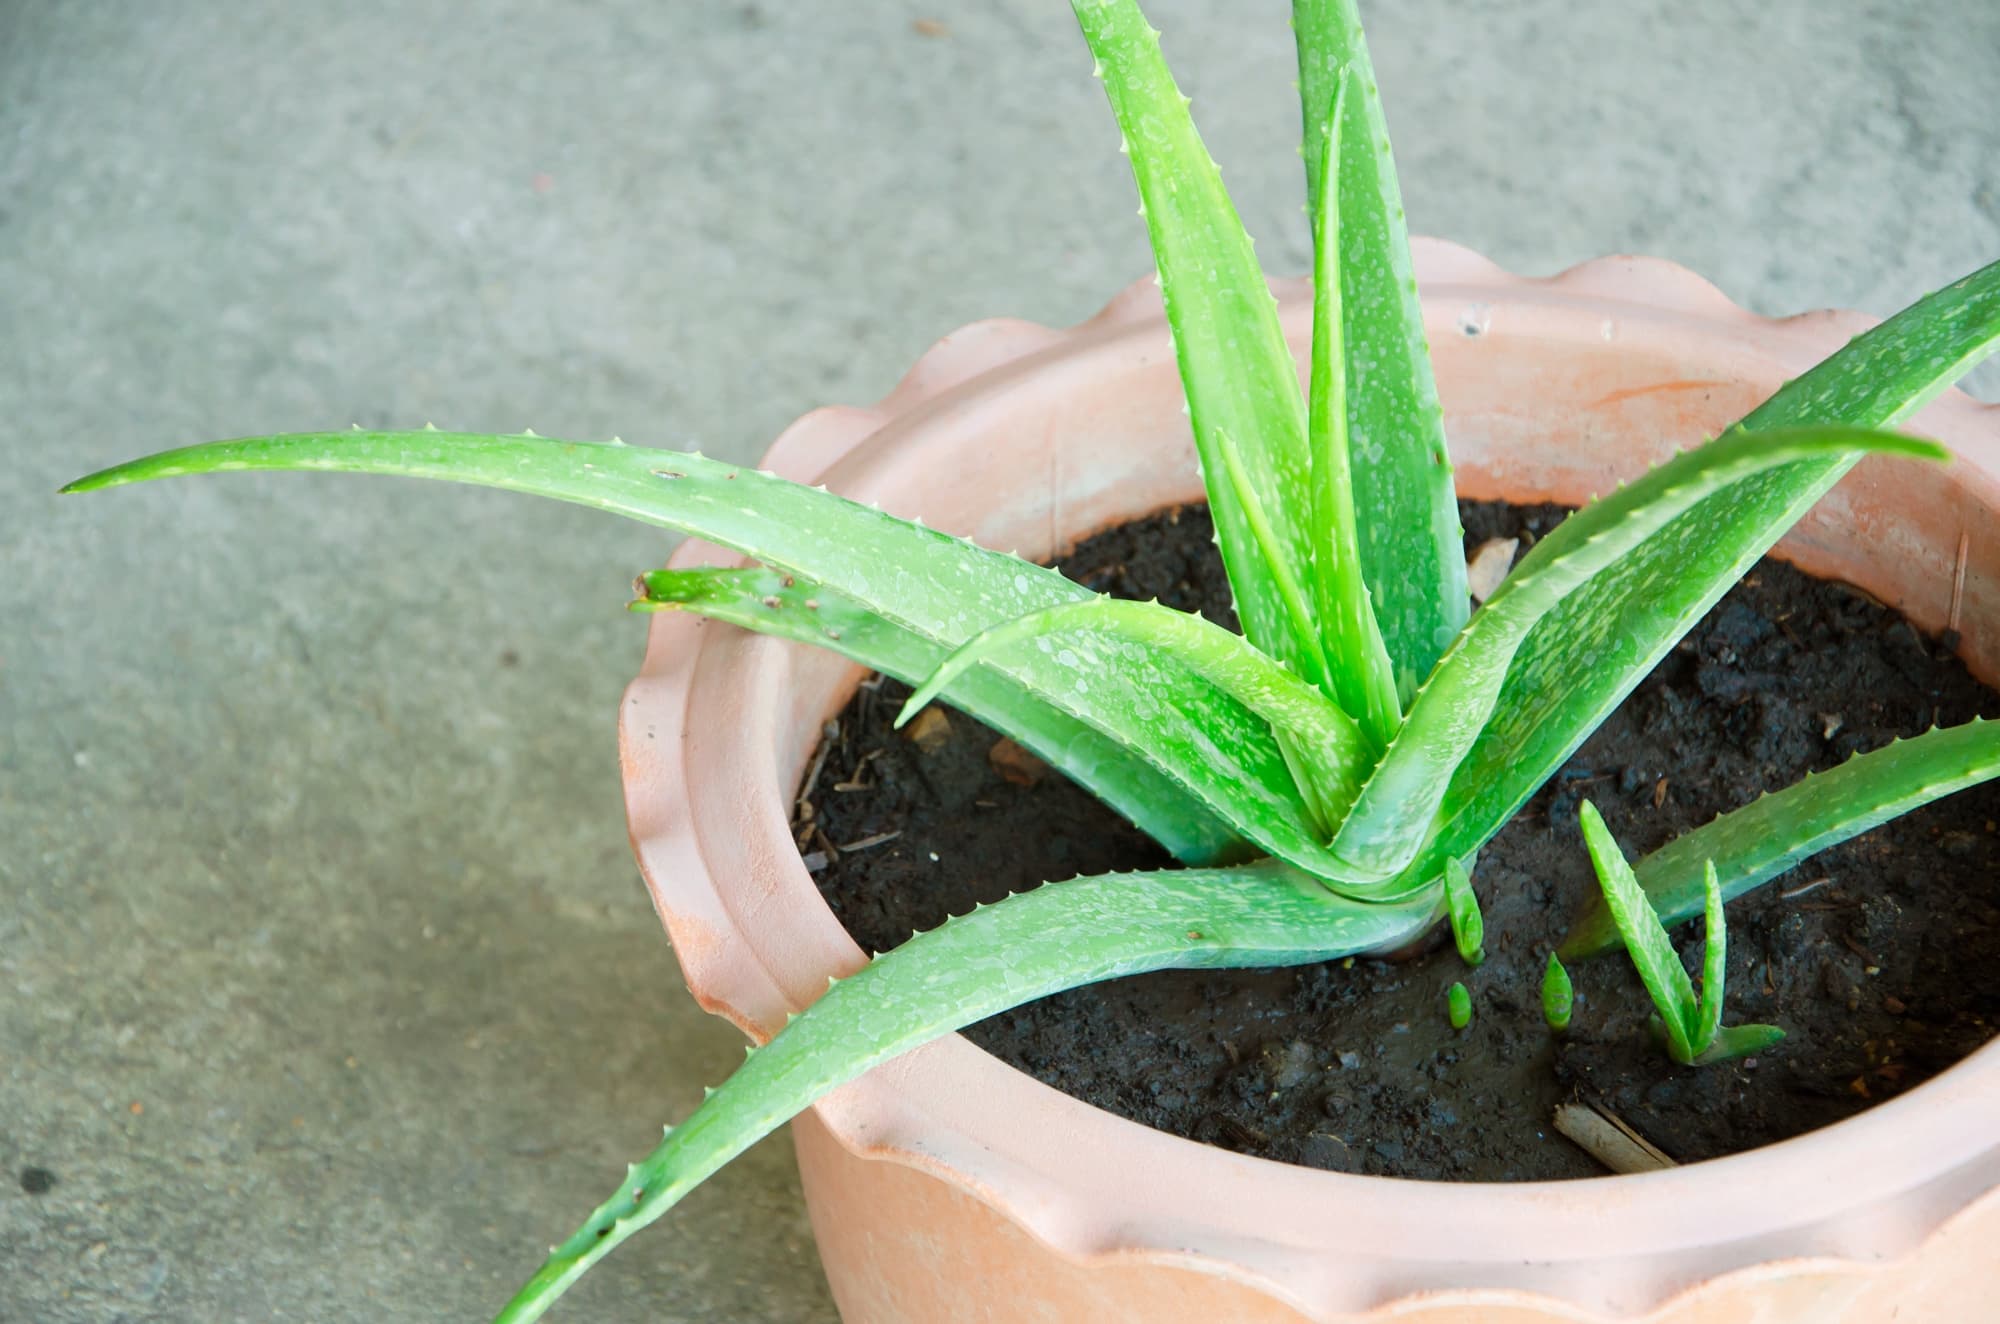
Just like you wouldn’t want to be stuck in a cramped room, your aloe vera prefers spacious accommodation. Use well-draining cactus or succulent soil to avoid soggy roots. If the soil feels like a swamp, your aloe is not having a good time. Think of it as giving your plant a comfy mattress to sprawl out on.
The Repotting Rodeo
As your aloe grows, it might need a bigger home. Don’t force it to wear skinny jeans forever! Repot every 2-3 years or when it starts looking cramped. Pick a container with drainage holes – roots hate sitting in a puddle, just like you wouldn’t want to sit in a wet swimsuit.
Soil: The Foundation for Succulent Success
Aloe’s succulent nature necessitates well-draining soil. Opt for a succulent mix or blend standard potting soil with perlite or sand. This ensures proper drainage, preventing waterlogged roots. A thoughtful choice of soil becomes the cornerstone of a thriving aloe, accentuating its resilience.
Chapter 4: Aloe Vera Nutrition
Fertilizer Facts
Guess what? Your aloe vera isn’t a teenager with a bottomless pit for a stomach. It doesn’t need to be fed constantly. Feed it a diluted, balanced fertilizer every 4-6 weeks during the growing season (spring and summer). Forget it exists during the winter – it’s on a plant diet, not a holiday feast.
Detox Session
Once in a while, give your aloe a detox session. Flush out the soil with water to eliminate excess salts and minerals. Think of it as sending your plant on a wellness retreat. We all need a little cleanse now and then!

Chapter 5: Troubleshooting Tips
Brown Tips Blues
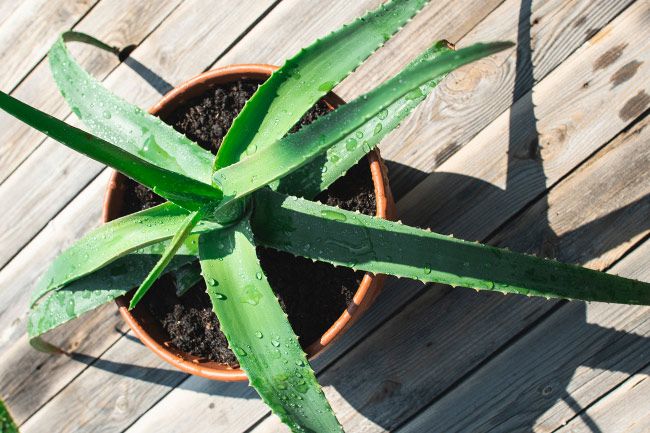
Uh-oh! Brown tips on your aloe vera mean it’s not loving its water routine. Adjust your watering schedule – give it a break! It’s like your aloe is on a diet, and you’ve been forcing cake down its throat.
Droopy Drama
Is your aloe looking a bit dramatic with droopy leaves? It’s not auditioning for a soap opera – it’s dehydrated! Time to up your watering game. Think of it as a plant spa day – hydration and a little pampering.
Chapter 6: Common Issues With Aloe Plants
Pests and Insects: Swift Interventions
Aloe is susceptible to mealybugs, aloe scale, and aloe mites. Combat them effectively using a blend of water and neem oil. Spray mealybugs with forceful water streams and wipe with a damp cloth. Prune affected areas to thwart mites. For aloe scale, employ a mixture of insecticide, rubbing alcohol, and water, maintaining your plant’s aesthetic appeal.
Mushy Leaves: Overwatering Red Flags
Overwatering, a common succulent woe, manifests as soft leaves. Rectify by relocating the plant to a sunnier spot and abstaining from watering for a week. Severe cases may lead to root rot, underscoring the importance of precise watering for aloe vitality.
Breaking Leaves: A Call for More Light
Bending and breaking leaves indicate insufficient light. Relocate your aloe to a brighter spot, such as a windowsill or under a grow light, ensuring sturdy and healthy leaf growth.
Chapter 7: How to Repot an Aloe Vera Plant
Repotting aloe involves selecting a pot slightly larger than the root ball, facilitating unhindered root growth. Prioritize pots with excellent drainage to prevent root suffocation. This strategic repotting approach safeguards against potential constraints, empowering your aloe to expand and thrive.
Chapter 8: Can You Propagate Aloe?
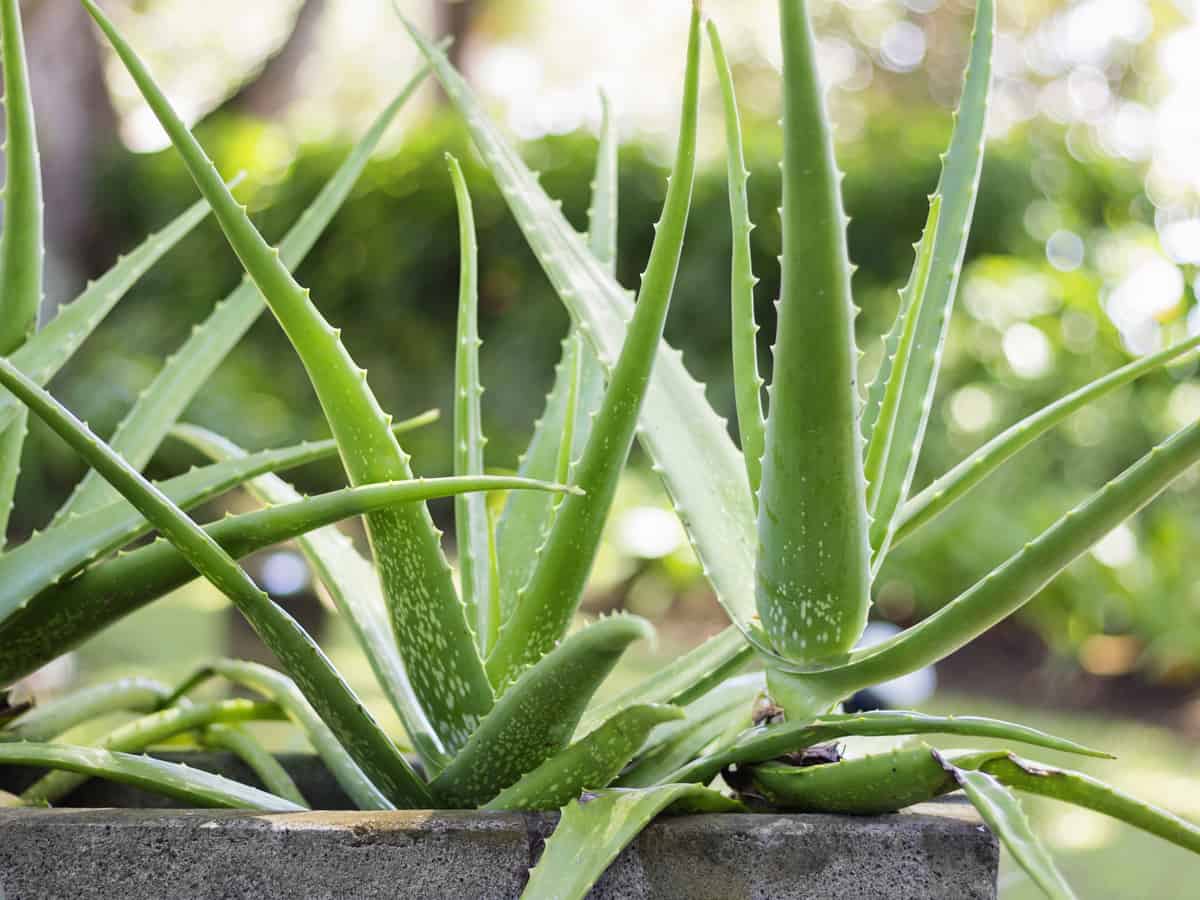
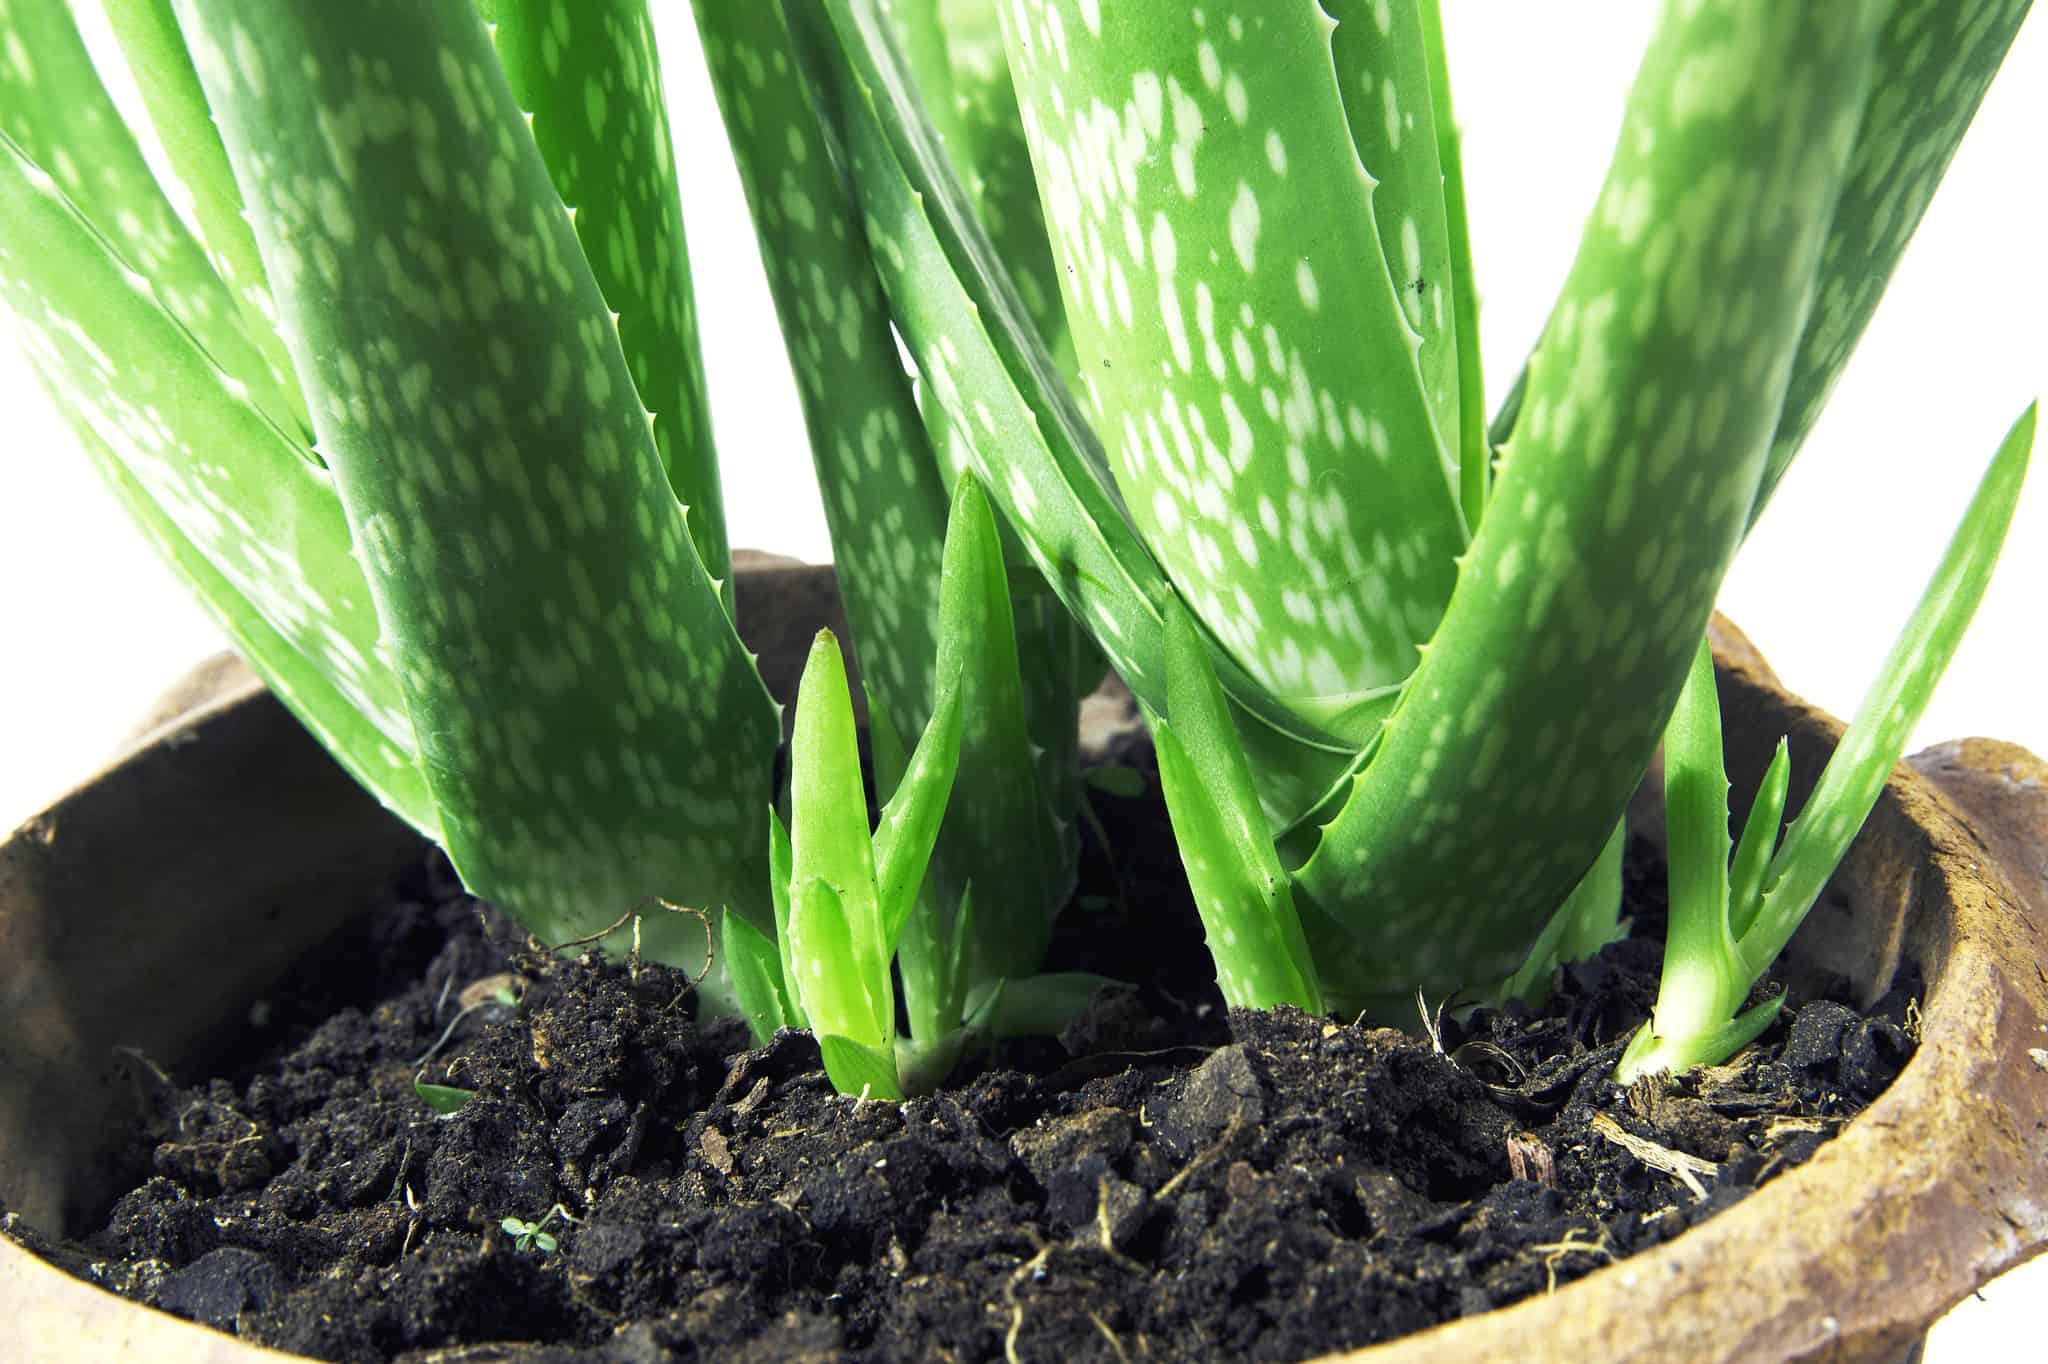
Absolutely! Harness the ability to propagate aloe by trimming off pups at the base. These offshoots, equipped with their root systems, eliminate the need for germination. Place them in sunny windows and exercise patience, allowing three to four months for robust growth. Unleash the potential to cultivate new aloe plants effortlessly.
Chapter 9: How to Harvest Aloe?
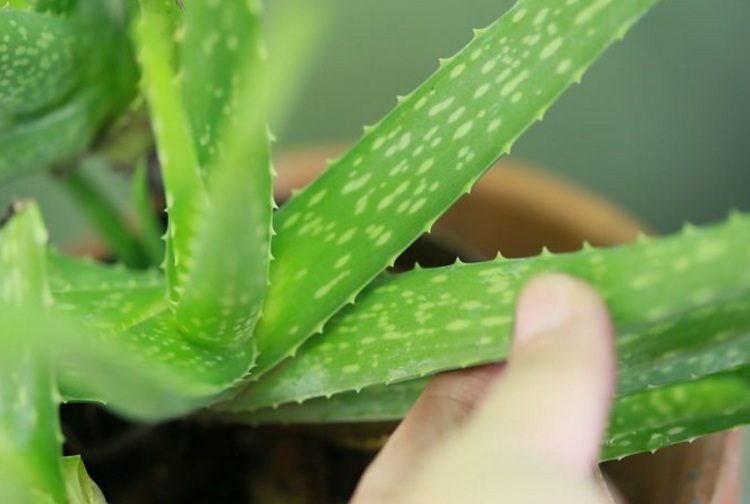
Freshly harvested aloe gel possesses remarkable skin-soothing properties. Exercise patience, waiting until your aloe reaches six to eight inches in height with 10 or more leaves before harvesting. Select leaves from the bottom upward, as harvested leaves won’t regenerate. Harvesting becomes an art, ensuring aloe longevity and continual benefits.
Congratulations! You’ve made it through the wild and wonderful journey of caring for your aloe vera plant indoors. Remember, it’s not rocket science – just a bit of TLC and a sprinkle of common sense. Keep that sunlight flowing, water with caution, and your aloe vera will be the star of your indoor garden. So go ahead, flaunt your green thumb, and let your aloe vera thrive like the superstar it is. Happy plant parenting!
FAQs
How often do you water aloe vera indoors?
Aloe vera plants prefer to be kept on the drier side. Water the plant thoroughly but infrequently. Allow the top inch (2.5 cm) of the soil to dry out between waterings. Depending on factors like temperature, humidity, and the size of the pot, you may need to water approximately every 2-3 weeks.
Where should I put aloe vera plant in my house?
Place your aloe vera plant in a location that receives bright, indirect sunlight. A south or west-facing window is ideal. If you don’t have access to natural light, you can also grow aloe vera under fluorescent lights.
Does aloe vera need direct sunlight?
While aloe vera can tolerate some direct sunlight, it generally prefers bright, indirect light. Prolonged exposure to intense direct sunlight, especially in hot climates, can lead to leaf burn or red discoloration. Providing filtered sunlight or partial shade is often beneficial.
How do I make my aloe vera plant healthy?
To keep your aloe vera plant healthy:
- Provide well-draining soil.
- Use a pot with drainage holes to prevent waterlogged soil.
- Water sparingly, allowing the soil to dry out between waterings.
- Place the plant in bright, indirect sunlight.
- Avoid over-fertilizing, as aloe vera doesn’t require frequent feeding.
How can I use my aloe vera plant without killing it?
To use your aloe vera plant without harming it:
- Harvest leaves sparingly, starting from the outer leaves.
- Use clean, sharp scissors or a knife to cut the leaves close to the base.
- Allow cut surfaces to heal and callus before storing or applying the gel.
- Store harvested leaves in the refrigerator for short-term use.
What happens if aloe vera gets too much sun?
If aloe vera gets too much direct sun, it may exhibit signs of stress, including:
- Leaf burn: The edges of the leaves or the entire leaf may turn brown or red.
- Red discoloration: The entire plant or parts of it may take on a reddish hue.
- Drying out: Too much sun can lead to excessive water loss, causing the leaves to become desiccated.
