If you’re looking to give your home a fresh and personalized look, Paint IKEA Furniture is an excellent option. Not only does it allow you to breathe new life into your beloved pieces, but it also gives you the freedom to match them with your home’s decor.
In this comprehensive guide, we will walk you through the process of repainting IKEA furniture, step by step. Whether you’re a seasoned DIY enthusiast or a newbie, you’ll find valuable tips and techniques to make your furniture transformation a success.
Repainting IKEA furniture is a fantastic way to revitalize your interior space without breaking the bank. Whether you have a worn-out dresser, a tired coffee table, or a plain bookshelf, this DIY project can turn them into stylish, customized pieces that complement your home decor.
Table of Contents
Paint IKEA Furniture: A Step-by-Step Guide
Step 01 : Gather Your Supplies for Paint IKEA Furniture
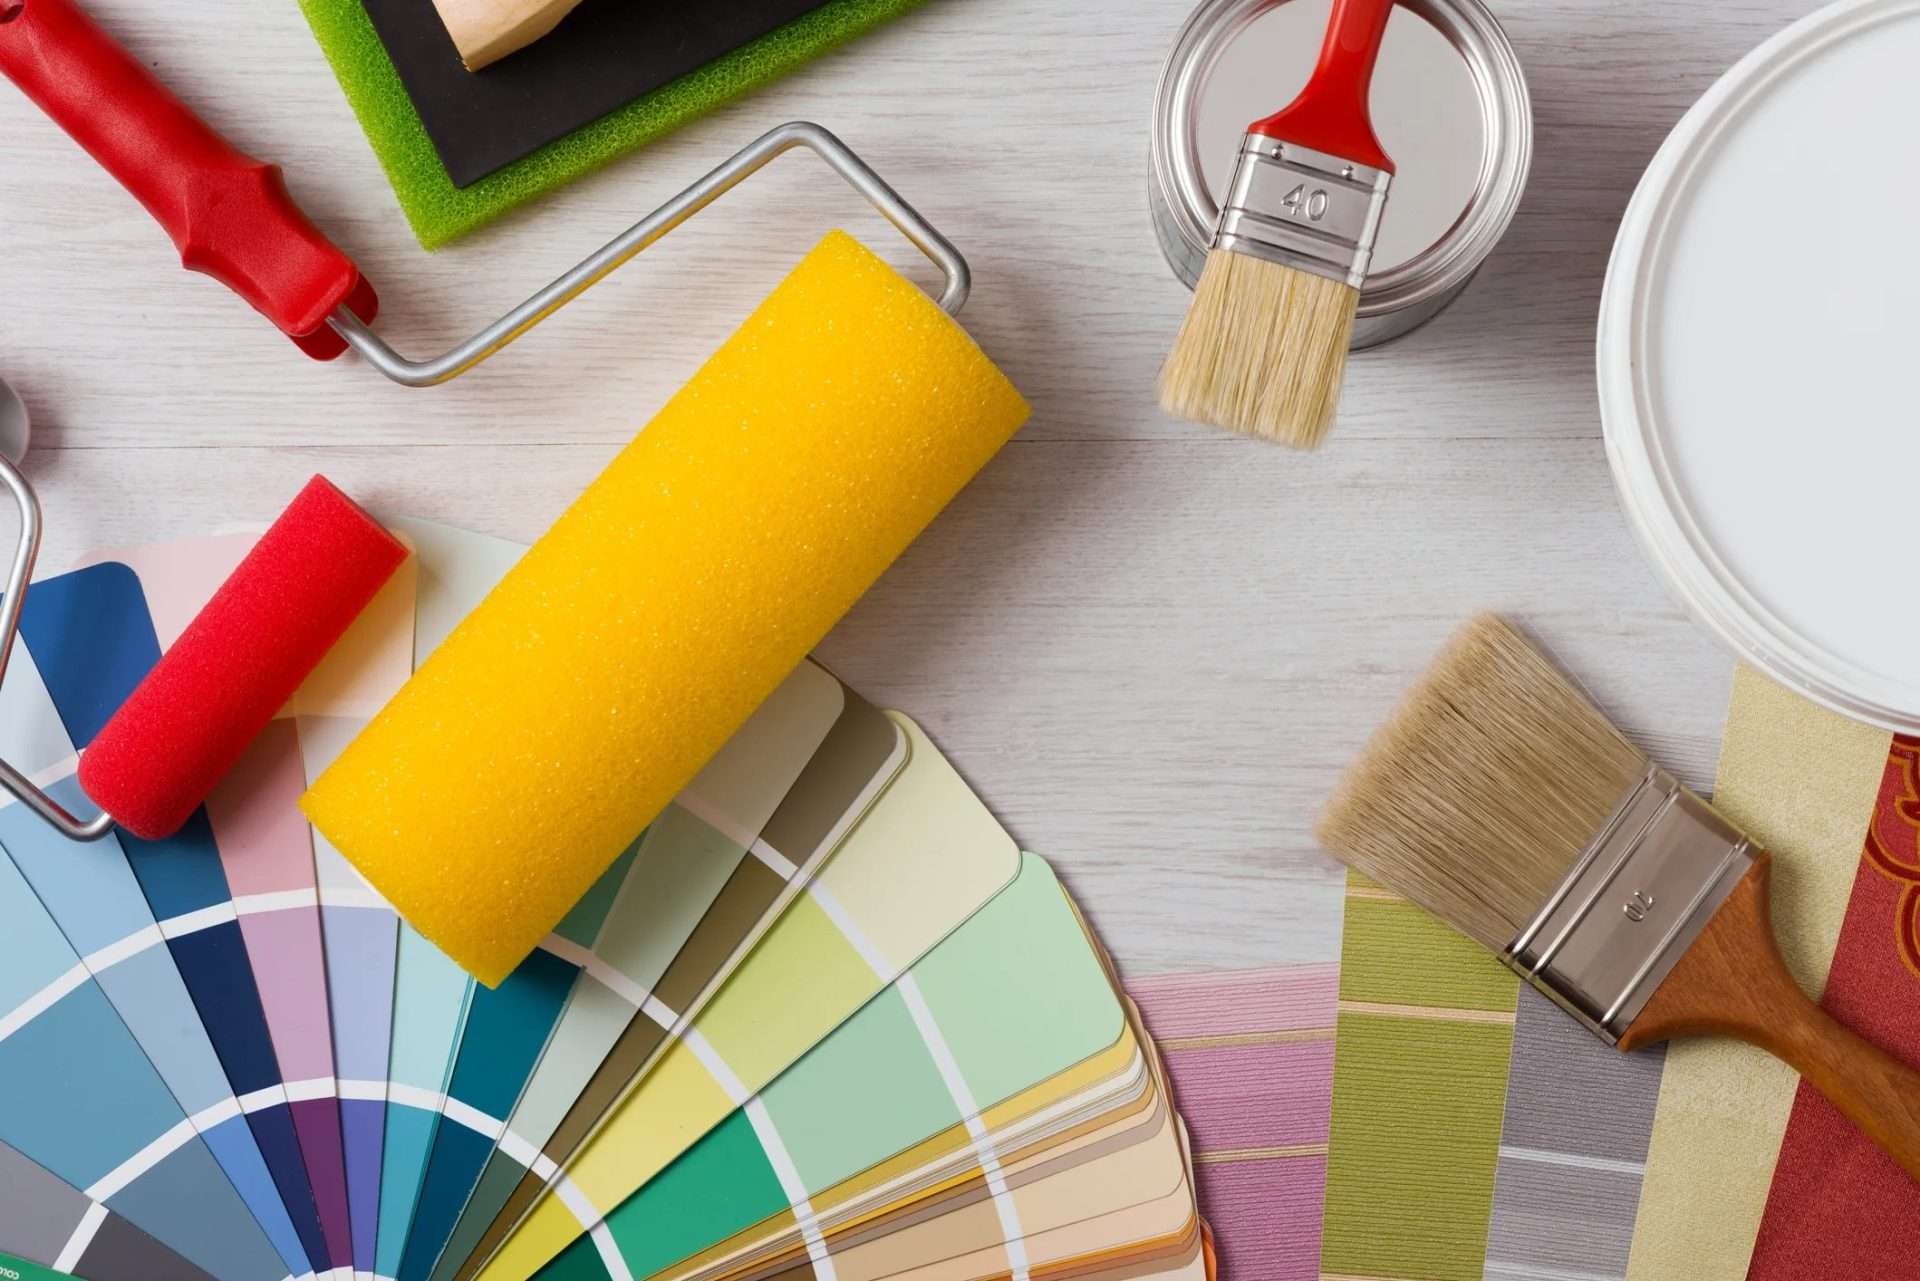
Before diving into the painting process, make sure you have the following supplies ready:
- Sandpaper (various grits)
- Primer
- Paintbrushes and foam rollers
- High-quality paint
- Painter’s tape
- Drop cloths
- Screwdrivers and pliers (for disassembly)
- Clean, lint-free cloths
Step 02 :Prepare Your Workspace before Paint IKEA Furniture
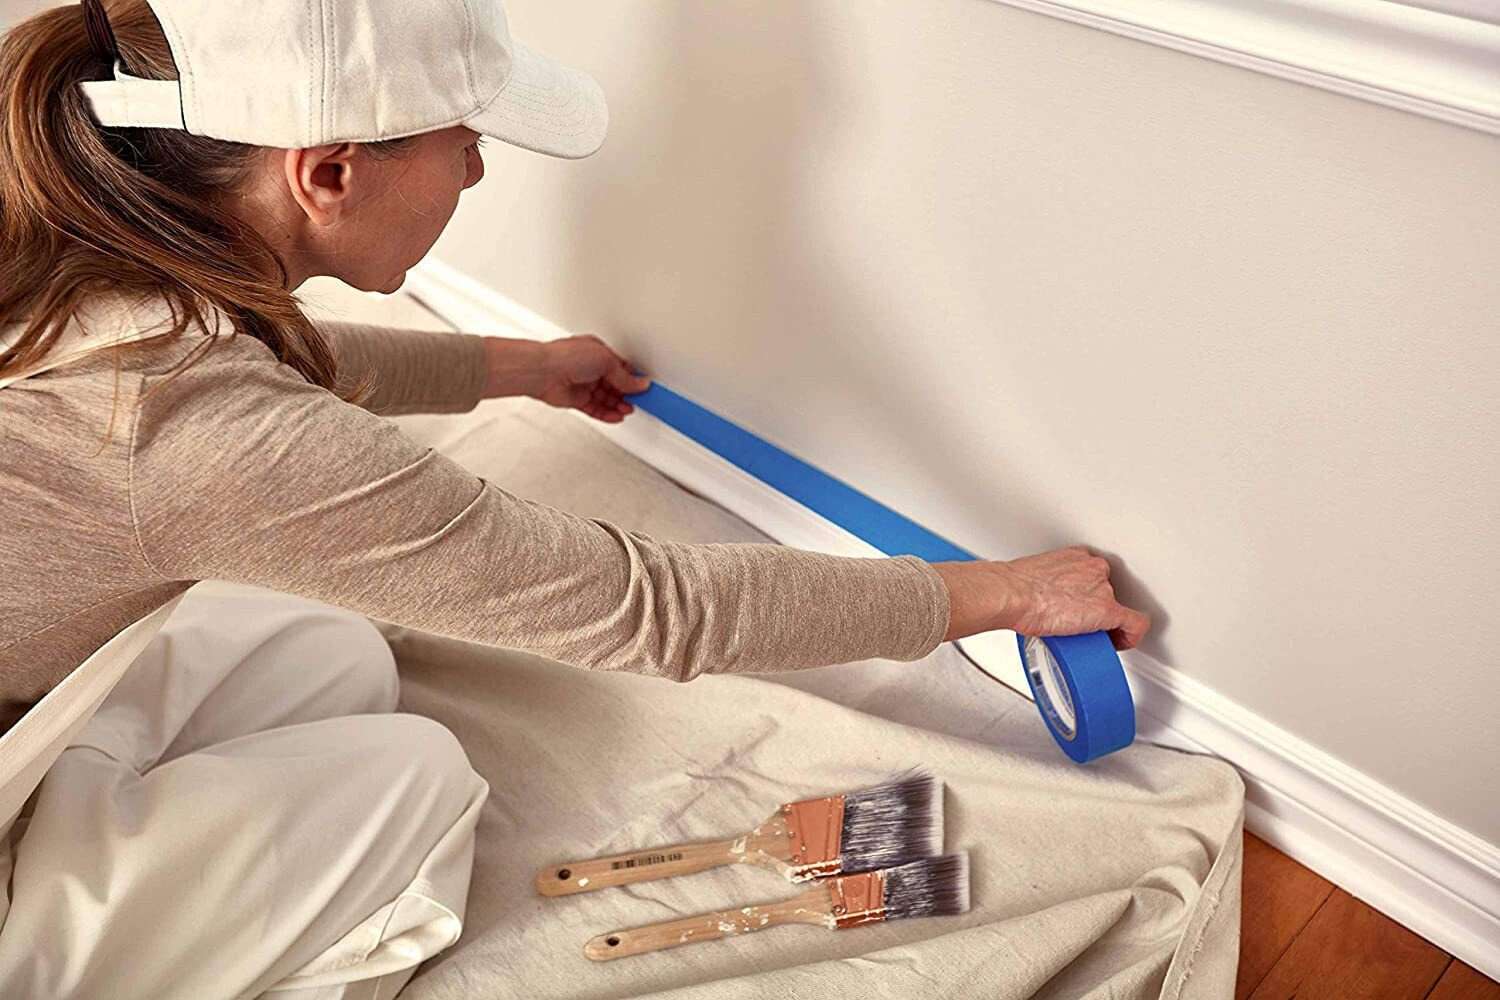
Set up a well-ventilated workspace, preferably outdoors or in a garage. Lay down drop cloths to protect your floor or work surface. Ensure adequate lighting for precision during painting.
Step 03 :Select the Right Paint
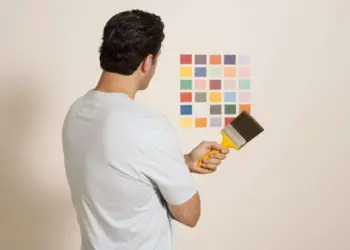
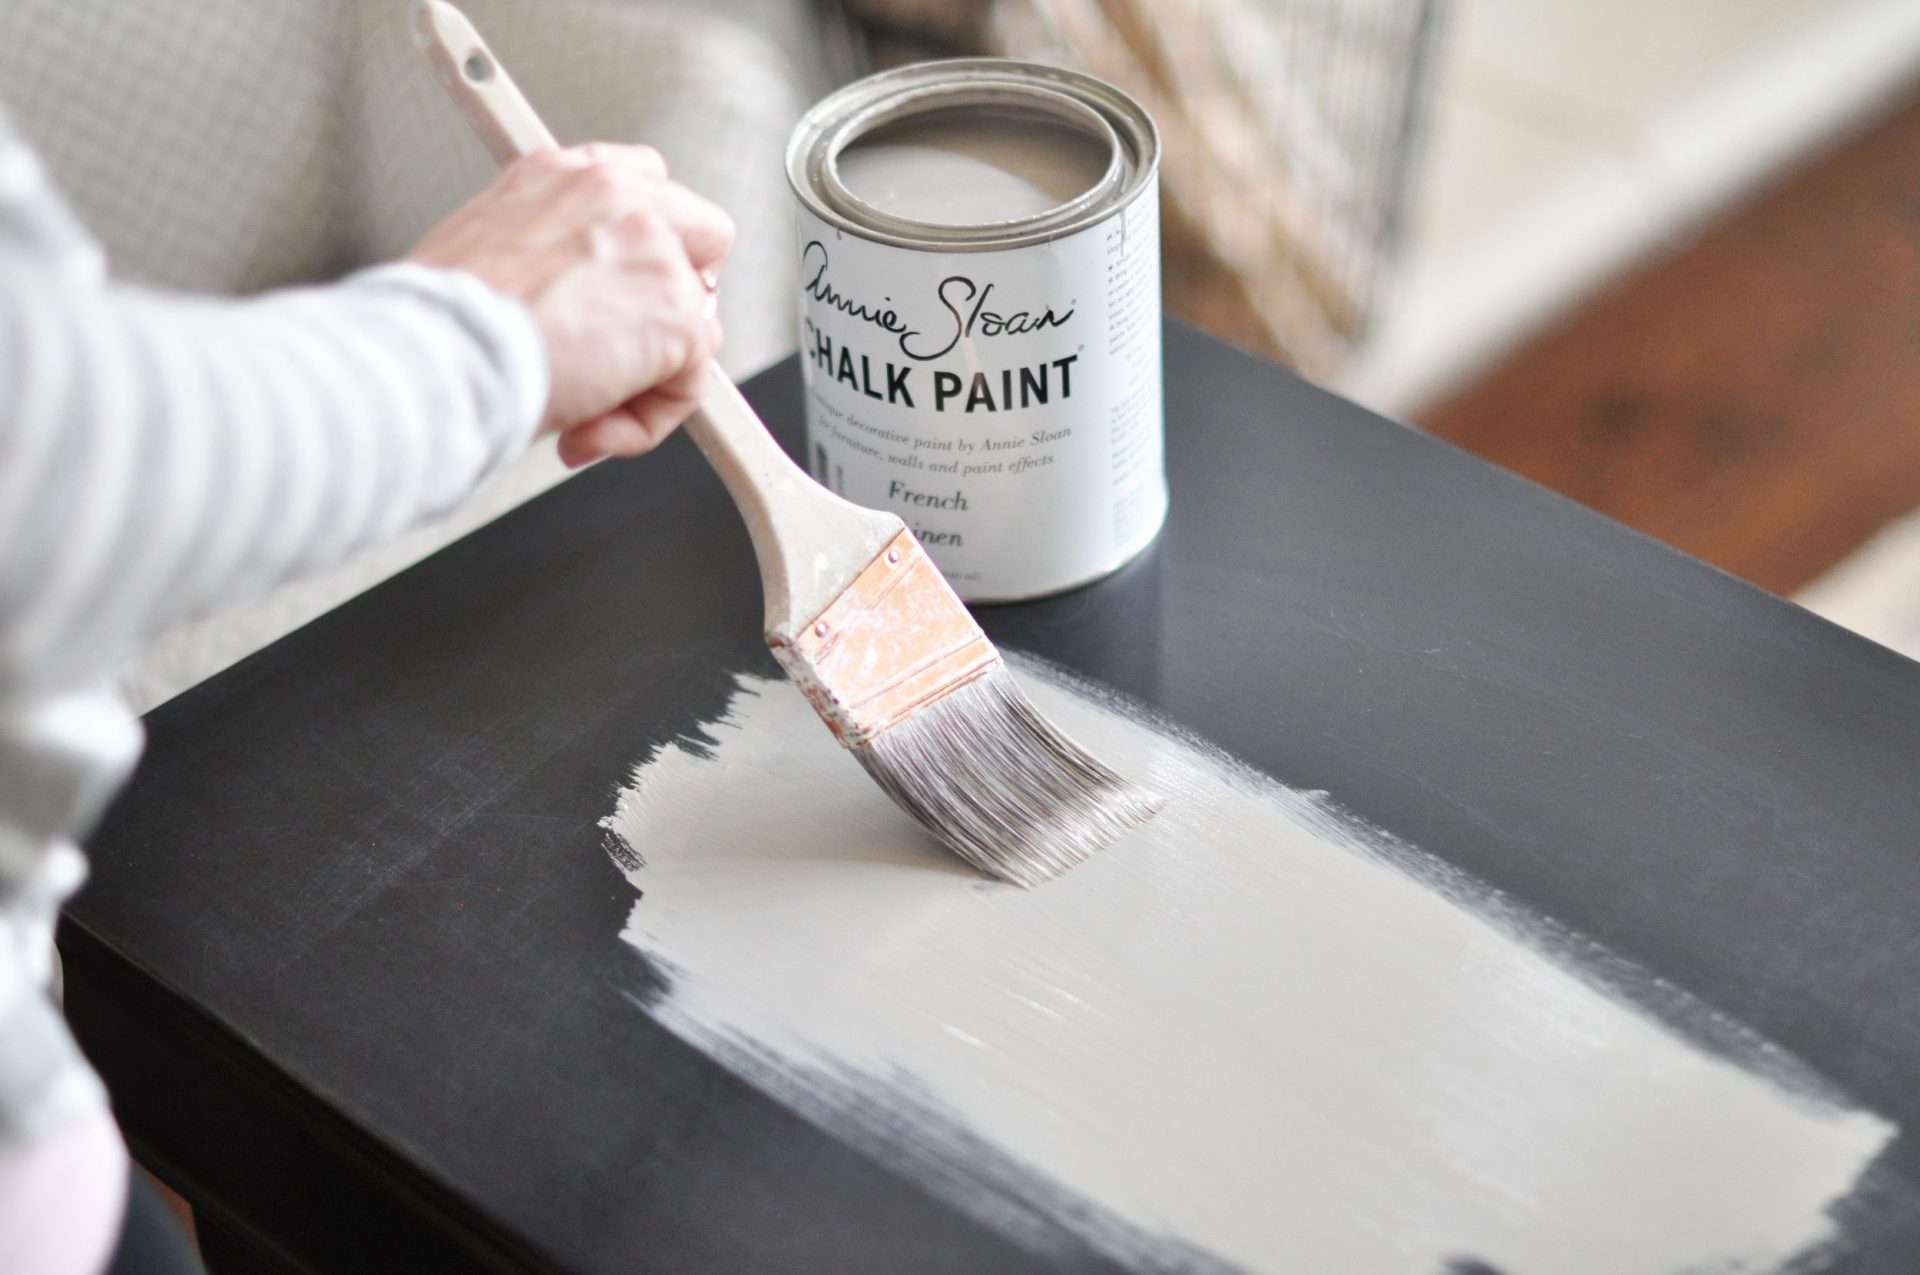
Choose a paint that suits your furniture material. For wooden IKEA furniture, latex or chalk paint works well. For metal or plastic surfaces, opt for enamel or acrylic paints. Consider the color that best complements your decor.
Step 04 :Prep the Furniture
Remove any knobs, handles, or other hardware from your furniture. Take the time to clean each piece thoroughly with a damp cloth to remove dirt and grime.
Step 05 :Sand and Prime
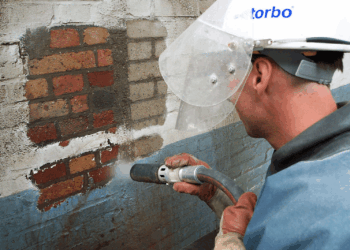
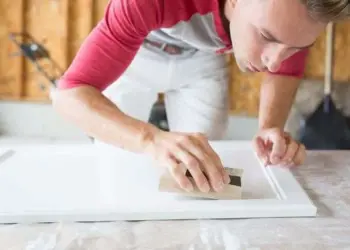
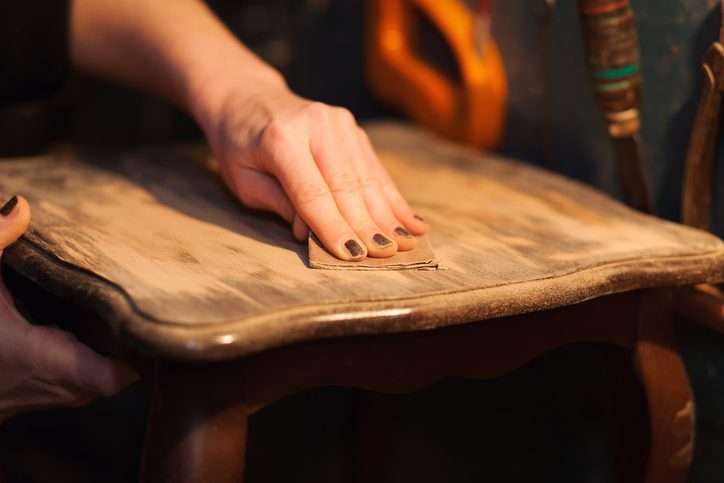
Use different grits of sandpaper to sand the surface lightly. This helps the paint adhere better. After sanding, apply a layer of primer to create a smooth and even surface for the paint.
Step 06 :Painting Techniques
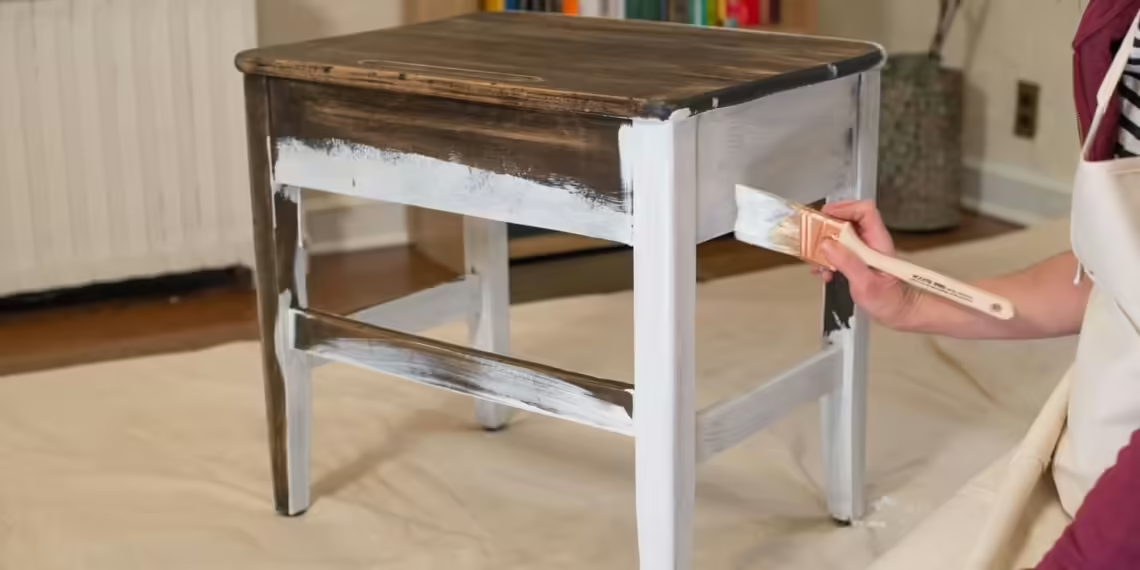
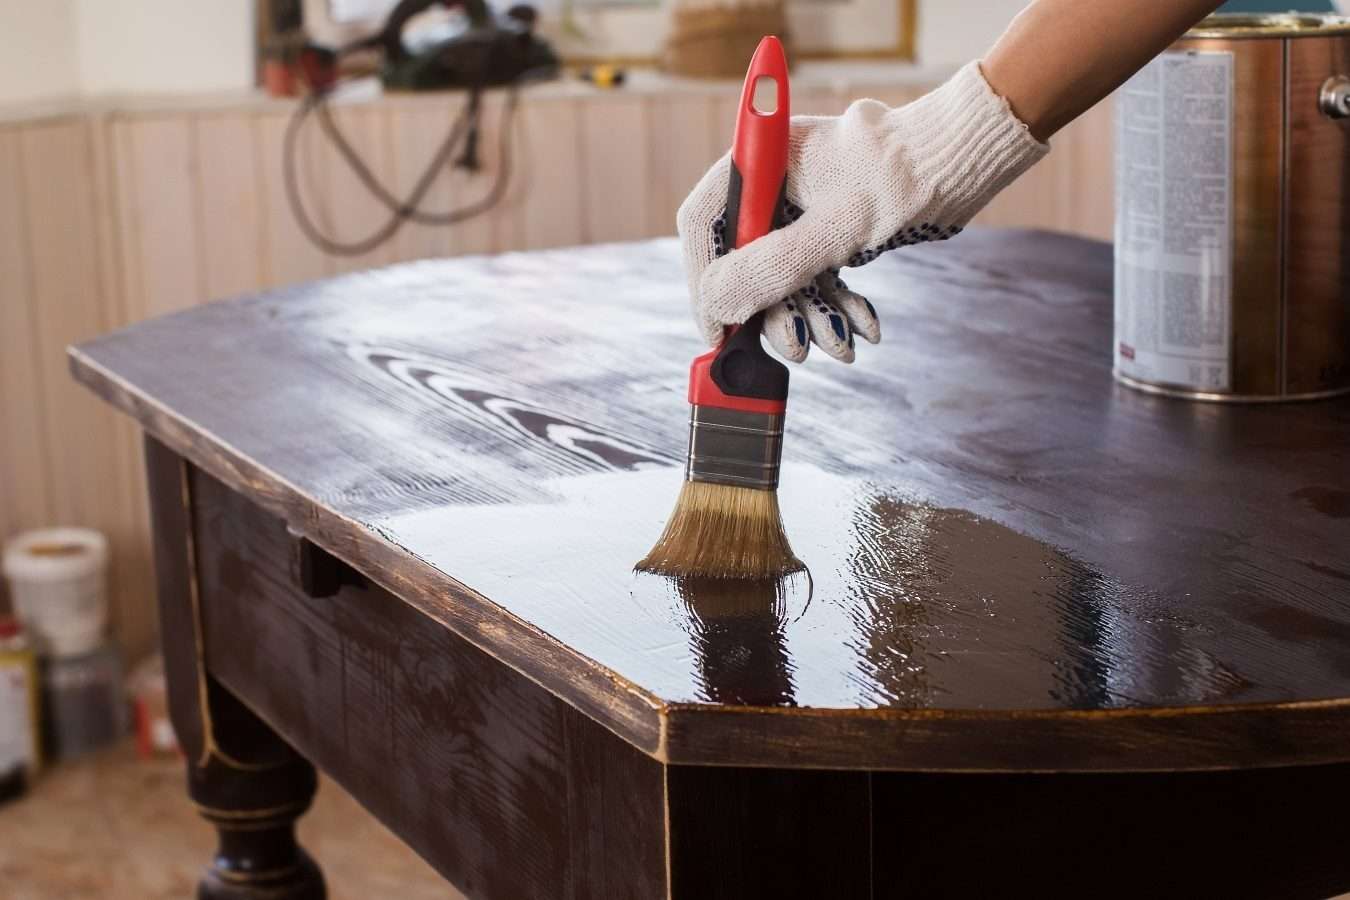
When applying paint, use even strokes and avoid overloading your brush or roller. Begin with the large, flat surfaces and work your way to the smaller details. Consider using a paint sprayer for a more professional finish.
Step 07 :Applying Multiple Coats
Most furniture will require two to three coats of paint for full coverage. Allow each coat to dry completely before applying the next. Sand lightly between coats for a smooth finish.
Step 08 :Drying Time
Be patient and let your furniture dry for at least 24 hours before handling. This ensures that the paint fully cures and hardens.
Step 10 : Sealing the Paint
To protect your newly painted furniture, apply a clear sealant or wax. This not only enhances durability but also adds a beautiful finish.
Step 11 : Reassemble Your Furniture
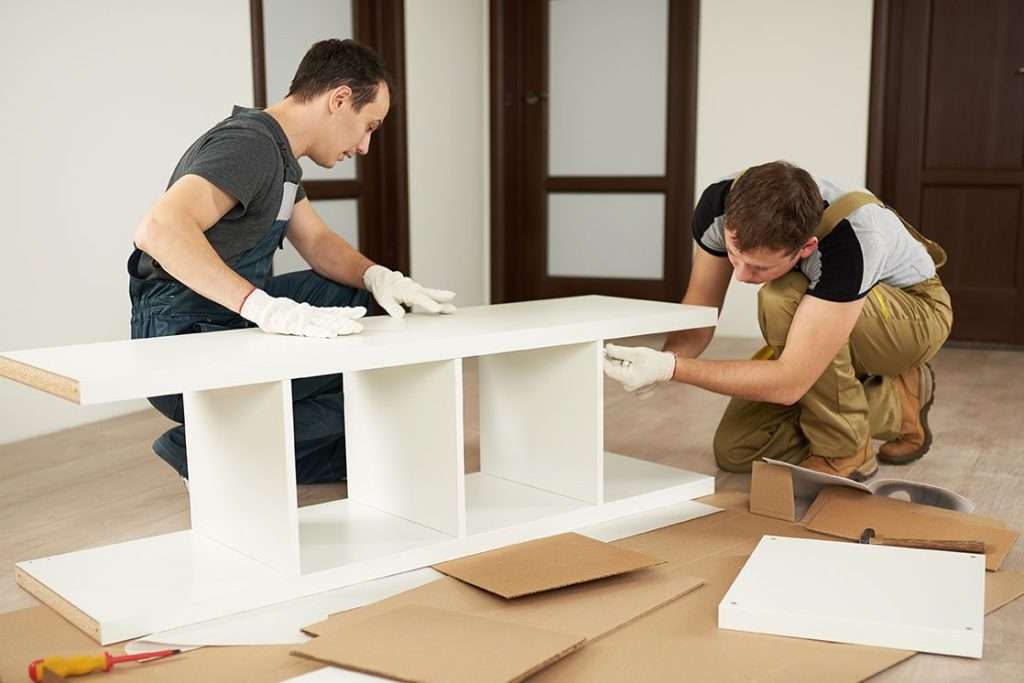
Once everything is dry and sealed, reattach hardware and reassemble your furniture.
Step 12 : Adding Finishing Touches
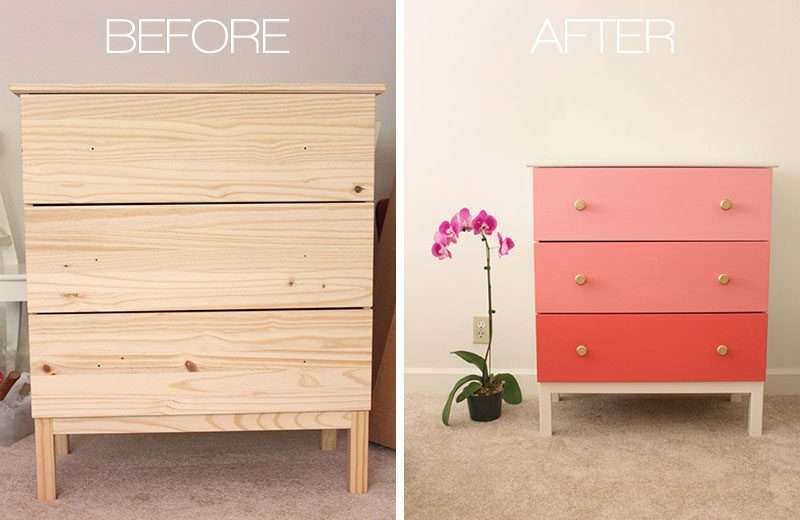
Consider adding decorative elements like new knobs or stenciled designs to make your piece truly unique.
Step 13 : Caring for Repainted Furniture
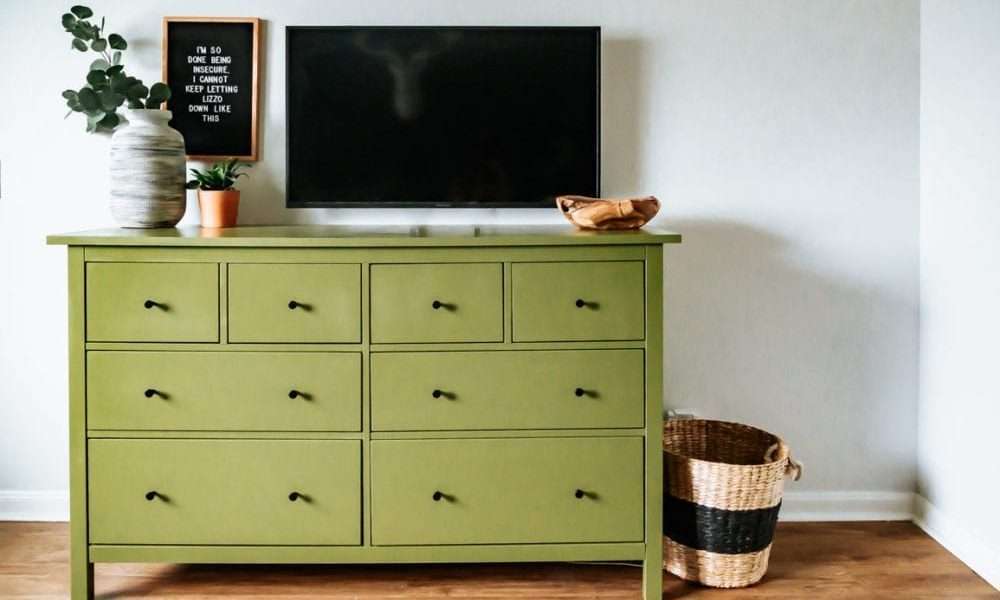
To maintain the beauty of your repainted furniture, clean it gently with a damp cloth and avoid harsh chemicals.
Common Mistakes to Avoid When Paint IKEA Furniture
- Rushing the sanding and priming process.
- Using low-quality paint.
- Skipping the clear sealant or wax.
- Neglecting proper drying time.
- Overloading paintbrushes or rollers.
Extra Tips for a Successful Repainting Project
1. Color Selection before Paint IKEA Furniture
When choosing a color for your furniture, consider the overall theme of your home decor. Neutral colors like white, gray, or black are versatile and can easily blend with various styles. However, don’t be afraid to experiment with bold, vibrant colors if you want to make a statement piece.
2. Sanding Techniques
For a professional finish, pay close attention to sanding. Start with coarse-grit sandpaper to remove any rough spots or imperfections. Then, progressively use finer-grit sandpaper to create a smooth surface. This extra effort will result in a more polished final look.
3. Custom Stencils and Decals
If you want to add intricate designs or patterns to your furniture, consider using custom stencils or decals. These can help you achieve professional-looking details without the need for advanced artistic skills.
4. Safety Precautions to consider before Paint IKEA Furniture
Always work in a well-ventilated area when using paints, primers, or sealants. Wear appropriate safety gear, including a mask, goggles, and gloves, to protect yourself from fumes and chemicals.
5. Experiment on Small Pieces before Paint IKEA Furniture
If you’re new to furniture repainting, it’s a good idea to practice on a small, inconspicuous piece of furniture or a wooden board. This will help you get a feel for the painting process and ensure that you’re satisfied with your chosen colors and techniques.
6. Personalize with Hardware
Don’t forget to consider hardware replacement or upgrades. Swapping out old knobs and handles with new, stylish ones can significantly enhance the overall look of your repainted furniture.
7. Patience is Key of Paint IKEA Furniture
Rushing through any step of the repainting process can lead to less-than-ideal results. Take your time, especially when it comes to drying between coats and applying the clear sealant or wax. The extra patience will pay off in the end.
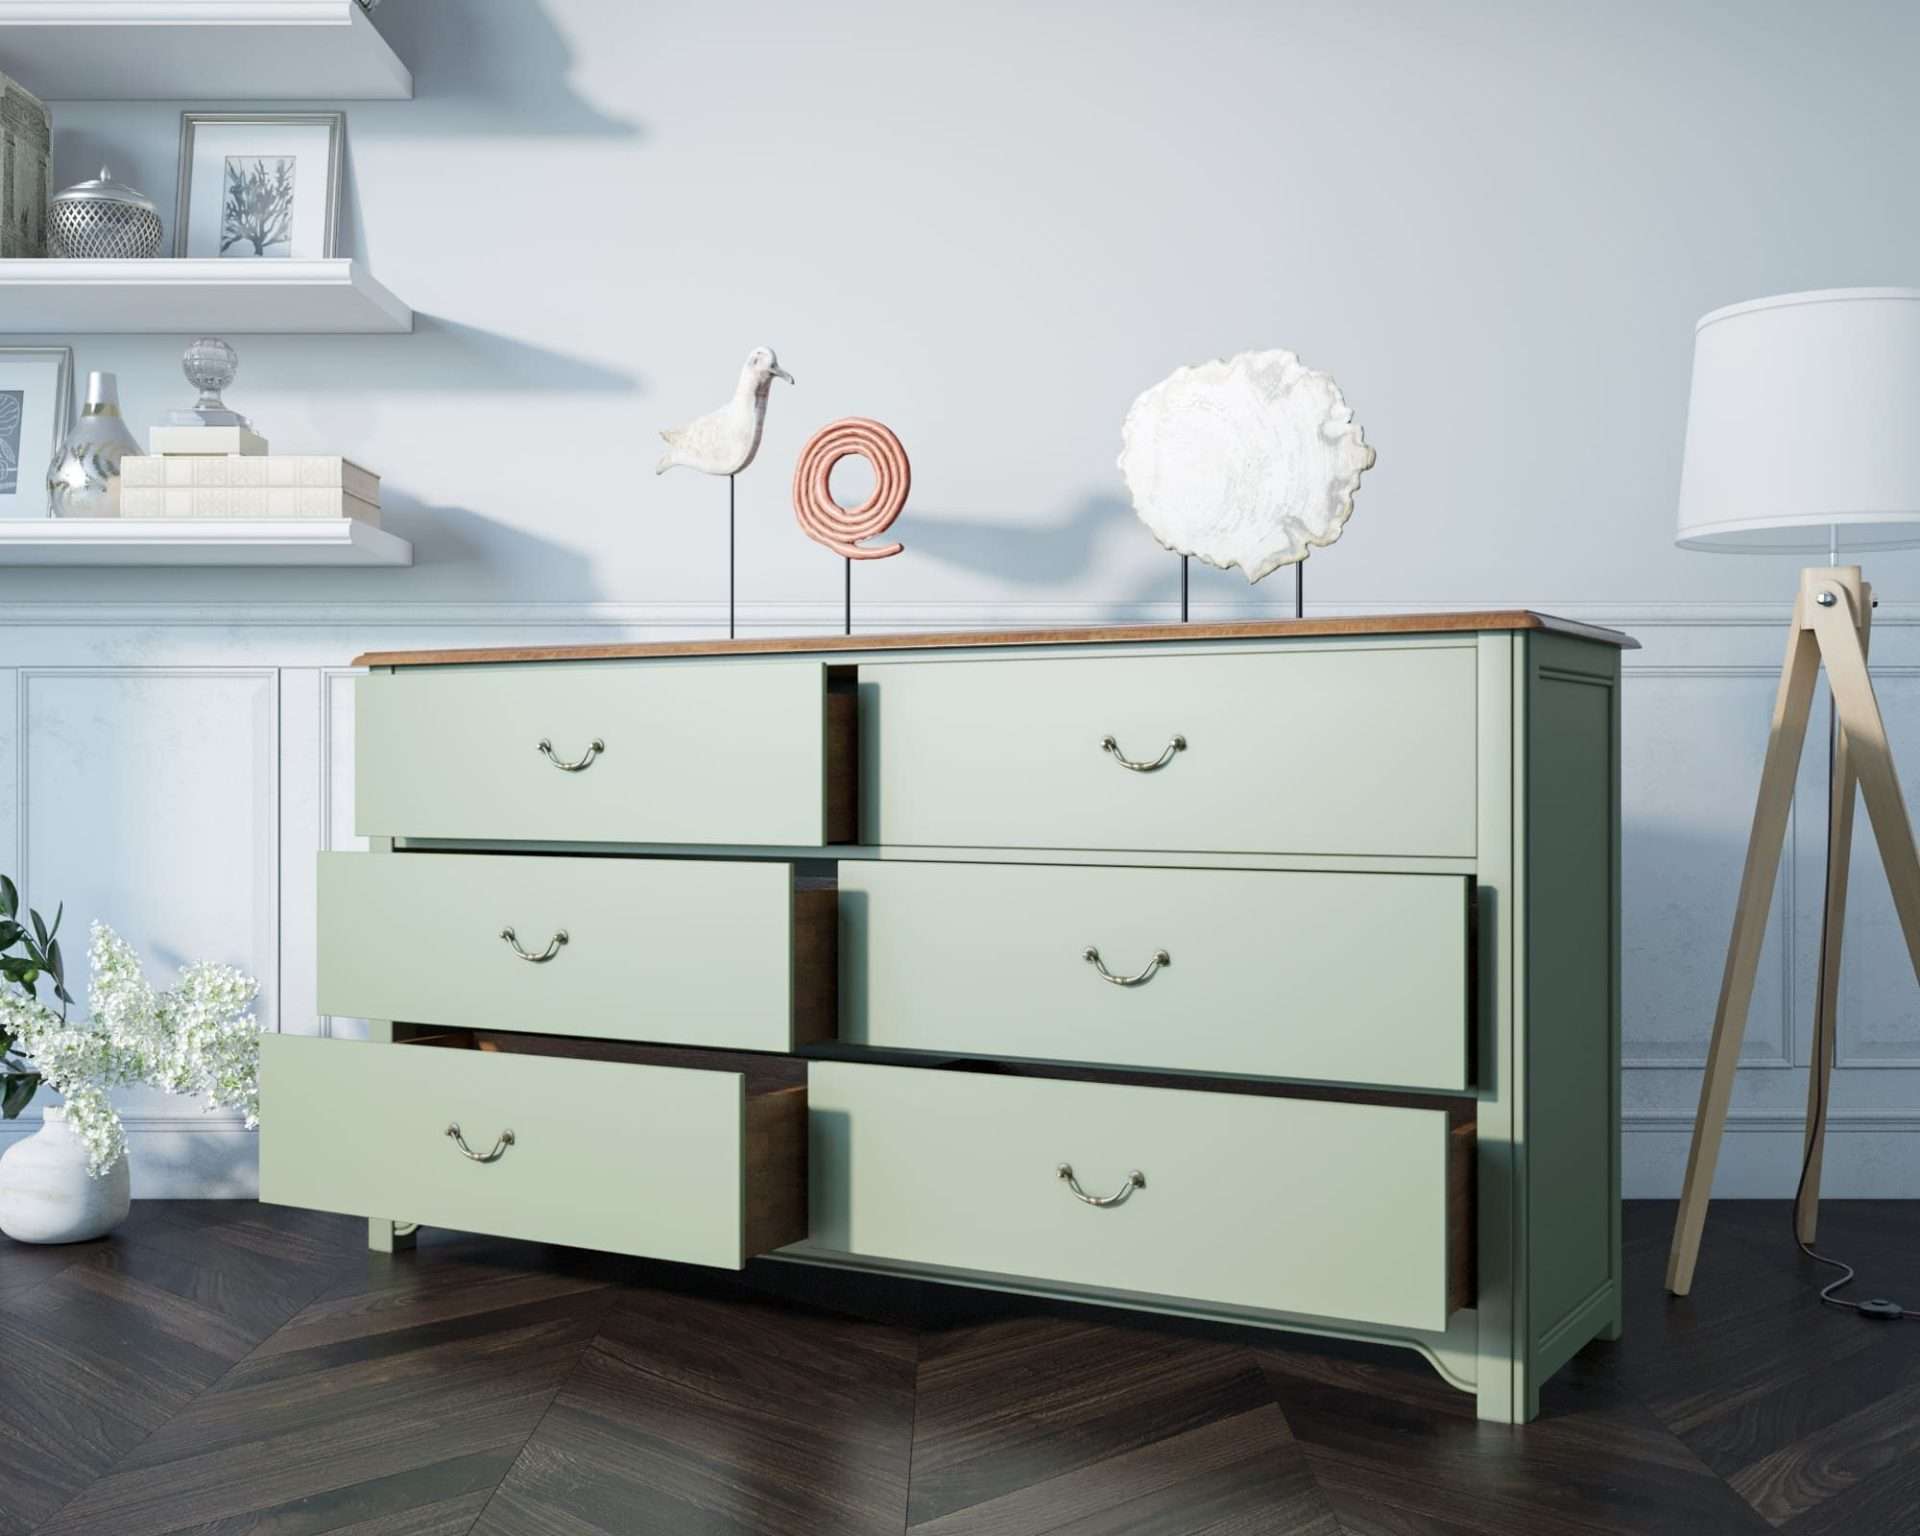
Repainting IKEA furniture is a rewarding DIY project that allows you to personalize your home decor. By following these steps and avoiding common mistakes, you can transform your plain furniture into stylish, one-of-a-kind pieces that breathe new life into your space.
FAQs
Q: Can I repaint laminate IKEA furniture?
A: Yes, you can. Follow the same steps, but be sure to use a primer specifically designed for laminate surfaces.
Q: What type of paintbrush is best for detailed work?
A: A small, angled brush is ideal for getting into corners and crevices.
Q: How long does the paint need to cure before use?
A: Allow at least one week for the paint to fully cure and harden before using the furniture regularly.
Q: Can I change the color of my IKEA furniture drastically?
A: Yes, you can change the color dramatically by using a primer and paint specifically designed to cover previous colors.
Q: Is repainting IKEA furniture cost-effective compared to buying new furniture?
A: Absolutely. Repainting your existing furniture is a budget-friendly way to update your decor and reduce waste.
Q: Is it possible to paint IKEA furniture with a glossy finish?
A: Yes, you can achieve a glossy finish by using a high-gloss paint or applying a clear gloss sealant over your chosen paint color.
Q: Can I paint IKEA furniture that has a veneer finish?
A: While it’s possible to repaint veneer furniture, it can be more challenging. Ensure you sand and prime thoroughly for the best results.
Q: What do I do if the paint begins to chip or peel over time?
If you notice chipping or peeling, lightly sand the affected area, apply a touch-up coat, and reseal it for a seamless repair.
Q: Can I distress my repainted furniture for a vintage look?
A: Absolutely. You can distress your furniture by lightly sanding the edges and corners after painting, giving it a weathered appearance.
Q: Is it safe to use repainted furniture in a nursery or children’s room?
Ensure that the paint and sealant you use are non-toxic and safe for children. It’s best to wait until the paint has fully cured before placing it in a child’s room.
