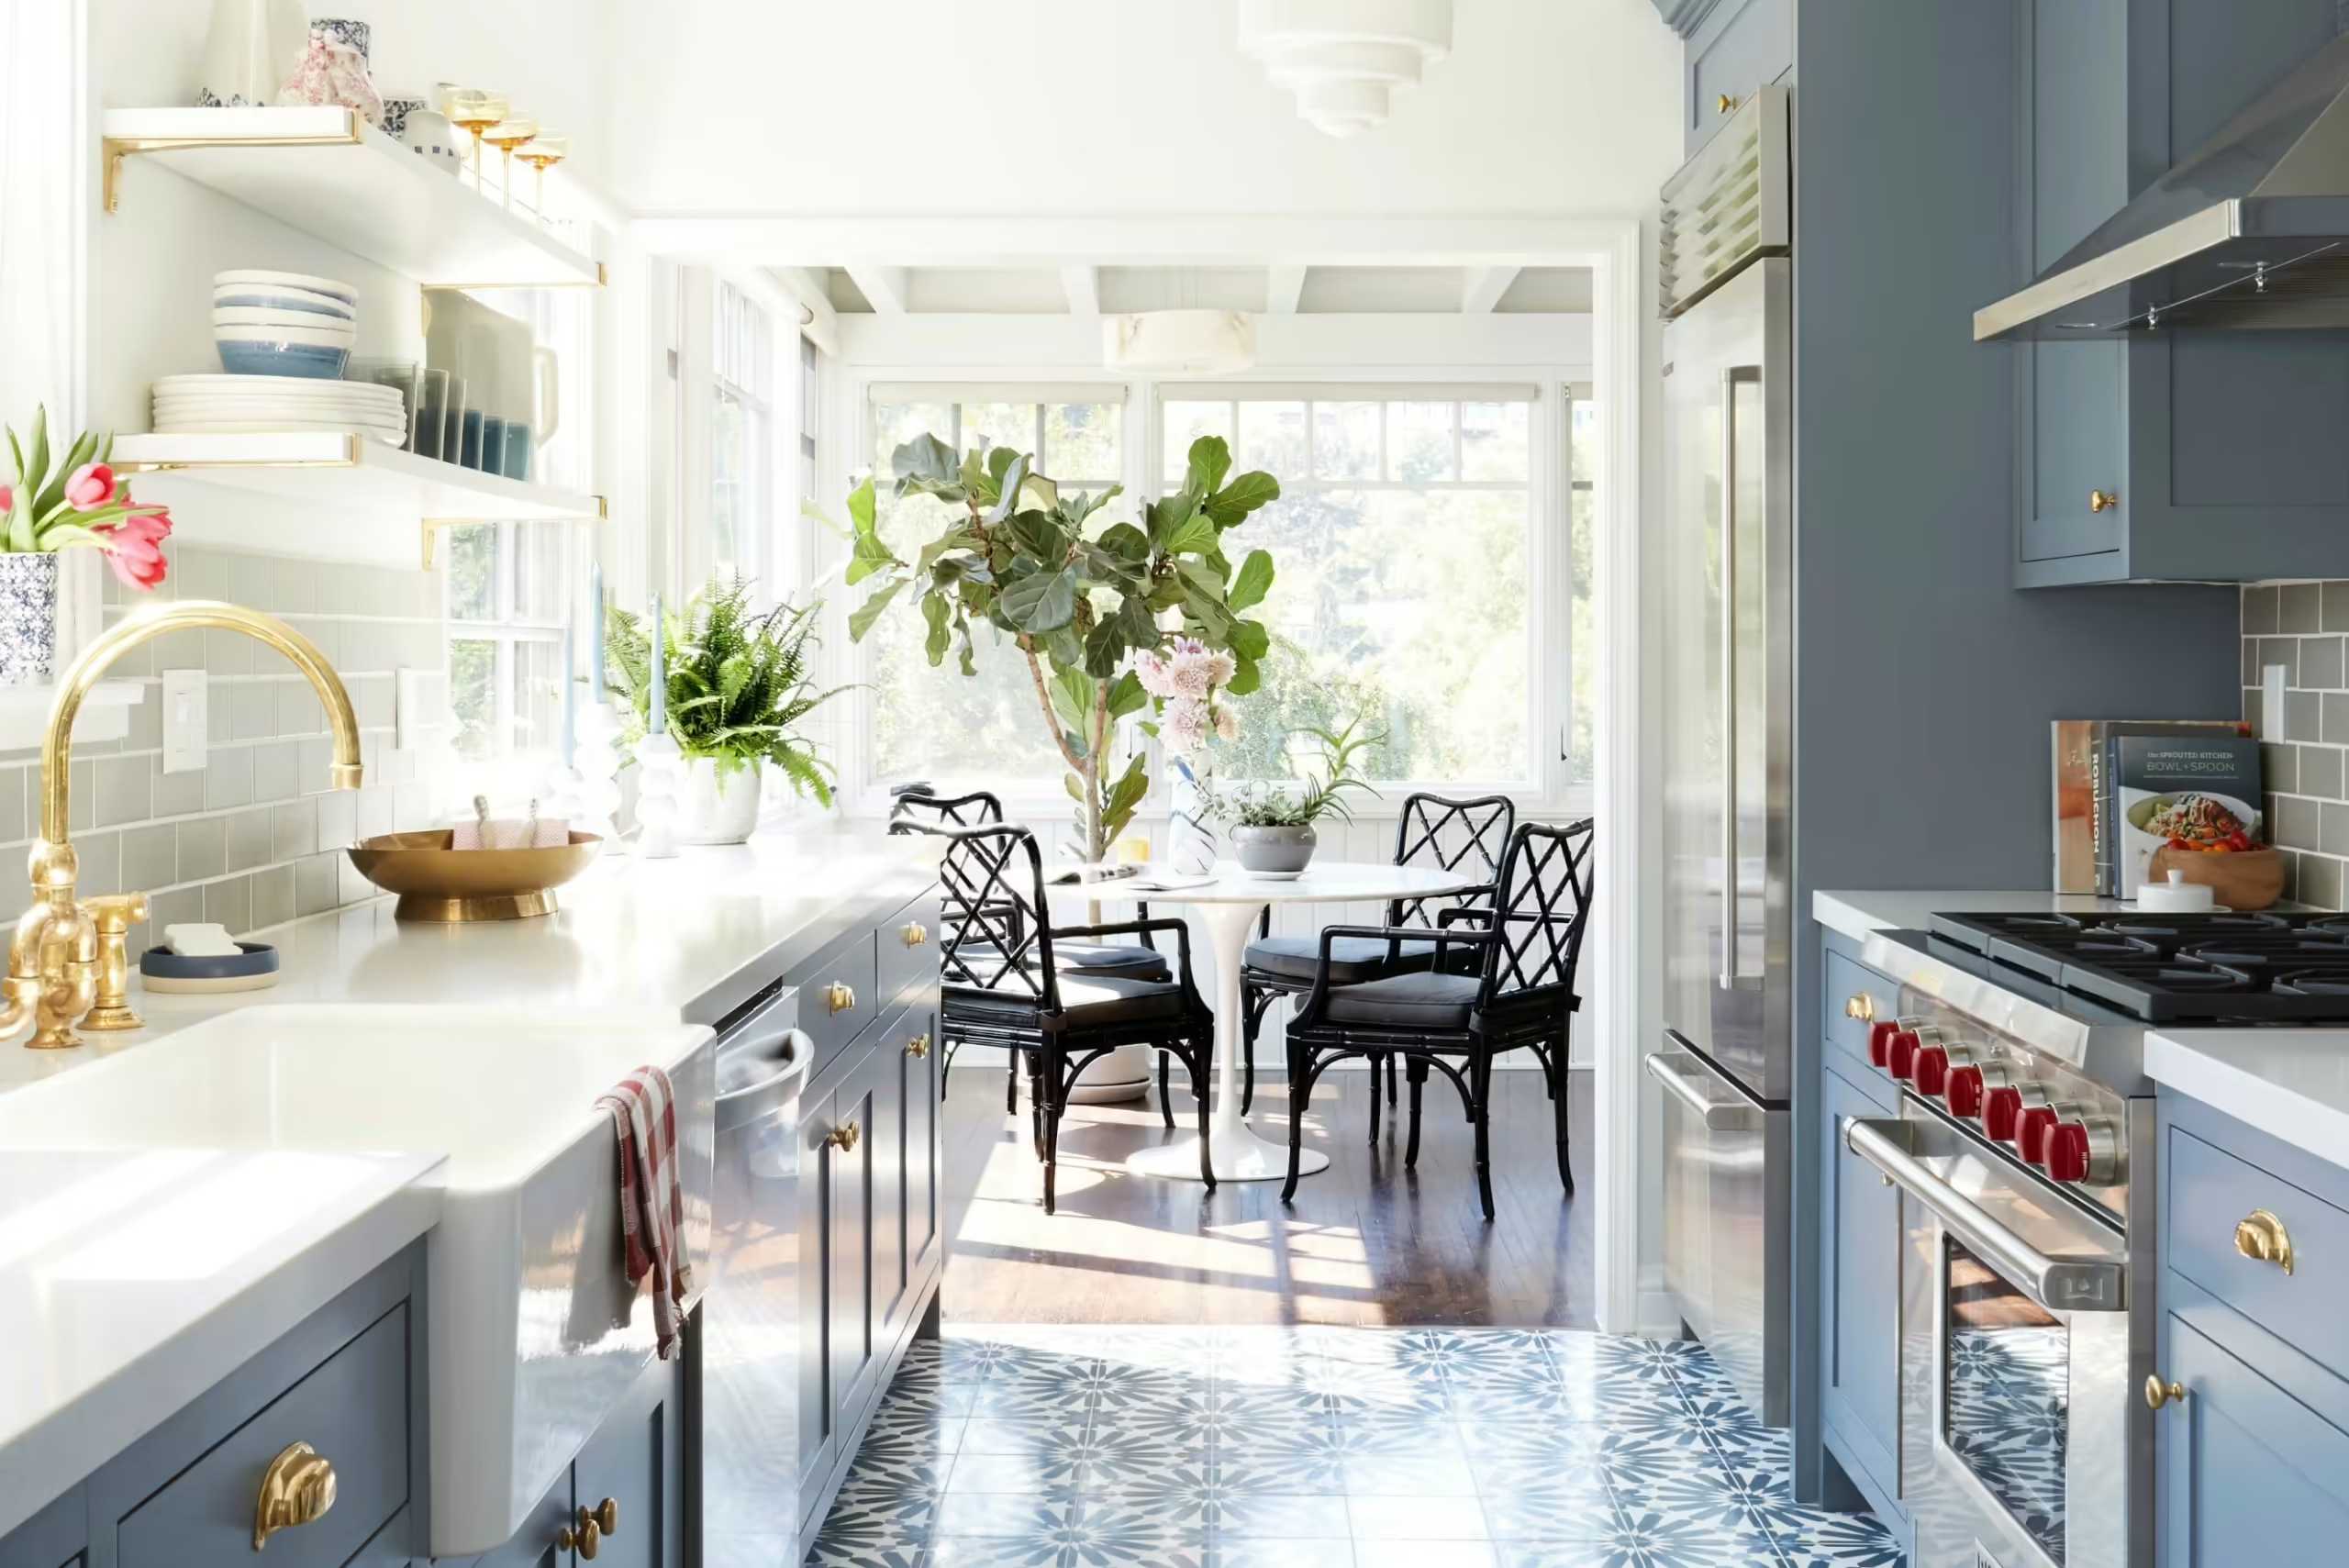
The kitchen serves as the heart of your home, and sometimes a simple paint update can breathe new life into the space. If your old IKEA kitchen cabinets are showing signs of wear, consider giving them a makeover with a fresh coat of paint. This budget-friendly and creative approach can turn your kitchen into a more modern and vibrant area. From the beginning stages to the final touches.
The easiest way to get Ikea furniture that doesn’t look like the neighbor’s is to paint it… But only if you’ve mastered the art of painting melamine or laminate furniture. For a clean, effortless (or almost effortless) hack, We explain how to repaint Ikea furniture in 6 steps. To your paintbrushes.
we’ll guide you through the process of painting your outdated IKEA kitchen cabinets in this comprehensive article.
Table of Contents
Step 1 :Organizing and Getting Ready Before Painting IKEA Kitchen
Before diving into the painting process, careful planning and thorough preparation are essential:
Assessment
Begin by evaluating the condition of your IKEA kitchen cabinets. Are there any damages, chips, or dents that need to be addressed before painting?
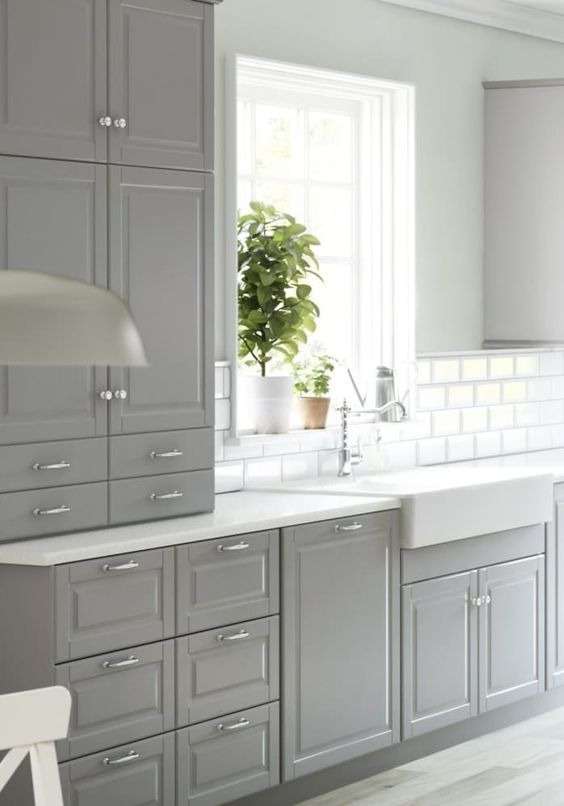
Choose a color for your IKEA Kitchen
Consider your own taste as well as the theme of your kitchen when choosing a color for your refinished IKEA kitchen cabinets. Here are some pointers to help you pick the ideal colors:
- Personal Style: Consider the hues that best suit your tastes and style. Do you go toward bold, contemporary colors or a timeless, traditional style?
- Kitchen Aesthetic: Consider the color palette and other design features of your kitchen. Pick a hue that goes well with the flooring, backsplash, countertops, and other decor in the room.
- Lighting: Give your kitchen’s lighting some thought. Each type of lighting, whether natural and artificial, may affect how a color appears. Try the color in various lighting situations.
- Neutral Hues: Gentle, neutral hues such as white, cream, beige, and gray are adaptable choices that may provide a classy and timeless ambiance. They also blend very well with many types of décor.
- Bold Statements: Consider using strong colors like deep blues, rich greens, or even a splash of red or yellow if you want to make a bold statement. These hues may give your kitchen flair and vigor.
- Contrast and Balance: Consider using other kitchen pieces to create contrast or balance. For instance, lighter cabinet colors might provide a nice contrast with dark worktops.
- Sample Testing: Get sample paint pots and use small swatches on a concealed section of the cabinet before deciding on a color. This allows you to see how the color looks in your kitchen’s lighting and how it interacts with other elements.
Materials
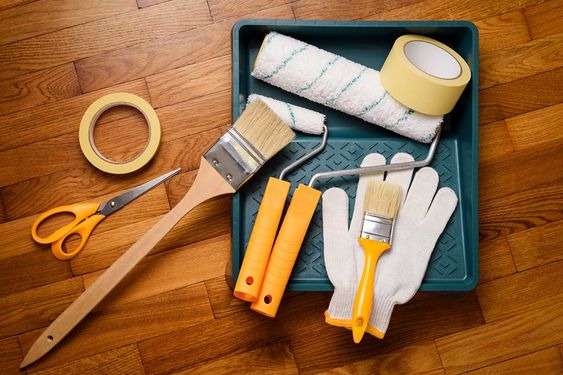
Collect every tool you’ll need, including as paint, priming, brushes or rollers, painter’s tape, sandpaper, drop cloths, and cleaning supplies.
Take away hardware
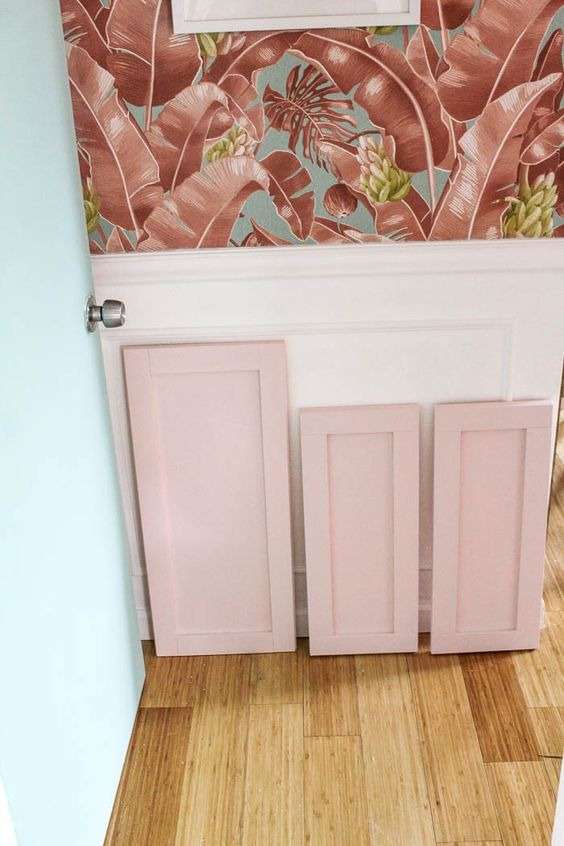
Remove the hardware, drawer fronts, and cabinet doors. To guarantee simple reassembly, label them.
Step 2 :Sanding and cleaning your IKEA Kitchen
The secret to getting a smooth finish is proper surface preparation:
Cleaning IKEA Kitchen
Use a degreaser to thoroughly clean all surfaces by eradicating dirt, grime, and grease accumulation.
Sanding IKEA Kitchen
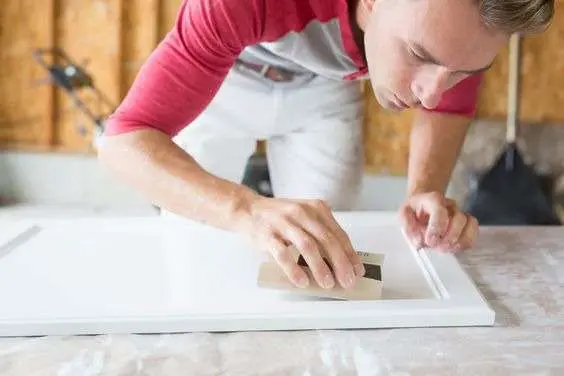
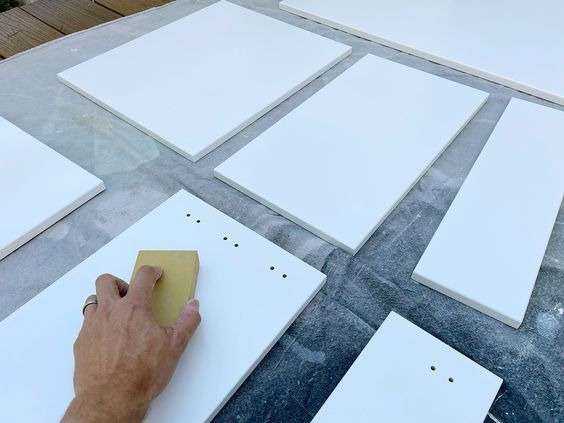
Lightly sand the surfaces to make them rougher, which will improve the paint’s adhesion. For this phase, use fine-grit sandpaper.
Step 3 :Using a primer Before Panting your IKEA Kitchen
To get a consistent and long-lasting finish, priming is essential:
Select the Correct Primer for your IKEA Kitchen
A critical step in painting your IKEA kitchen cabinets is selecting the appropriate primer. The best way to choose a primer is as follows:
- Surface Type: Take into account the composition of your cabinets. The materials used to make IKEA cabinets are frequently wood, MDF, or melamine. Verify that the primer is appropriate for the particular surface you are working with.
- Finding a primer with good adherence is important. For surfaces like melamine or laminate that could not readily receive paint, this is especially crucial.
- Stain Blocking: A primer with stain-blocking qualities will help prevent paint seeping through stains, knots, or other flaws in your cabinets.
- To guarantee better indoor air quality when working on the cabinets, choose a primer with a low odor and low volatile organic compounds (VOCs).
- Check to see if the primer is suitable with the kind of paint you intend to use. Use an oil-based primer if you’re using an oil-based paint; a water-based primer if you’re using a water-based paint.
- Primer Color: Some primers are available in a variety of hues, including white and gray. Select a primer color that complements your selected cabinet color since the color of the primer can affect the final color and look of the paint.
- Consider the primer’s drying time when calculating drying time. Some primers dry rapidly, enabling you to begin painting more quickly.
- Smooth Finish: To give your cabinets a smooth finish, choose a primer that sands smoothly to lay a smooth foundation for the paint.
- Brand Recommendations: Some paint manufacturers provide primers made especially for their paints. For best results, use a primer from the same manufacturer as the paint.
Apply Evenly
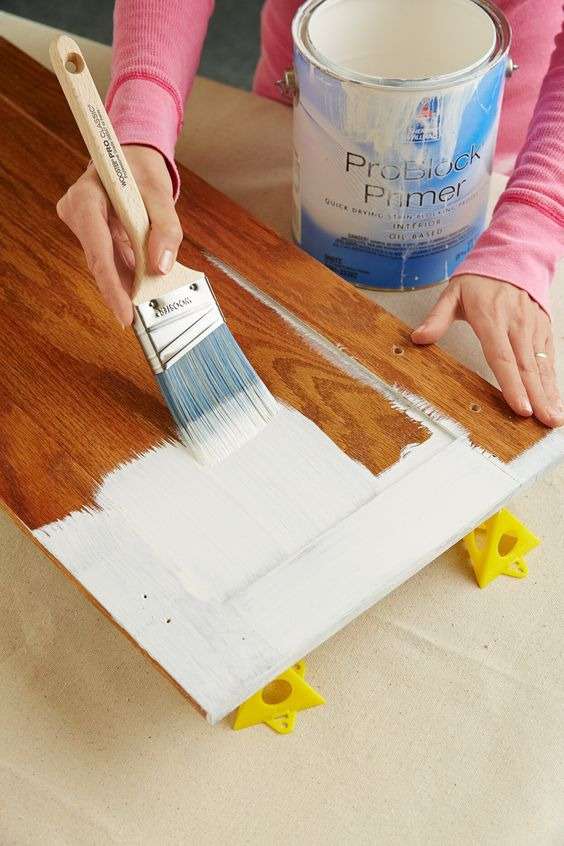
Cover all surfaces with a light, level layer of primer. According to the manufacturer’s directions, let it dry fully.
Step 4 :Painting your IKEA Kitchen
It’s time to paint when the priming has dried:
Paint Selection for your IKEA Kitchen
Select a sturdy paint that has been made for cabinets. For simple cleaning, choose a satin or semi-gloss finish.
Coat Application
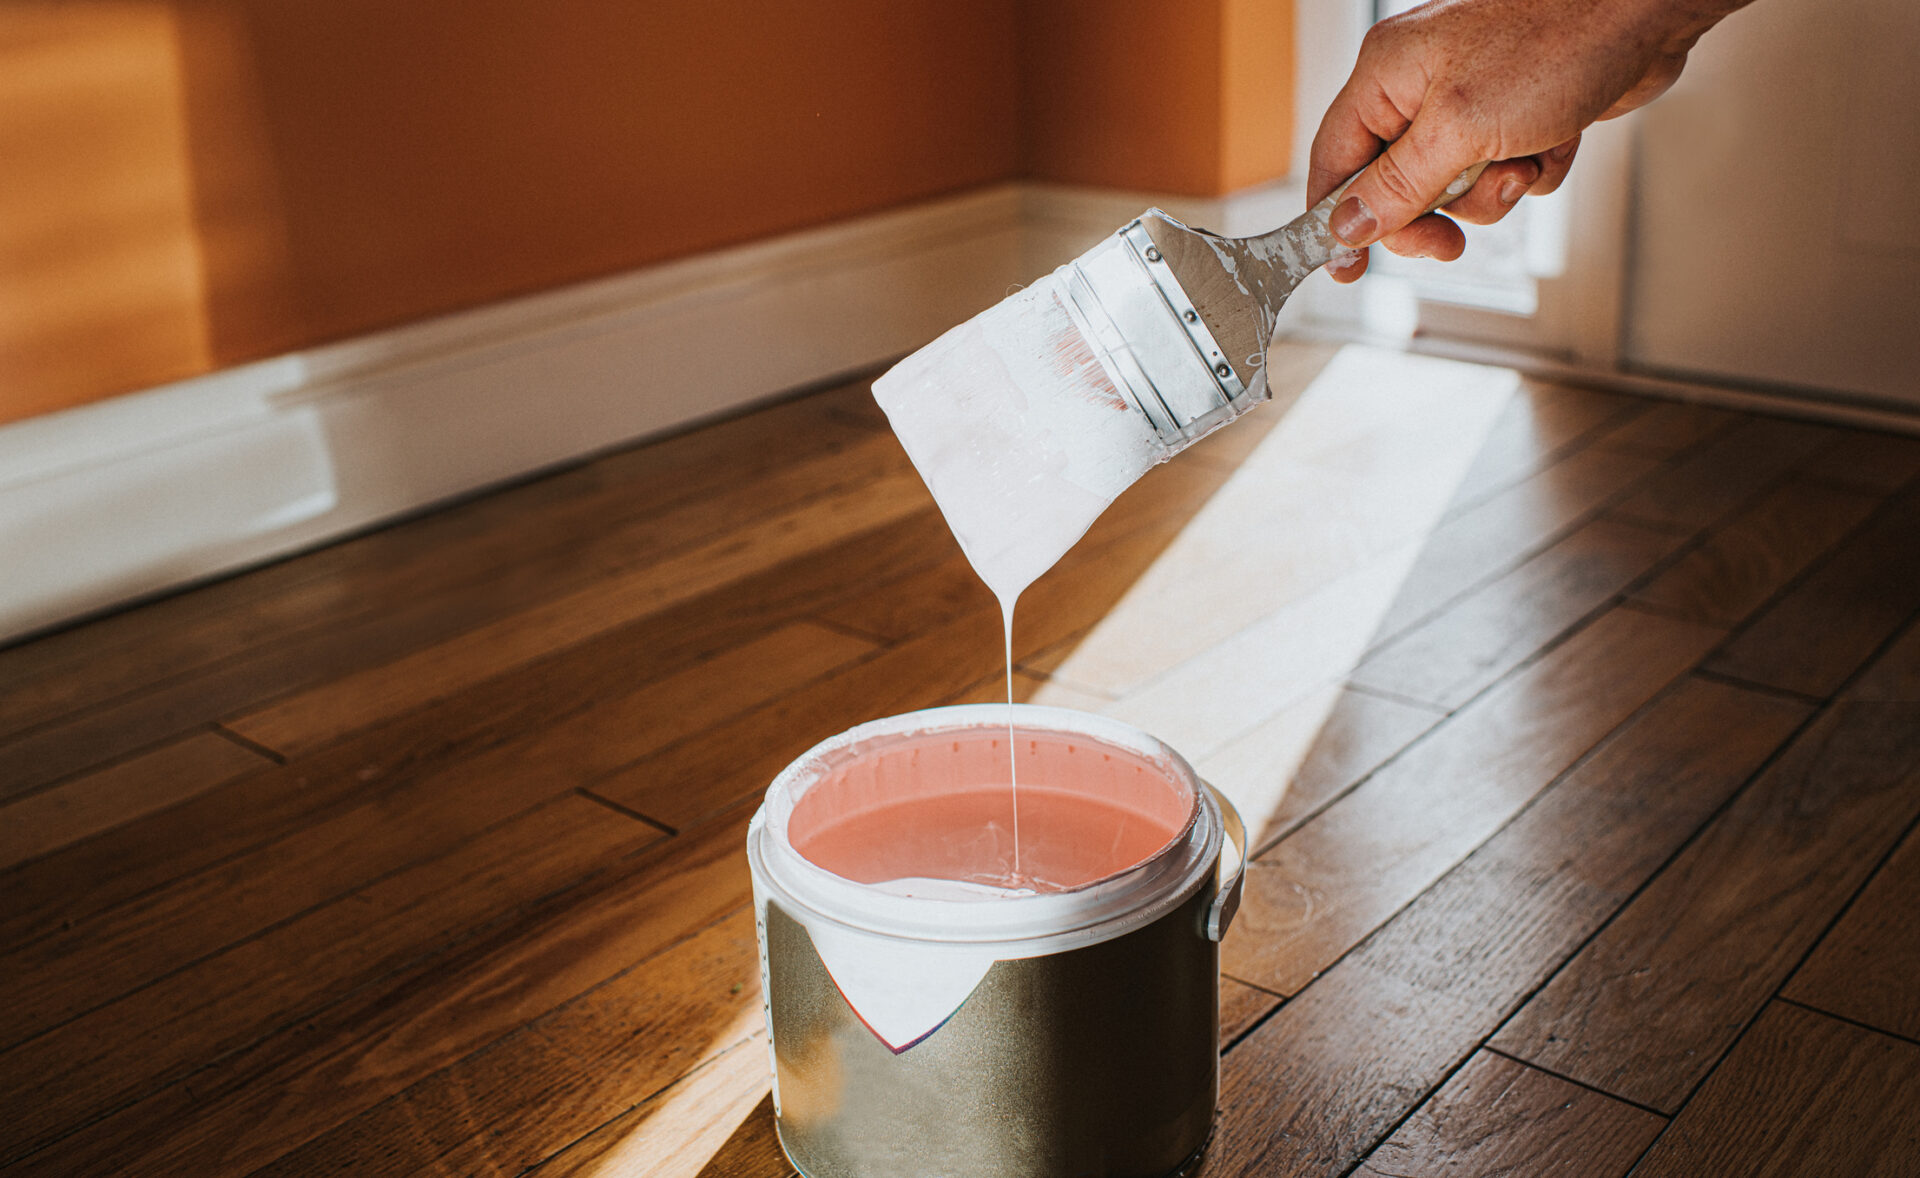
Apply a few thin, even coats of paint to the cabinet frames, drawer fronts, and doors. Before adding the next coat, let the previous one dry.
Brush or Roller
Use a high-quality brush or roller to get a smooth, polished finish. Start painting with brushstrokes that follow the direction of the grain, then lightly paint vertically.
Step 5 :The Final Touch
Pay close attention to the finishing touches while the paint dries:
Hardware Update
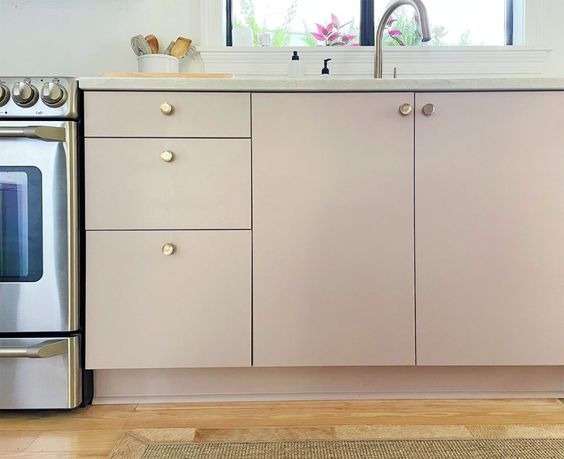
To complete the new design, think about replacing the cabinet hardware with new knobs or handles.
Reassembling
After everything has dried, replace the hardware, cabinet doors, and drawer fronts in accordance with your identified marks.

Step 6 :Appreciate And Enjoy the Transformation of your IKEA Kitchen
Step back and admire your newly painted IKEA kitchen cabinets:
Dispose of
Clean your brushes and rollers, and properly dispose of old materials.
Display Your Space
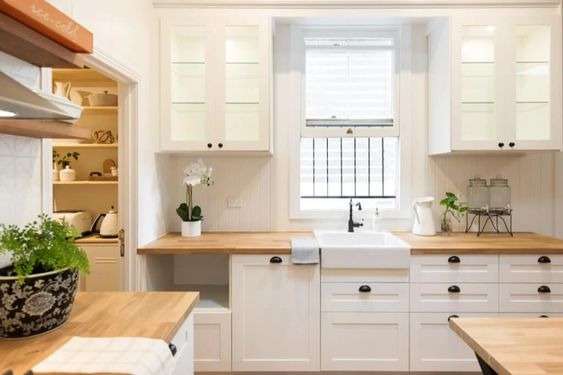
Set up and decorate your kitchen to highlight the improvement. Enjoy the feeling of success and the revitalized environment.
FAQ
Q: What is the Step 1 of Painting IKEA Kitchen?
A:Before diving into the painting process, careful planning and thorough preparation are essential .
Q:What is the Step 2 of Painting IKEA Kitchen ?
A: Step2 is proper surface preparation to getting a smooth finish .
Q: What is the Step 3 of Painting IKEA Kitchen?
A:Using a primer Before Panting your IKEA Kitchen.
Q:What is the Step 4 of Painting IKEA Kitchen ?
A: It’s time to paint when the priming has dried.
Q: What is the Step 5 of Painting IKEA Kitchen?
A:Pay close attention to the finishing touches while the paint dries .
Q:What is the Step 6 of Painting IKEA Kitchen?
A: Final Appreciate And Enjoy the Transformation of your IKEA Kitchen.
