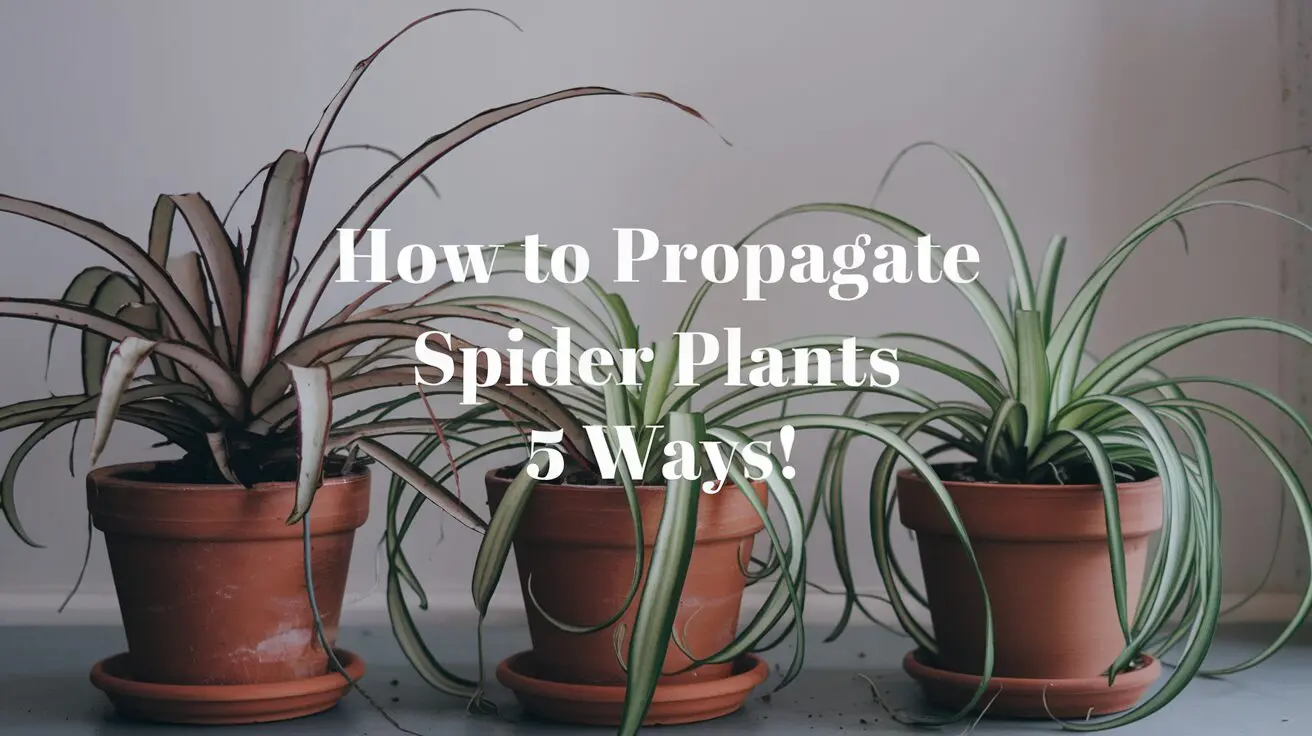
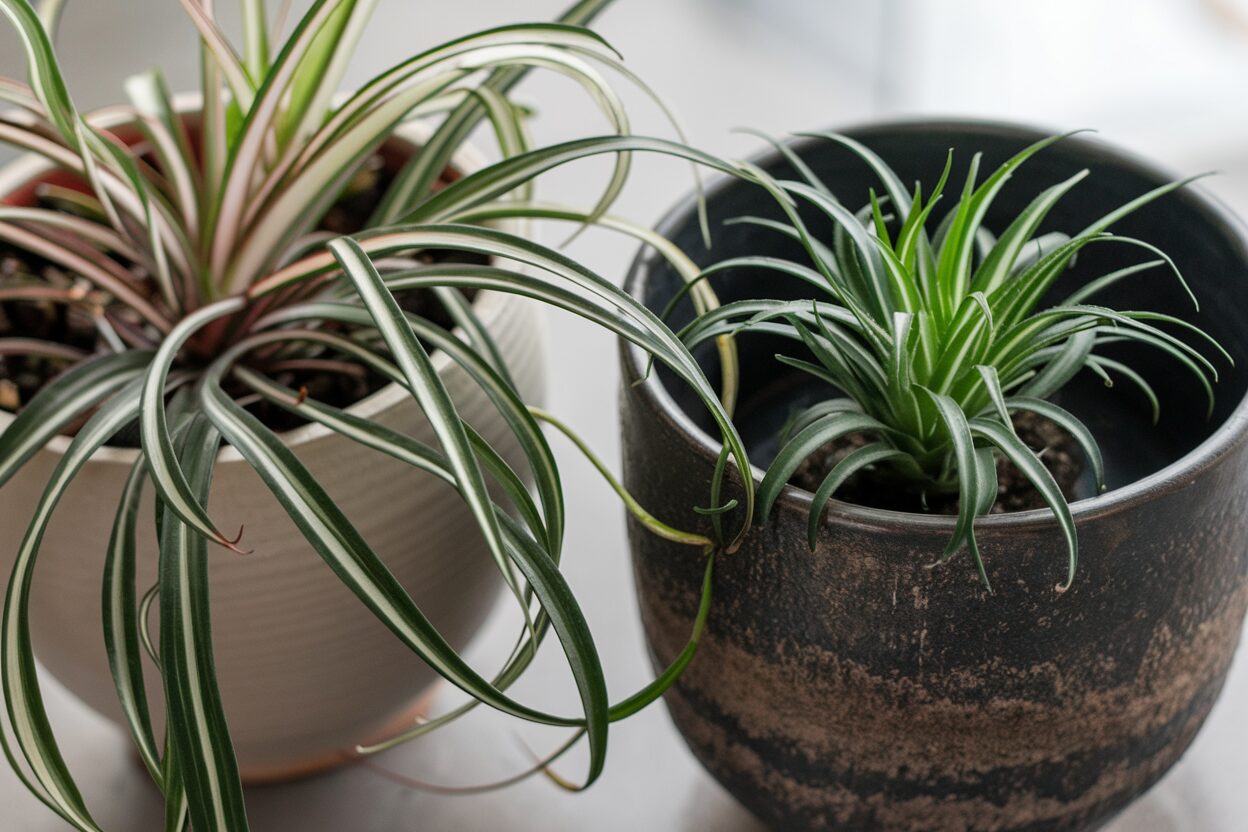
Spider plants, with their cascading foliage and adorable “babies,” are one of the easiest houseplants to grow-and even easier to propagate! Whether you’re a plant newbie or a seasoned green thumb, learning how to propagate a spider plant is a rewarding process. Why not turn one into many and fill your home with lush greenery or share some with friends? In this article, we’ll break down five foolproof methods for propagating spider plants that anyone can master. Ready to grow your spider plant family? Let’s dive in!
Why Propagate Spider Plants?
Spider plants are beloved for their low-maintenance nature and ability to purify the air. Propagating them is not only budget-friendly but also a fun way to cultivate more plants for your indoor jungle. Plus, watching those tiny spiderettes (plant babies) root and thrive gives any plant parent a sense of accomplishment!
When to Propagate Spider Plants
The best time to propagate spider plants is during the spring or summer when the plant is actively growing. Spider plants typically produce spiderettes (plantlets) after their first year, especially when they are well-nourished and healthy. Pruning sessions offer an excellent opportunity to propagate, as you can trim runners and use the spiderettes for new plants.
Tools and Supplies for Spider Plant Propagation
Before beginning, gather these tools and materials for successful spider plant propagation:
- Sharp Knife or Pruning Shears: Sanitize your tools with rubbing alcohol to prevent the spread of pests and diseases.
- 4-inch Pots with Drainage Holes: Use one pot for each new spiderette or plant division.
- Well-Draining Potting Soil: Opt for a lightweight, organic mix designed for houseplants.
- Clear Glass Jar (for Water Propagation): Use distilled or rainwater, as tap water can contain harmful chemicals.
1. Water Propagation
The Simple and Satisfying Method
If you’re new to plant propagation, water propagation is one of the easiest methods to get started. This technique allows you to watch the roots grow right before your eyes, which is incredibly satisfying.
Here’s how you can do it:
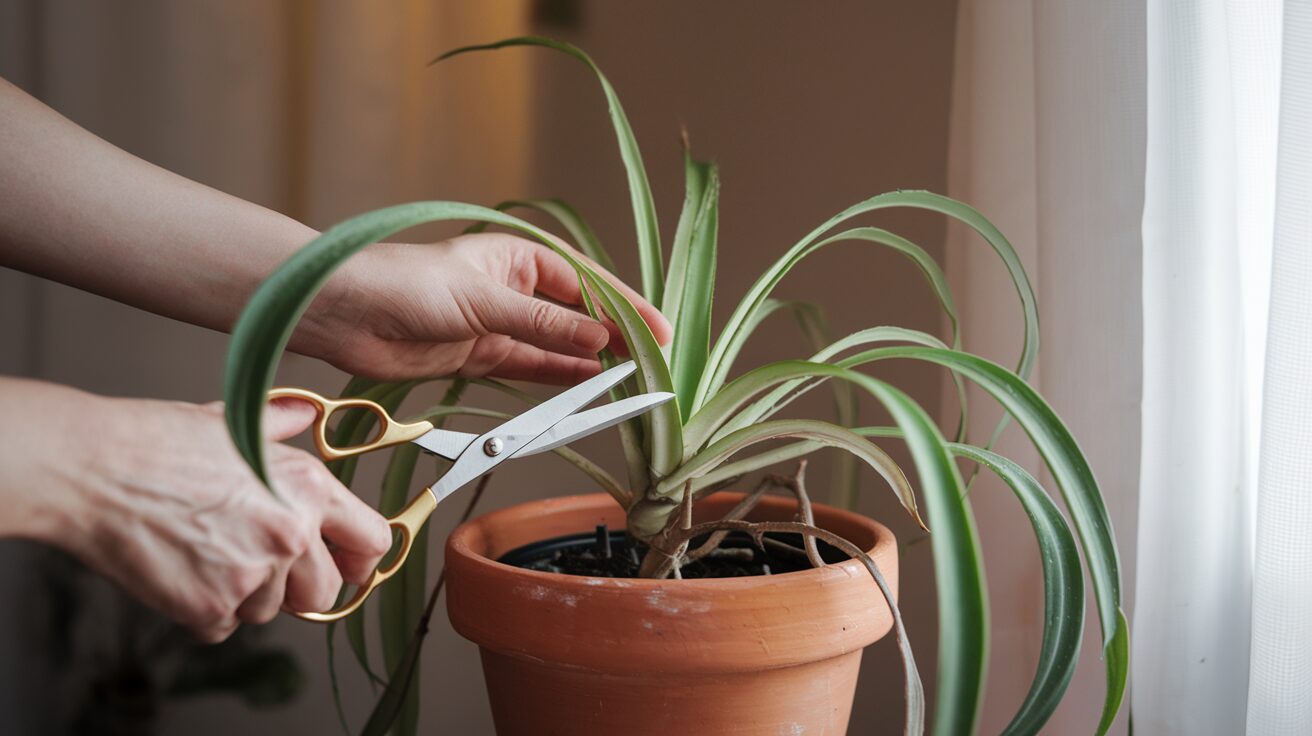
- Identify a Healthy Spiderette: Look for a spiderette (the baby plant) attached to the mother plant. Ensure it has a few small roots already visible.
- Snip Carefully: Using sterilized scissors, snip the spiderette just below where it attaches to the mother plant.
- Place in Water: Submerge the bottom of the spiderette (where the roots are) in a glass of water. Make sure only the roots are in the water, not the leaves.
- Wait for Root Growth: Change the water every few days, and within 1-2 weeks, you should see more roots developing. Once the roots are a couple of inches long, it’s time to plant it in soil!
Why Choose Water Propagation?
This method is excellent because you can monitor root growth, and it’s an engaging project for kids or beginner gardeners. The key to success is patience and keeping the water fresh!
2. Soil Propagation
The Classic and Direct Approach
If you’d prefer to skip the water stage and go straight to soil, soil propagation is another effective way to grow a spider plant. With this method, you’re planting your spiderette directly into soil, allowing it to establish itself without a middle step.
Here’s how to do it:
- Select a Healthy Spiderette: As with water propagation, pick a spiderette that has visible roots.
- Plant in Soil: Use a small pot filled with well-draining potting soil. Make a small hole, place the spiderette in it, and gently pat the soil around it.
- Water the Plant: Water the new plant lightly, just enough to moisten the soil.
- Wait for Growth: Within a few weeks, the spiderette will establish roots and begin to grow into a mature plant.
Why Go Straight to Soil?
Soil propagation is faster since you skip the rooting-in-water step. Plus, it’s less work in the long run since you won’t need to transplant later.
3. Rooting in Place
Let the Spiderette Stay Attached
Did you know you can let the spiderette root without cutting it off from the mother plant? This method, known as rooting in place, allows the baby to grow roots while it’s still getting nutrients from the mother plant.
Here’s how it works:
- Position the Spiderette: Gently bend the spiderette down toward a small pot of soil placed near the mother plant.
- Secure it in Place: Without detaching it, secure the spiderette onto the soil using a small wire, paperclip, or even a stone to keep it steady.
- Watch it Grow: Over time, the baby will start to grow roots in the soil while still being nourished by the mother. Once it’s established (about 4-6 weeks), you can snip the stem connecting it to the mother plant.
Why Try Rooting in Place?
This technique is perfect if you want to minimize the stress on the baby plant. Since it’s still getting nutrients from the mother, it’s less likely to fail during propagation.
4. Division Propagation
Split the Plant for Double the Greenery
If your spider plant has become massive and seems too big for its pot, division propagation is a great way to give it new life-and more space!
Here’s how to do it:
- Remove the Mother Plant from its Pot: Gently take your spider plant out of its pot. You’ll notice it has many clumps of roots.
- Separate the Clumps: Carefully divide the plant into two or more sections, making sure each section has plenty of roots and leaves.
- Replant Each Section: Place each section into its own pot filled with fresh soil. Water lightly to help the plant settle into its new home.
Why Divide Your Spider Plant?
This method is ideal for overgrown plants that need a refresh. Plus, you instantly get more plants to decorate your home!
5. Offshoot Propagation
Propagating Older Plants from Offshoots
Sometimes, spider plants produce large offshoots or plantlets that are basically small replicas of the mother plant. These are easy to propagate and already have a head start in life.
Here’s what to do:
- Locate the Offshoots: Look for the larger offshoots that may already have small roots.
- Cut and Plant: Cut the offshoots from the mother plant and plant them directly into soil. Water lightly, and you’ll have a brand-new plant in no time!
Why Offshoot Propagation?
This method is quick and easy since the offshoots are already well-developed. You’re almost guaranteed success!
Post-Propagation Care for Baby Spider Plants
Caring for your newly propagated spider plants is essential for their long-term health. Follow these guidelines to ensure they grow strong and vibrant:
- Light: Place the plants in a location with bright, indirect light. Avoid direct sunlight, which can scorch the leaves.
- Water: Keep the soil consistently moist, but not soggy. Water when the top half of the soil feels dry.
- Humidity: Spider plants prefer humid environments. Mist the plants regularly or place them near a humidifier to enhance moisture levels.
- Fertilize: During the growing season (spring and summer), fertilize monthly with a diluted liquid fertilizer.
- Monitor for Pests and Diseases: Keep an eye out for yellow or brown leaves, which may indicate overwatering, direct sun exposure, or chemical damage.

Learning how to propagate a spider plant: 5 smart & easy ways is not only fun but also an excellent way to expand your plant collection without spending a dime! Whether you choose water propagation, soil propagation, or any of the other methods, your spider plants will thrive and grow into beautiful, healthy additions to your indoor garden. So, grab your scissors and pots-let’s get propagating!
FAQs
How long does it take for spiderettes to root in water?
Typically, spiderettes take about 1-2 weeks to develop strong roots when propagated in water. Be sure to change the water frequently to keep it fresh!
Is it better to propagate spider plants in water or soil?
Soil propagation is preferable as it results in stronger roots. However, water propagation can be faster if you want to observe root growth before planting.
Can I propagate a spider plant without roots?
Yes, spiderettes without visible roots can still be propagated, but the success rate is higher if they have tiny rootlets. Just be patient!
How often should I water newly propagated spider plants?
After propagation, water your spider plant lightly, ensuring the soil stays slightly moist but not soggy. Overwatering can lead to root rot, so moderation is key!
Why is my spider plant not producing spiderettes?
Lack of spiderettes is often due to underwatering, insufficient light, or the plant being rootbound.
Can I propagate spider plants year-round?
Yes! Spider plants are resilient and can be propagated any time of the year. However, spring and summer tend to yield faster results because of the warmer temperatures and increased light.
