Pumpkin carving is one of the most enjoyable ways to celebrate fall, decorate your front porch, and bring a little Halloween magic into your home. Whether you’re a beginner looking for a simple jack-o’-lantern or a creative decorator ready to try something unusual, these easy pumpkin carving ideas offer inspiration for every skill level.
From classic smiling faces and spooky monsters to cozy fall leaves, adorable animal designs, and festive Christmas patterns, there’s something here for everyone. You don’t need expensive tools or professional carving skills, either. With a fresh pumpkin, a few household supplies, and a little imagination, you can create decorations that look wonderful during the day and glow beautifully after dark.
Ready to find your favorite design? Let’s explore 40+ pumpkin carving ideas you can try this year!
Table of Contents
Classic Easy Pumpkin Carving Ideas
Classic jack-o’-lanterns never go out of style. They’re easy to customize, look fantastic with a candle or LED light inside, and work well for both small and large pumpkins. If you’re new to carving, start with one of these familiar designs.
Traditional Smiling Jack-o’-Lantern
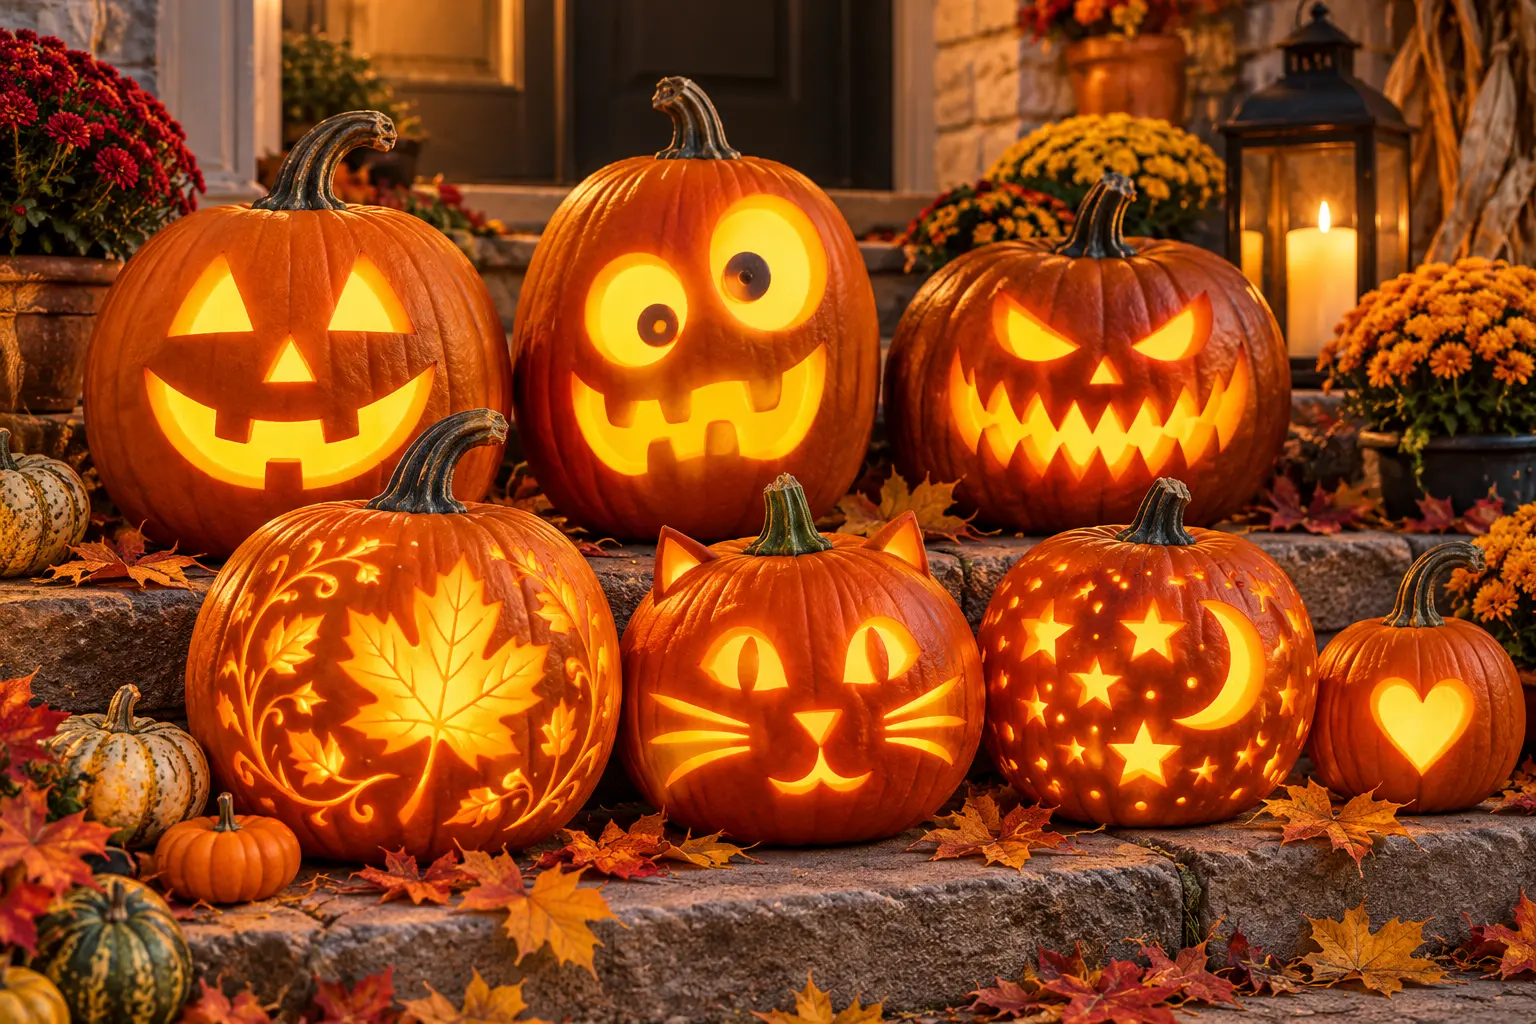
You can’t go wrong with a classic jack-o’-lantern. Carve two triangular eyes, a small triangular nose, and a wide, cheerful smile with a few square teeth.
How to make it: Draw the face with a washable marker before cutting. Keep the shapes large and simple so the pumpkin is easy to carve. Add an LED candle to make the smile glow warmly at night.
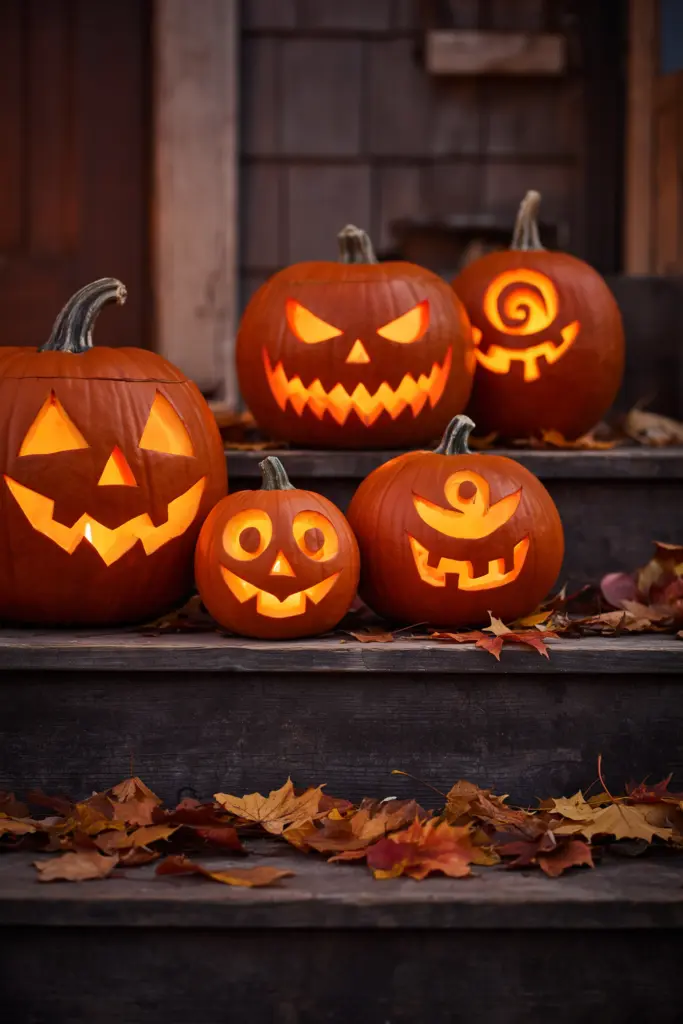
Happy Round-Eyed Pumpkin
For a softer, friendlier look, swap triangular eyes for two large circles and carve a small curved smile. This design is especially suitable for family-friendly Halloween decorations.
Use an apple corer or a small carving tool to make the eyes symmetrical. You can also leave the nose uncarved for an even simpler face.
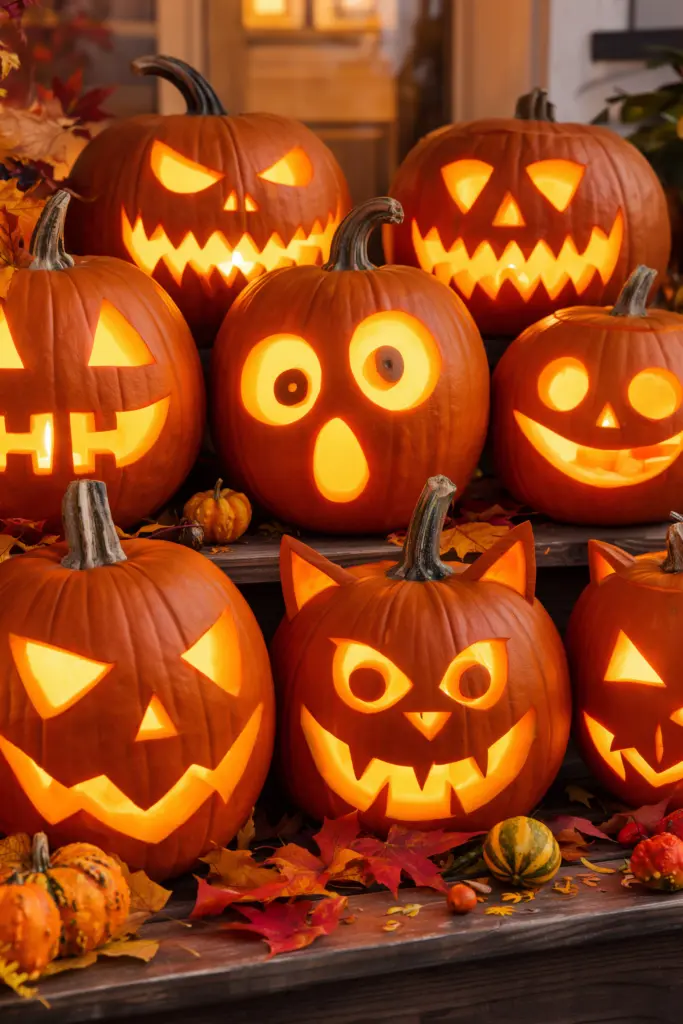
Spooky Glowing Pumpkin
Want something a little more frightening? Create narrow eyes, sharply angled eyebrows, and an uneven grin with pointed teeth. The expression will look especially dramatic when illuminated in a dark setting.
Beginner tip: Draw the eyebrows as part of the eye shapes instead of carving several tiny details. This makes the design easier to cut while preserving its spooky expression.
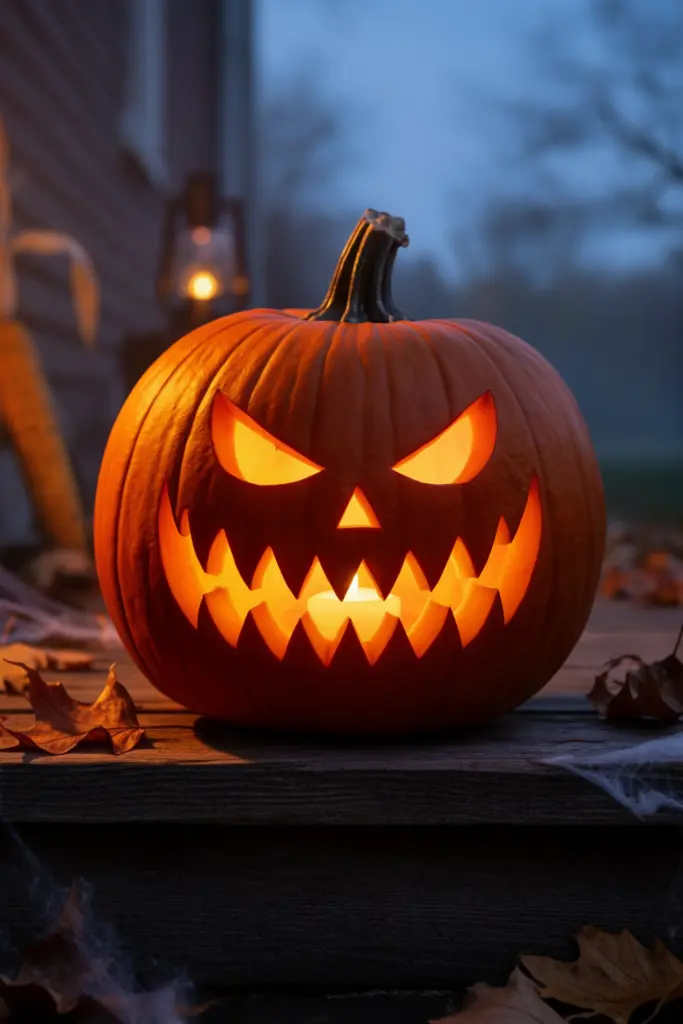
One-Eyed Monster Pumpkin
A one-eyed monster is a fun alternative to the traditional jack-o’-lantern. Carve one large circular eye in the center and give the monster a crooked mouth or a few oversized teeth.
For extra personality, attach a paper horn or felt ears to the outside. These accessories add character without requiring complicated carving.
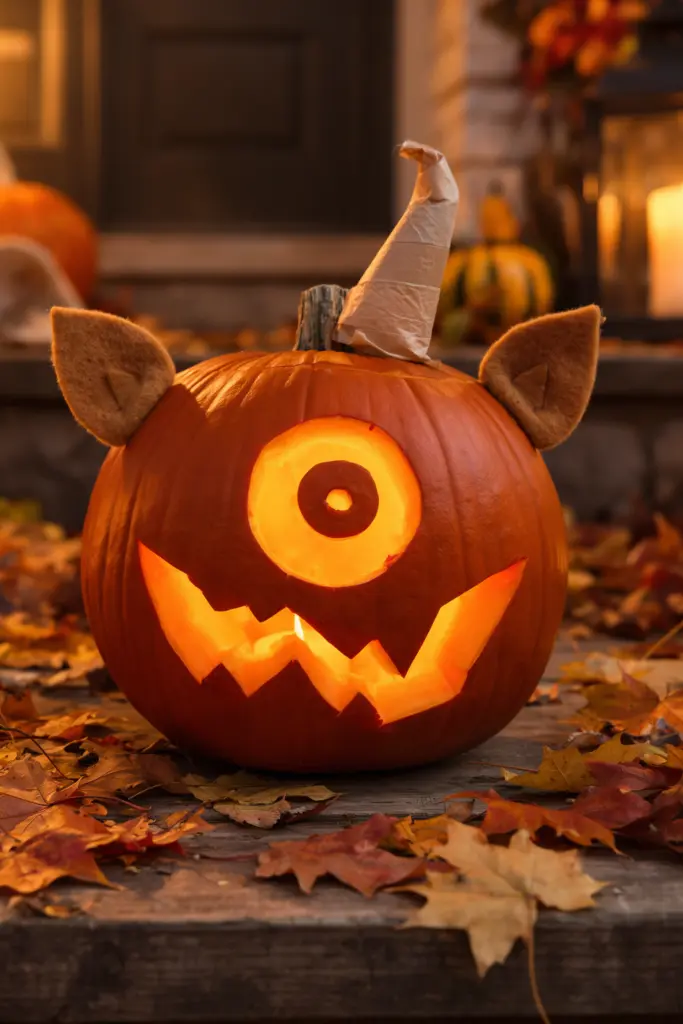
Pumpkin with a Wide Open Mouth
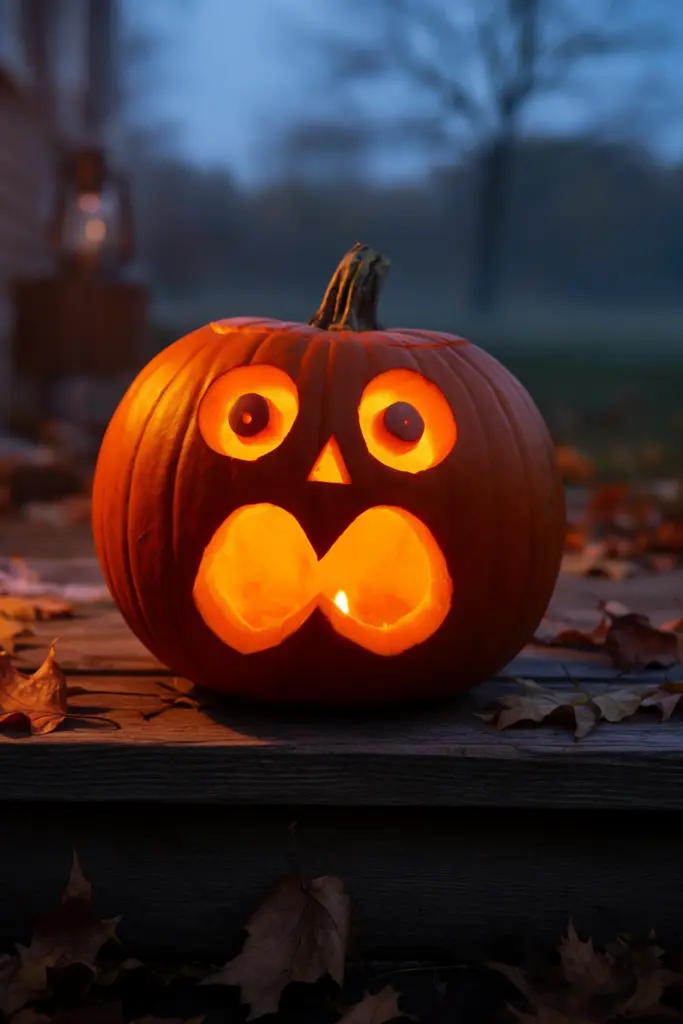
This expressive design looks as if the pumpkin has just seen a ghost! Carve large eyes and an oversized oval mouth, leaving a little pumpkin flesh around the edges for definition.
You can make the mouth round, square, or slightly crooked. A wide opening also allows plenty of light to escape, creating a bright Halloween display.
Cute and Funny Pumpkin Carving Ideas
Not every Halloween pumpkin needs to look frightening. Cute and funny designs are perfect for decorating a family home, welcoming trick-or-treaters, or creating a playful autumn display.
Friendly Ghost Pumpkin
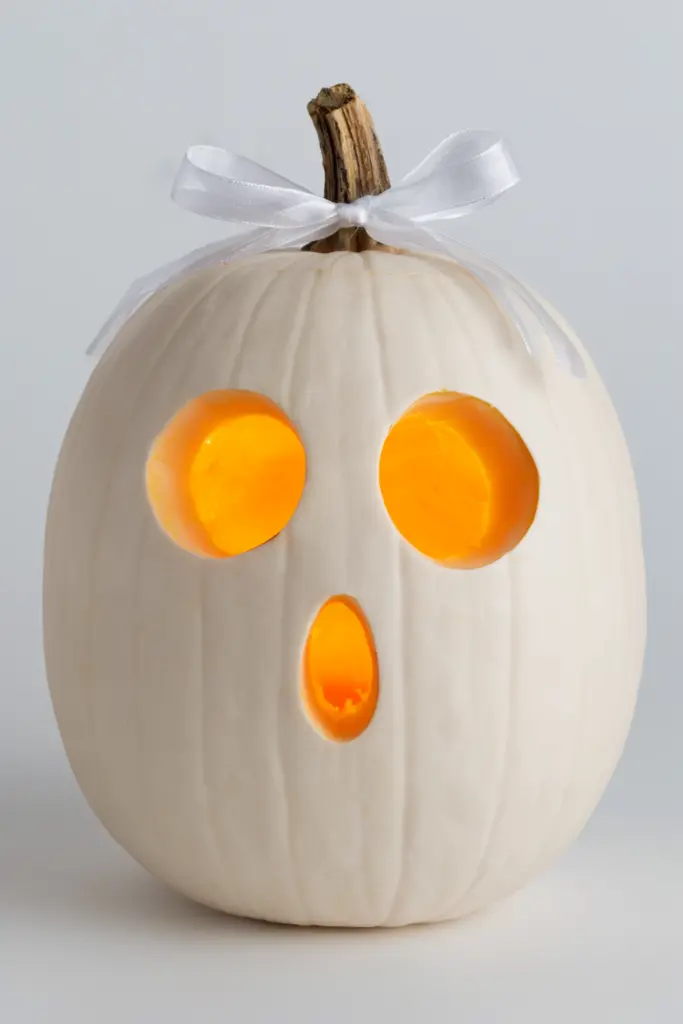
Give your pumpkin a ghostly personality with rounded eyes and a small, surprised mouth. A white pumpkin is ideal, although an orange one works just as well.
For an easy finishing touch, add a white ribbon or lightweight fabric around the stem. Keep loose fabric away from candles and other heat sources.
Silly Buck-Toothed Pumpkin
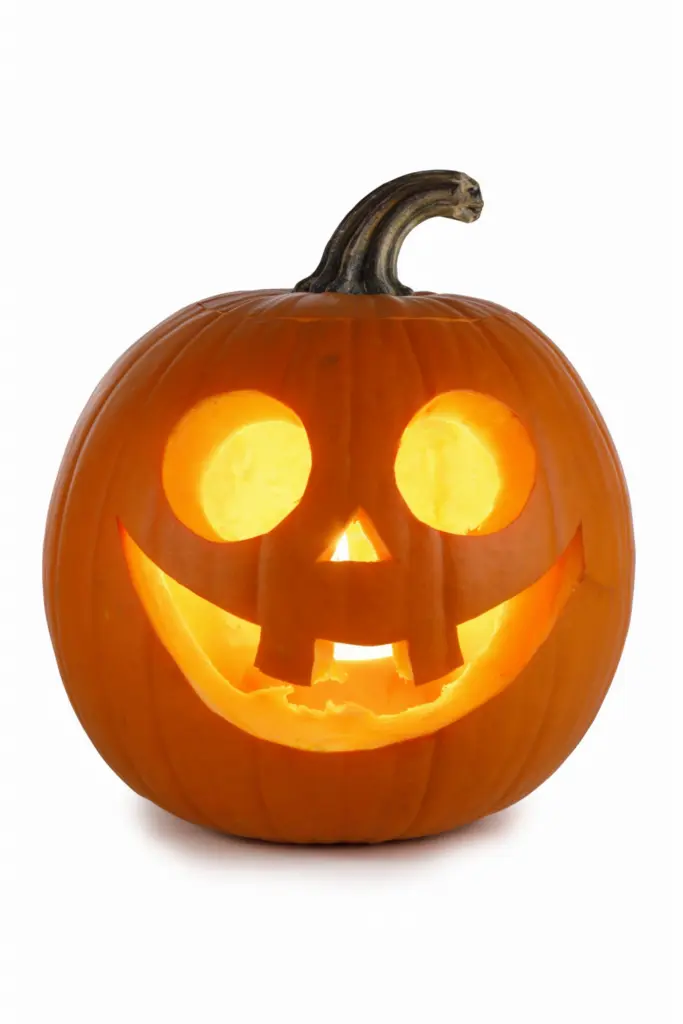
This funny design is guaranteed to attract attention. Carve two large eyes and a broad mouth, but leave two rectangular sections of pumpkin flesh uncut to create oversized front teeth.
It’s a great choice if you want a humorous decoration rather than a frightening one. Slightly uneven teeth can make the expression even more entertaining.
Monster Pumpkin with Big Eyes
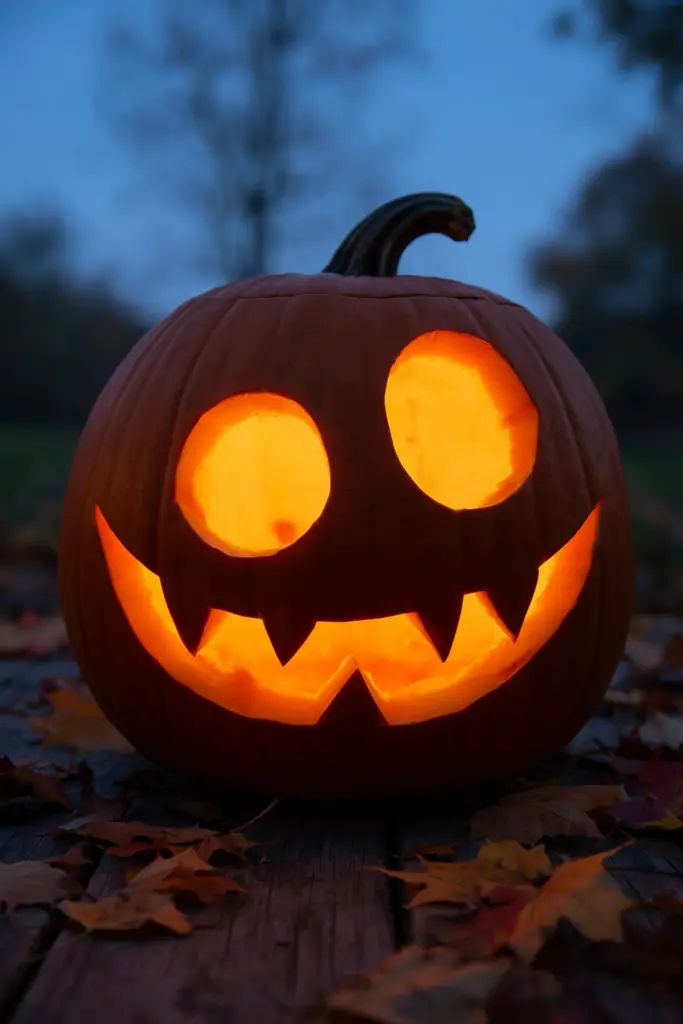
Create a lovable monster using two enormous eyes, a wide mouth, and a few pointed teeth. You can make the eyes different sizes to give your pumpkin a quirky personality.
For a no-carve variation, attach large craft eyes to an uncut pumpkin and paint a silly mouth on its surface.
Pumpkin with Button Eyes
Turn a pumpkin into a playful character by creating round button-like eyes and a stitched-looking mouth. Small circular cuts can mimic buttons, while short, shallow marks create the appearance of stitches.
Keep the cuts far enough apart to prevent thin sections of pumpkin skin from breaking. This design works particularly well on medium-sized pumpkins.
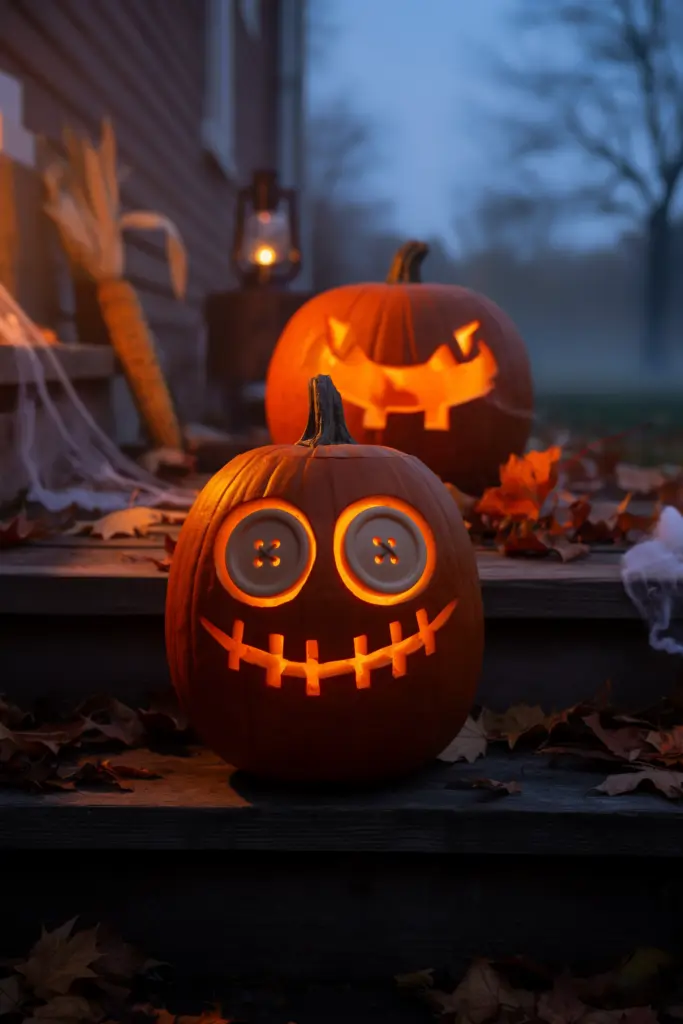
Silly Surprise Face
Give your pumpkin a permanently surprised expression with two round eyes, raised-looking eyebrows, and a tiny O-shaped mouth.
It’s one of the simplest designs to create because it requires only a handful of cuts. Place it beside a more traditional jack-o’-lantern for a fun Halloween display.
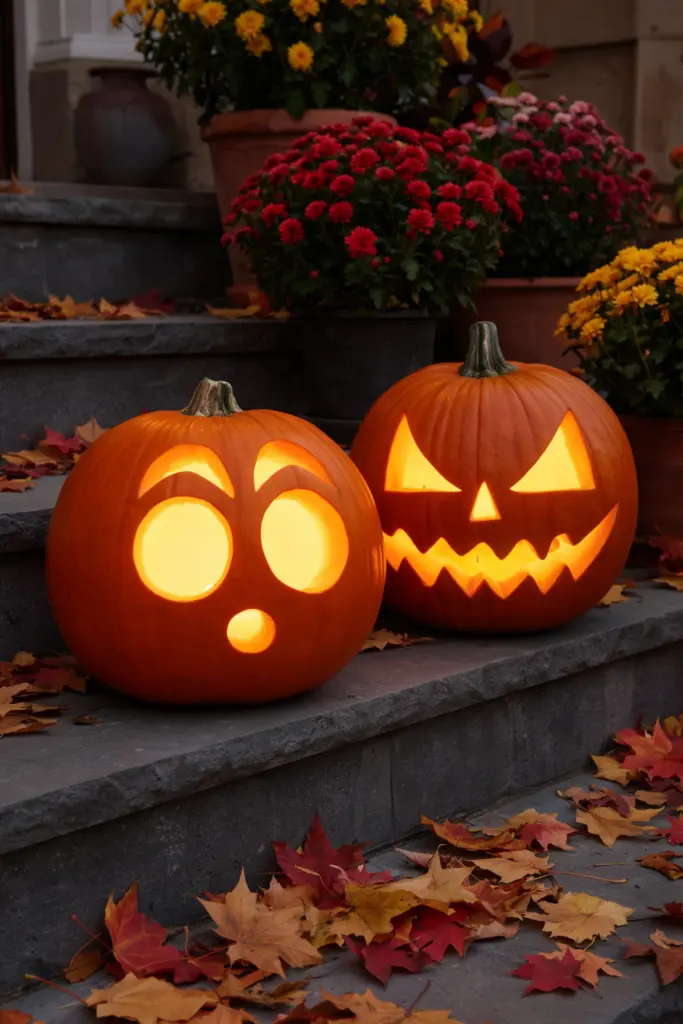
Pumpkin Cat
Cat lovers will adore this design. Carve two pointed eyes, a small triangular nose, and delicate whiskers. You can use the pumpkin’s natural shape to help suggest a cat’s head.
If you want pointed ears, cut them into the upper sides of the pumpkin or attach black cardboard ears. A second black pumpkin nearby can complete the display.
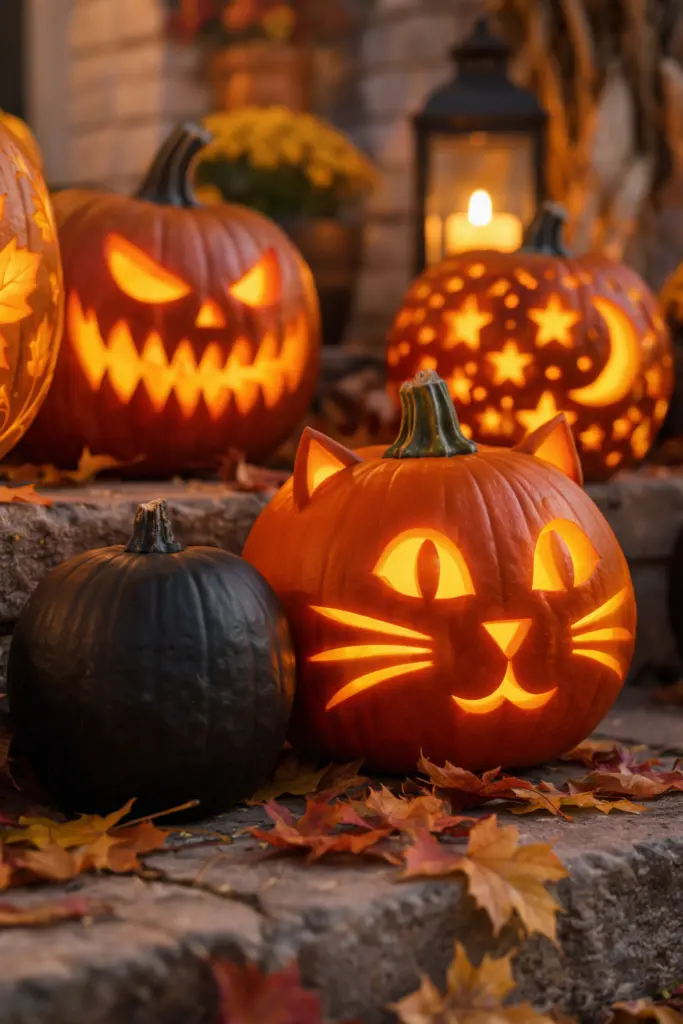
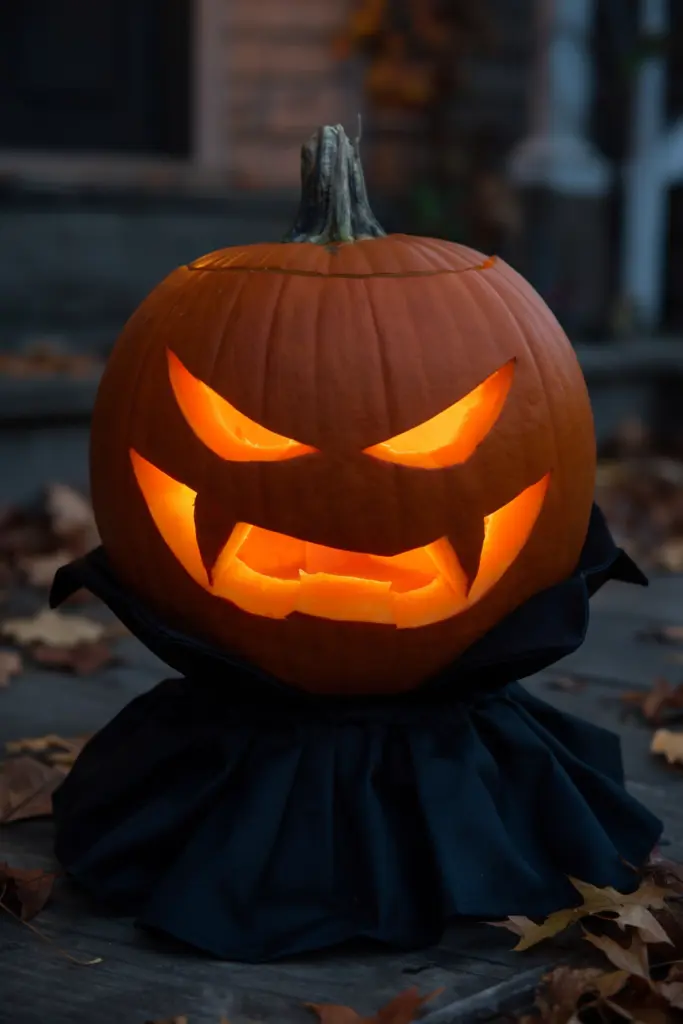
Pumpkin with Fangs
Make a vampire-inspired pumpkin with narrow eyes, a crooked grin, and two prominent fangs. Leave the fangs connected to the upper edge of the mouth so they remain sturdy.
Add a black cape made from paper or fabric around the base for a dramatic finishing touch. Keep decorations clear of any flame.
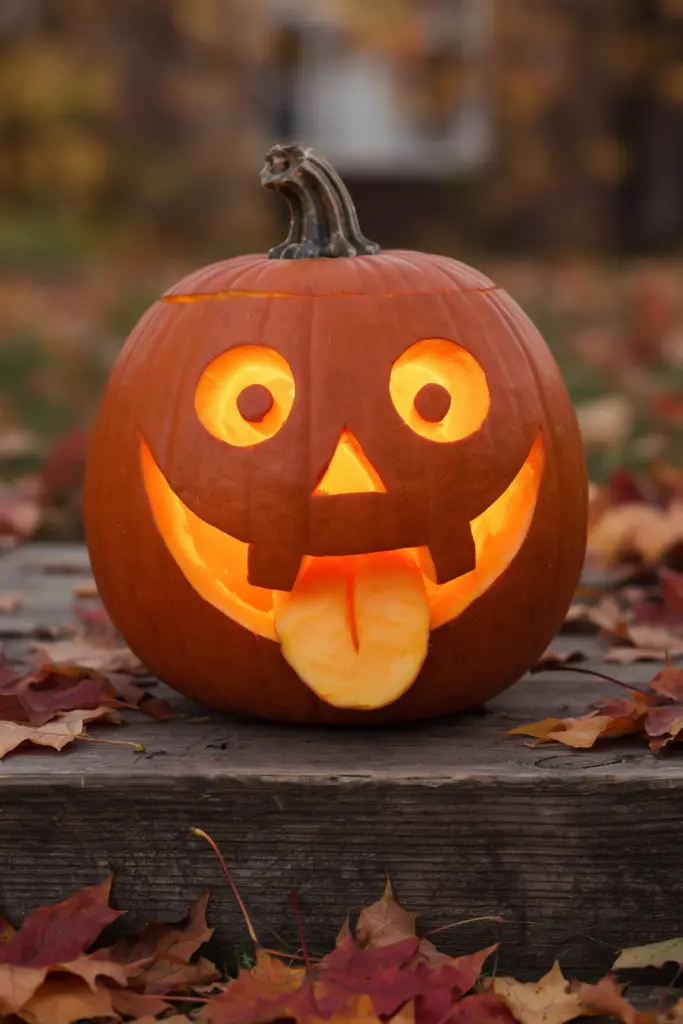
Pumpkin with a Silly Tongue
For a playful twist, carve a wide grin and leave a rounded section of pumpkin flesh in the middle to resemble a tongue. You could also attach a red paper tongue to the outside.
This idea is easy to adapt, making it suitable for beginners who want something different from the usual triangular eyes and teeth.
Spooky Halloween Pumpkin Carving Ideas
If you prefer a traditional haunted-house atmosphere, these Halloween pumpkin designs offer plenty of character. Combine them with dim lighting, autumn leaves, and other seasonal decorations for a memorable display.
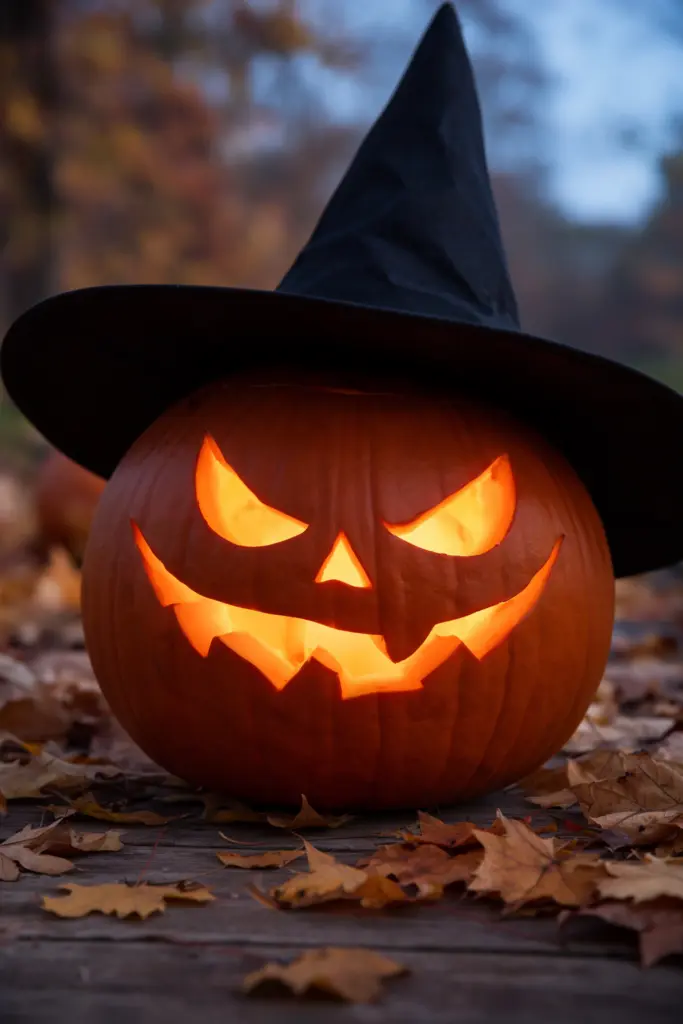
Wicked Witch Pumpkin
Give your pumpkin a witch-inspired face with a long, crooked nose, narrow eyes, and a mischievous smile. A pointed black hat adds an unmistakable Halloween touch.
Draw the nose as a broad shape rather than a thin strip. This will make it easier to carve without weakening the surrounding pumpkin skin.
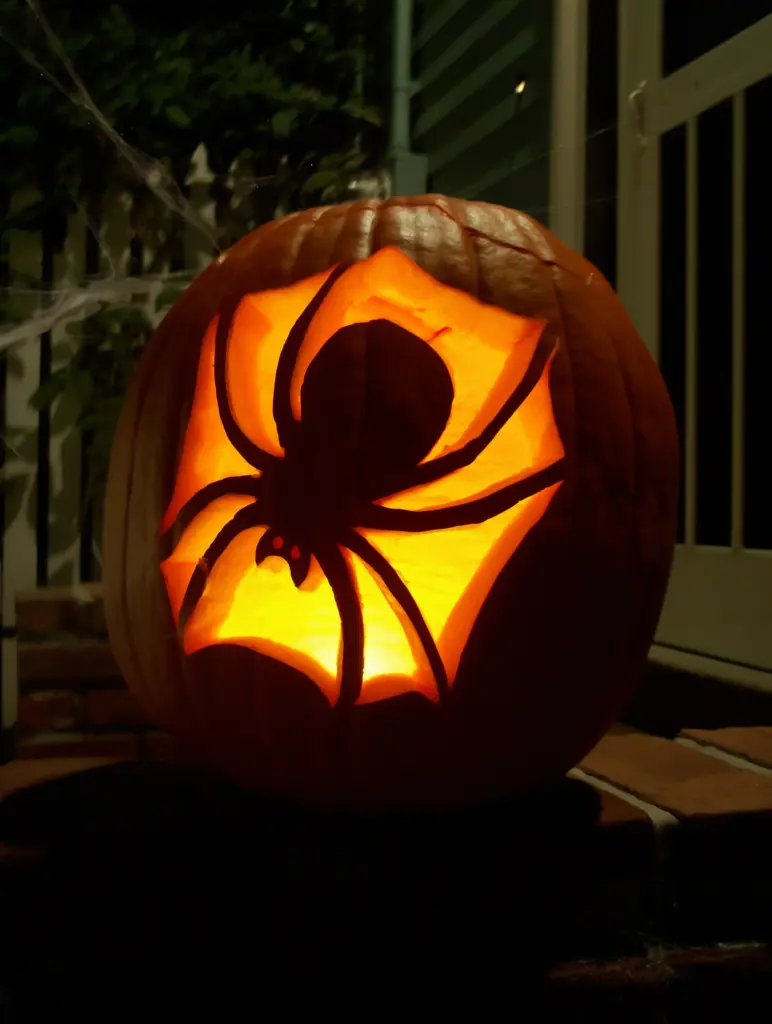
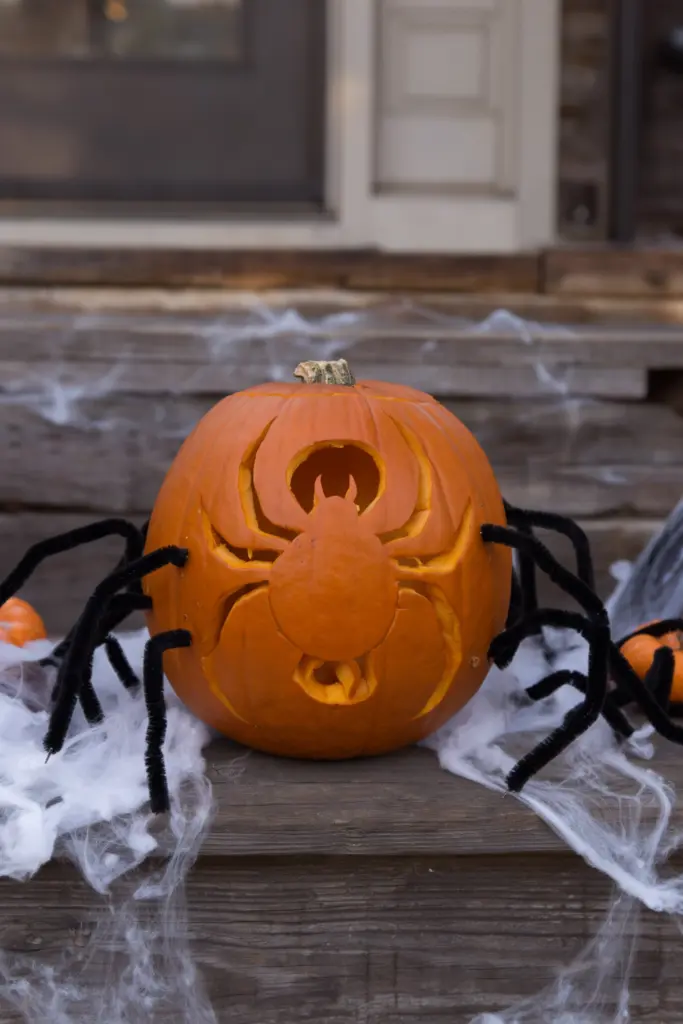
Spider Pumpkin
Create a spider design by carving a central body and adding curved leg patterns around it. For a beginner-friendly version, use black pipe cleaners or sturdy craft wire for the legs instead of carving them.
Place the spider pumpkin beside artificial cobwebs for a spooky porch decoration. Avoid using delicate carved sections that might snap during handling.
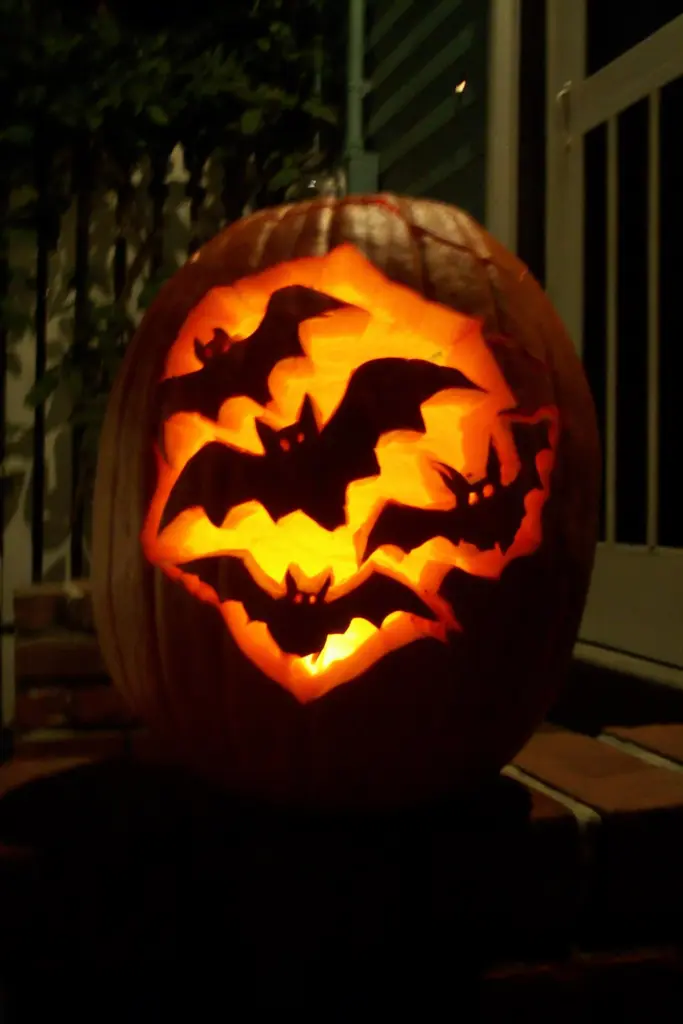
Bat Silhouette Pumpkin
Carve several bats flying across the pumpkin’s surface. Simple silhouettes are easier to recognize than intricate drawings, so keep the wings broad and the body compact.
For a beautiful nighttime effect, place a battery-powered light inside. The illuminated bat shapes will stand out against the darker exterior.
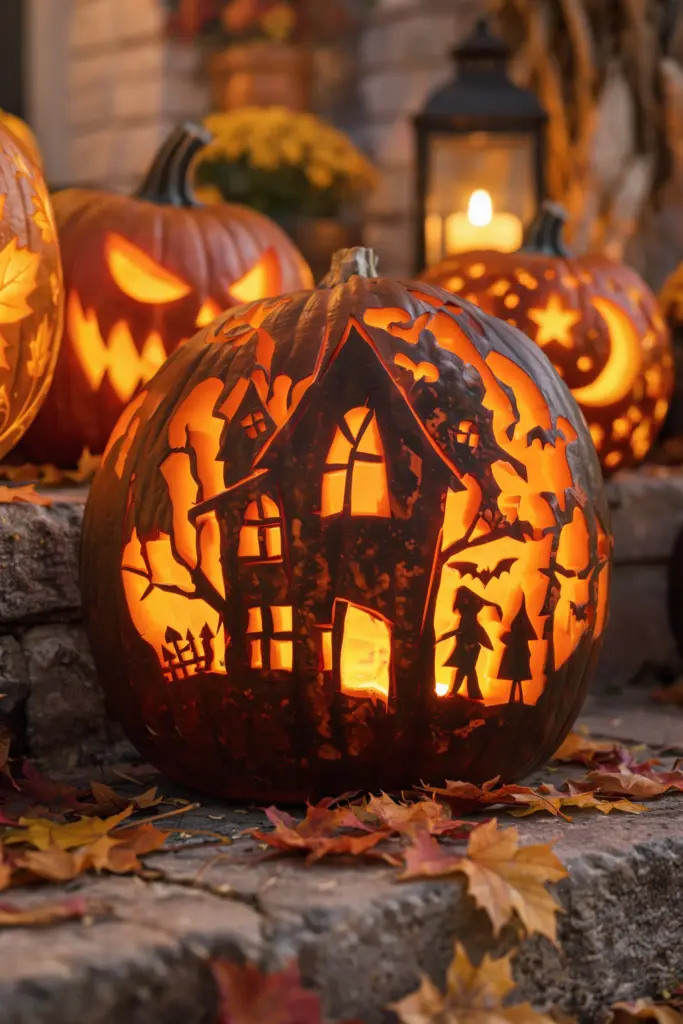
Haunted House Pumpkin
Turn your pumpkin into a miniature haunted house by carving a crooked roofline, small windows, and a doorway. You can add tiny bat silhouettes or a crescent moon around the house.
This design requires a little more planning, but you don’t need perfect lines. In fact, uneven windows and a crooked roof make the house look even spookier.
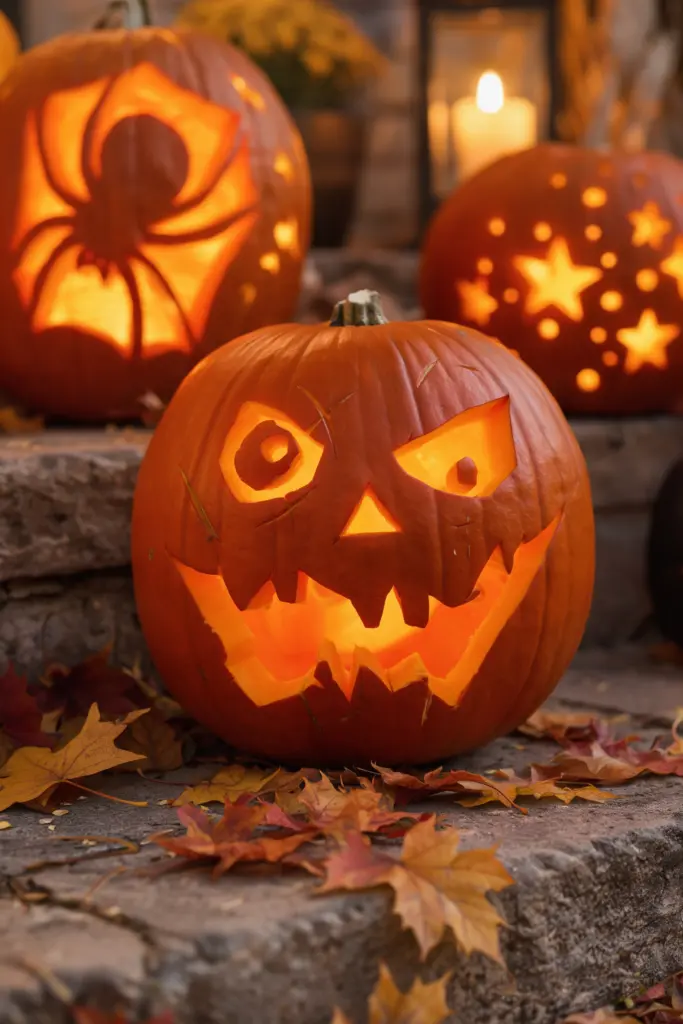
Zombie Pumpkin
A zombie pumpkin is perfect for anyone who enjoys horror-inspired Halloween decorations. Carve uneven eyes, a crooked nose, and a mouth with missing-looking teeth.
To keep the design manageable, focus on the expression rather than adding lots of tiny scars. A few shallow scratches around the eyes can provide extra detail.
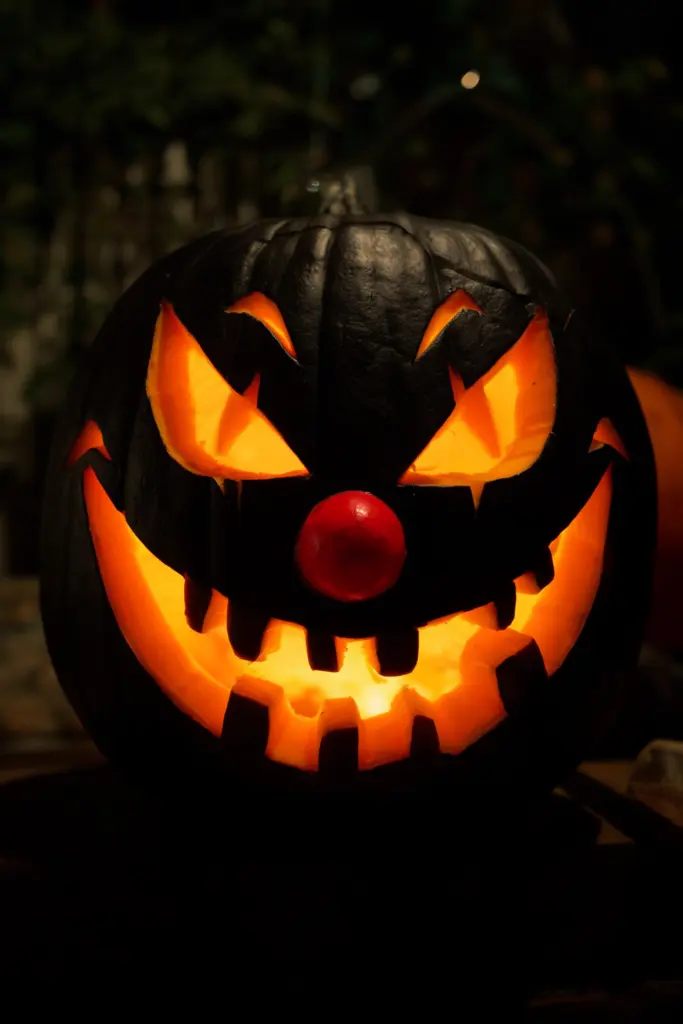
Creepy Clown Pumpkin
For a slightly unsettling design, create a wide exaggerated smile and sharply angled eyes. You can paint a red nose on the pumpkin to suggest a clown without needing to carve another opening. And you can paint the pumpkin in black for more spooky look
This design works particularly well with theatrical lighting. Use a steady LED light rather than an open flame, especially if you’ve added painted decorations.
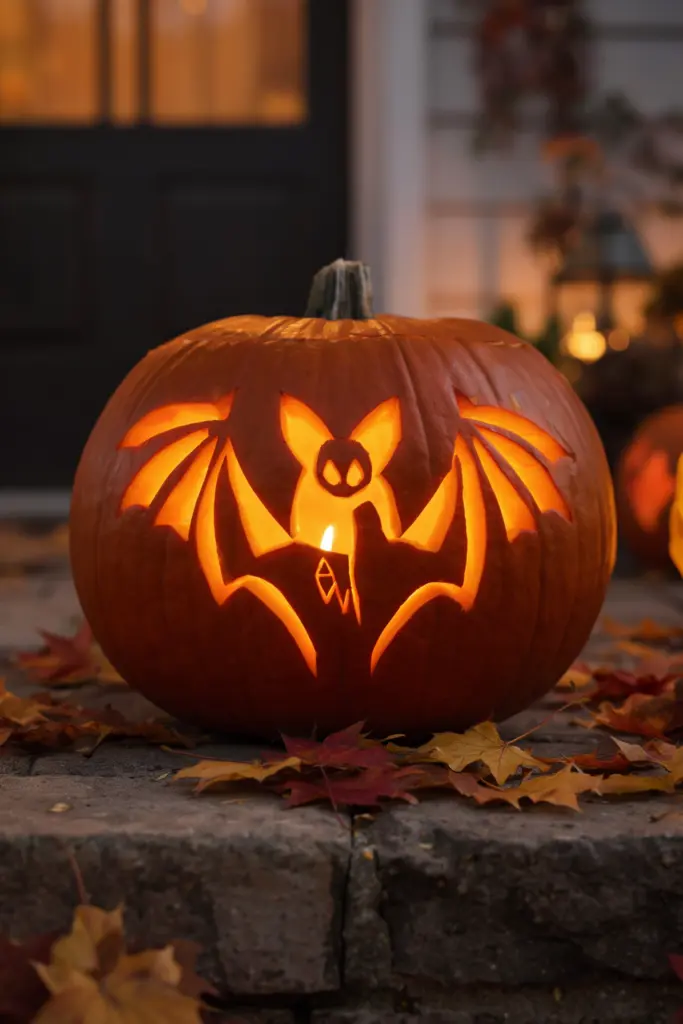
Vampire Bat Pumpkin
A vampire bat makes a striking alternative to the usual Halloween face. Draw a large bat silhouette across the front, leaving enough pumpkin skin around the wings to keep them strong.
Use a simple paper template to trace the design. Once carved, position the pumpkin near a doorway or window where its silhouette will be easy to see.
Scary Skull Pumpkin
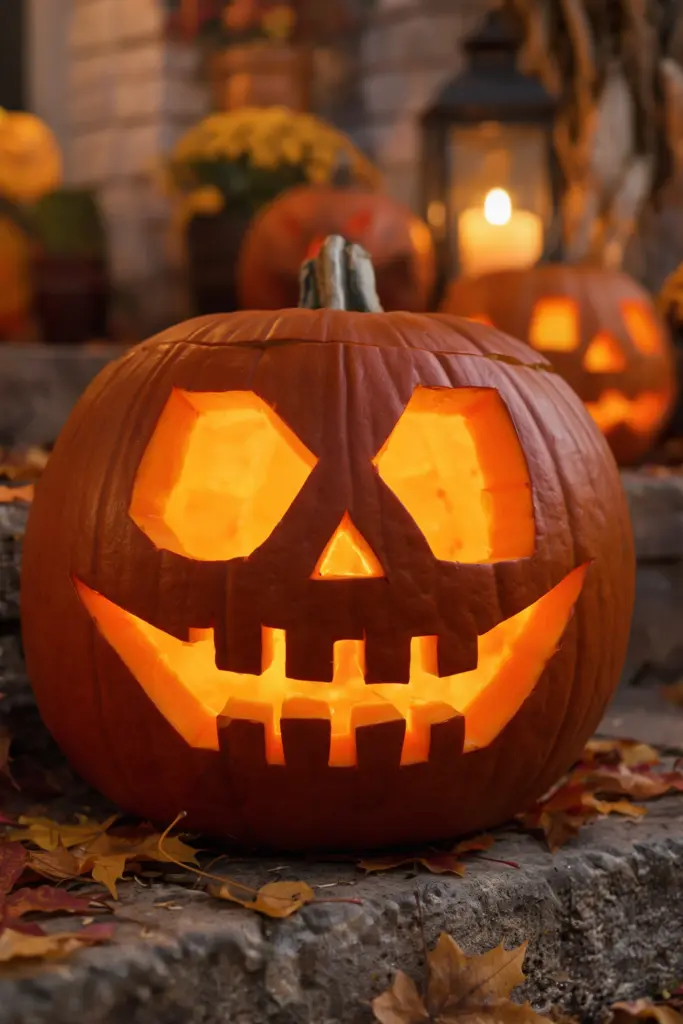
Create a skull-inspired pumpkin with deep eye sockets, a small triangular nose, and a row of teeth. The design looks best when the eye openings are large enough to reveal the light inside.
If you’re a beginner, simplify the teeth into a few broad rectangles instead of carving every individual tooth. You’ll still get a recognizable skull effect.
Creative and Artistic Pumpkin Carving Ideas
Ready to try something more decorative? These artistic designs use patterns, textures, and unusual shapes to turn ordinary pumpkins into eye-catching seasonal decorations.
Glowing Starry Night Pumpkin
Create a starry-night design by carving small stars, dots, and a crescent moon across the pumpkin. The result resembles a tiny autumn sky illuminated from within.
An apple corer can help create neat circular holes. Vary the size of the stars and dots to make the pattern look more natural.
Autumn Leaf Pumpkin
Celebrate fall with a pumpkin decorated in maple leaves, oak leaves, or swirling vines. Instead of cutting every detail completely through, carefully scrape away only the outer skin in selected areas.
This technique is called etching. It allows light to pass through the thinner pumpkin flesh and creates a softer glow than full cutouts.
Geometric Pattern Pumpkin
Geometric patterns look stylish on a porch, table, or outdoor staircase. Try diamonds, triangles, circles, or repeating zigzags arranged in neat rows.
Draw the pattern before cutting, and leave enough space between shapes to prevent the pumpkin from weakening. This design looks especially attractive with a warm LED light inside.
Lace-Effect Pumpkin
A lace-effect pumpkin features delicate floral shapes, tiny dots, and repeating curves. It’s a beautiful option for people who prefer a more elegant Halloween aesthetic.
Although detailed lace patterns can be challenging, you can simplify the design with a few large flowers and curved lines. Use small carving tools and work slowly.
Pumpkin with Glowing Eyes Only
Sometimes, less is more. Carve just two narrow eyes into the pumpkin, leaving the rest of the surface untouched. In low light, the glowing eyes create a mysterious effect.
Arrange several pumpkins with different eye shapes along a walkway. Because the designs are simple, you can prepare a whole group without spending hours carving.
Moon and Stars Pumpkin
Combine a crescent moon with scattered stars for a dreamy seasonal design. This pattern is suitable for both Halloween and general autumn decorating.
Use a printed template to keep the moon symmetrical, then add stars in different sizes around it. A soft LED light will bring the design to life after sunset.
Pumpkin with a Spiderweb Pattern
A spiderweb pumpkin is a natural choice for spooky decorating. Draw a central point and create several curved lines radiating outward, then connect them with smaller curved sections.
For a simpler version, etch the web into the pumpkin skin instead of cutting through every line. The result will be more delicate and less likely to break.
Pumpkin with a Dripping Effect
Make your pumpkin look as though it’s melting by carving irregular drips around the top or mouth. Vary the length of each drip to create a more realistic effect.
This design can be combined with a traditional face or used on its own. Just remember to leave broad sections of pumpkin skin between the cuts for stability.
Floral Pumpkin Carving
Flowers aren’t just for spring. A carved floral pumpkin featuring roses, daisies, or chrysanthemums can look beautiful throughout autumn.
Choose one large flower as the focal point and add a few leaves around it. For a beginner-friendly design, trace a simple flower template rather than attempting intricate botanical details.
Pumpkin with a Glowing Heart
A heart-shaped cutout adds a sweet, unexpected touch to your Halloween decorations. You can carve one large heart or several smaller hearts in a repeating pattern.
This design is easy to personalize, making it suitable for a cozy fall table centerpiece or a welcoming front porch display.
Fall and Thanksgiving Pumpkin Carving Ideas
Pumpkins aren’t only for Halloween. With the right patterns, they can become beautiful decorations for the entire autumn season, including Thanksgiving gatherings and harvest celebrations.
Rustic Pumpkin Cottage
Transform a round pumpkin into a tiny countryside cottage. Carve a small door, two windows, and a simple roofline. Leave the stem visible to create the appearance of a chimney or rustic roof detail.
Surround the pumpkin with acorns, dried leaves, and miniature woodland decorations. It’s a charming choice for a harvest-inspired centerpiece.
Harvest Leaf Silhouette
Choose a single large maple leaf as the main feature of your pumpkin. Trace its outline and carefully remove the flesh inside the shape, or etch the leaf for a more subtle effect.
This design celebrates the colors and textures of fall without looking overly spooky. It works beautifully from early autumn through Thanksgiving.
Welcome Porch Pumpkin
Make your entryway more inviting with a pumpkin featuring a short welcoming message. Words such as “HI,” “WELCOME,” or “BOO” are easier to carve than long sentences.
Use thick lettering and leave enough space between letters so the design stays readable. For a longer message, consider painting the words instead of carving them.
Pumpkin with a Woodland Animal
Bring a woodland theme to your fall decorations with a fox, owl, deer, or hedgehog silhouette. Choose an animal with a recognizable outline and avoid tiny details that could be difficult to carve.
This idea works particularly well with natural decorations such as pinecones, branches, and dried leaves.
Mini Pumpkin Lanterns
Small pumpkins make lovely lanterns for tables, shelves, and outdoor steps. Carve simple stars, dots, hearts, or tiny smiling faces into each one.
Because the pumpkins are small, use miniature LED lights and keep the patterns uncomplicated. Arrange them in groups of three or five for an attractive display.
Christmas Pumpkin Carving Ideas
If you want to reuse your pumpkin-carving skills after Halloween, winter-inspired designs offer a creative way to celebrate the holiday season. These ideas work best as temporary decorations made with fresh pumpkins.
Snowflake Pumpkin
A snowflake design creates a beautiful winter atmosphere. Draw a large central snowflake with six main branches, then add a few smaller details around it.
White pumpkins look especially elegant, although orange pumpkins provide a warmer seasonal appearance. Use a battery-powered light for a soft winter glow.
Christmas Tree Pumpkin
Carve a simple Christmas tree with a triangular outline and a small star above it. Add a few round cutouts to suggest ornaments, leaving enough space between the openings.
You can also place several tiny LED lights around the pumpkin for extra sparkle. The design is simple enough for beginners and makes a fun transition from Halloween to Christmas.
Reindeer Pumpkin
Give your pumpkin a festive makeover with a reindeer face. Carve two round eyes and a large nose, then attach lightweight cardboard antlers to either side of the stem.
For a playful variation, paint the nose red to create a Rudolph-inspired design. This approach keeps the carving simple while adding plenty of personality.
Snowman Pumpkin
Use two pumpkins of different sizes to create a snowman-inspired decoration. Stack them securely, then carve or paint a smiling face on the top pumpkin.
Add a scarf and a small hat for extra charm. If you stack real pumpkins, make sure the arrangement is stable and won’t fall over in wind or when touched.
Festive Star and Bell Pumpkin
Finish your collection with a pumpkin featuring stars, bells, and simple holiday ornaments. Arrange the shapes in a balanced pattern, leaving generous space between each cutout.
This versatile design can be adapted for Christmas, winter celebrations, or a general seasonal display. Choose a warm LED light to emphasize the carved shapes.
How to Carve a Pumpkin: A Beginner-Friendly Guide
You don’t need professional equipment to create attractive pumpkin decorations. However, preparing the pumpkin properly and using the right tools can make the process easier and safer.
Essential Pumpkin Carving Tools
| Tool | What It’s Used For |
|---|---|
| Fresh pumpkin | The main material for your design |
| Washable marker | Drawing the face or pattern before cutting |
| Pumpkin carving kit | Making controlled cuts and detailed shapes |
| Large spoon or scoop | Removing seeds and stringy pulp |
| Small carving tool | Creating curves, eyes, and decorative details |
| Printed template | Helping you trace a consistent design |
| LED tea light | Illuminating the finished pumpkin safely |
| Paper towels | Cleaning and drying the work surface |
For beginners, a simple pumpkin carving kit is usually sufficient. Avoid using large kitchen knives for detailed carving, and keep sharp tools away from children.
Step 1: Choose the Right Pumpkin
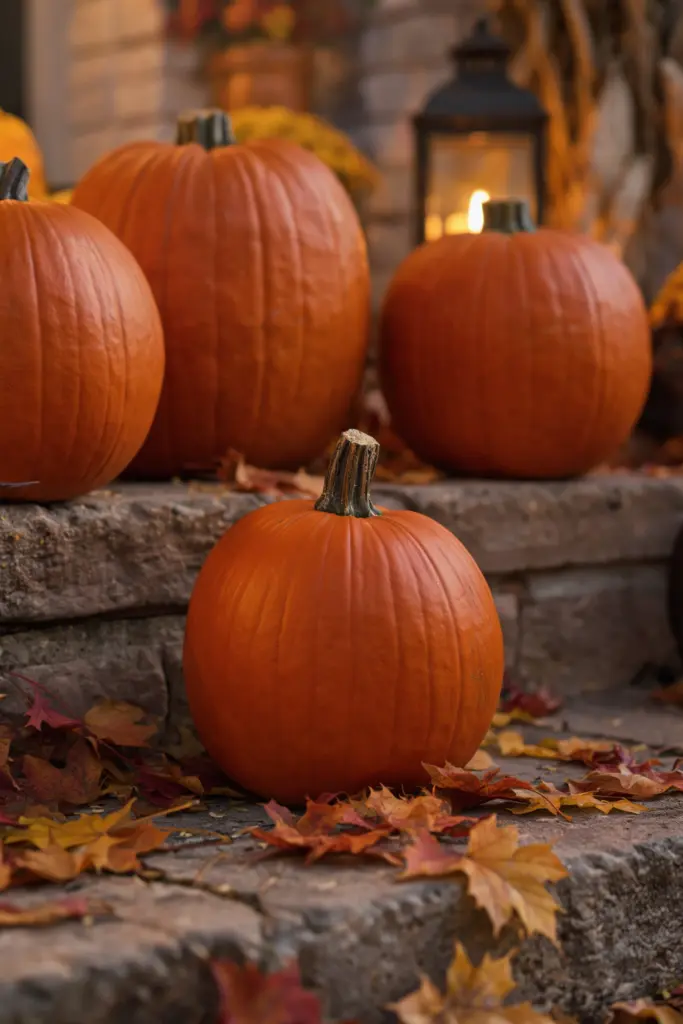
Look for a pumpkin with firm skin, a sturdy stem, and a flat base. A smooth surface is easier to draw on, while a medium-sized pumpkin offers enough room for a simple face.
Avoid pumpkins with soft spots, deep cracks, or signs of mold. These can make carving more difficult and shorten the life of your decoration.
Step 2: Prepare Your Work Area
Place the pumpkin on a stable, washable surface. Cover the area with newspaper or a reusable mat to catch seeds and pulp.
If children are participating, let them draw designs, remove seeds with a spoon, or decorate uncarved pumpkins. Adults should handle sharp carving tools.
Step 3: Draw Your Design
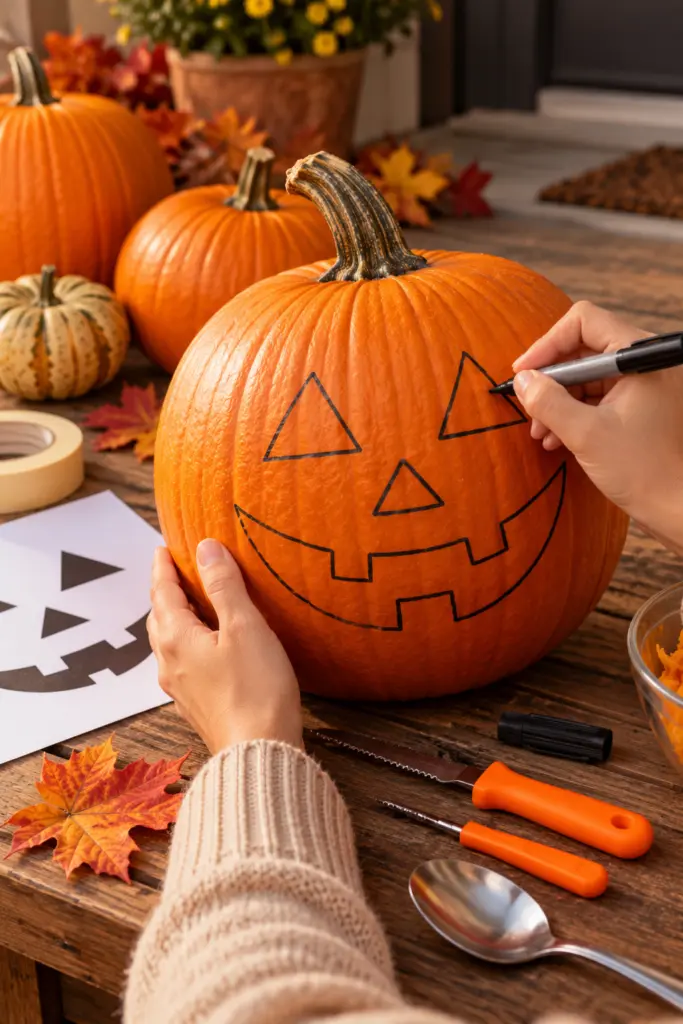
Use a washable marker to sketch the design before cutting. Start with broad outlines and simple shapes.
If you’re using a template, tape it to the pumpkin and transfer the main lines with a blunt tracing tool. Check that the pattern is positioned where you want it before making any cuts.
Step 4: Remove the Inside
Cut a lid around the stem or make an opening at the back of the pumpkin. Angle the cut slightly inward so the lid won’t fall through.
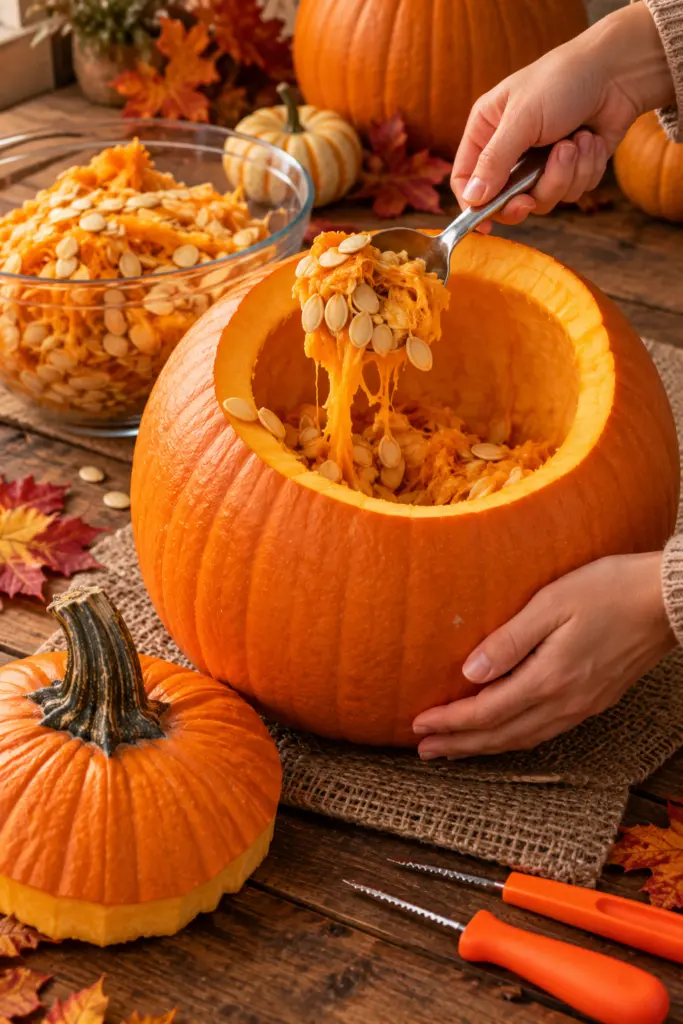
Scoop out the seeds and stringy pulp, then scrape the inside until the front wall is reasonably even. A thinner front wall can make simple designs easier to illuminate.
Step 5: Carve Slowly
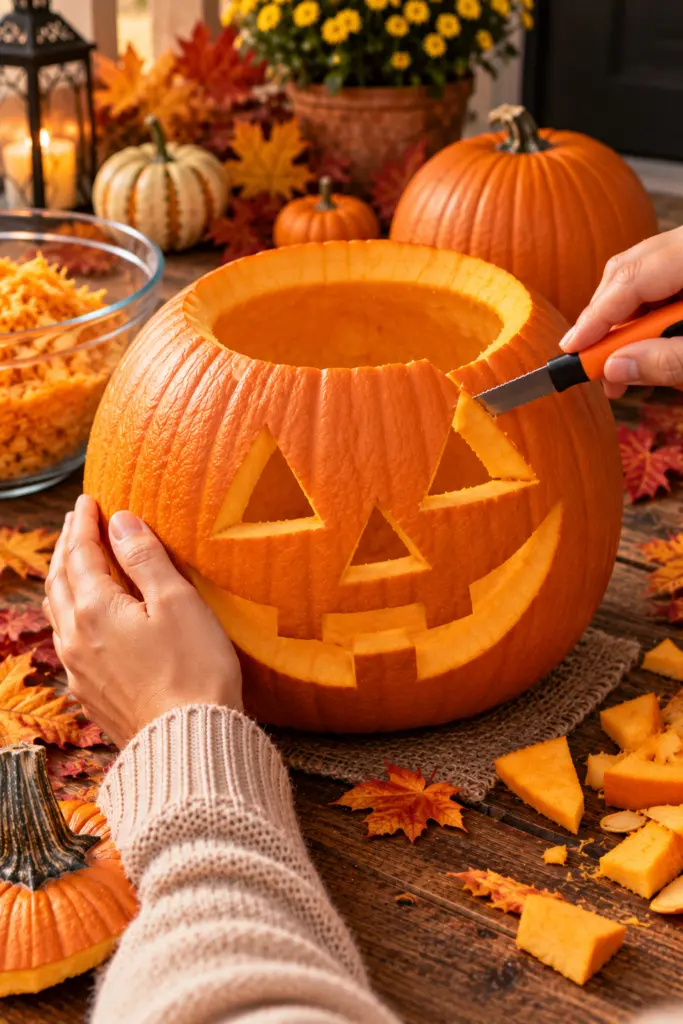
Follow your outline with small, controlled cuts. Work from the center of the design toward the edges, and avoid forcing the tool through thick pumpkin flesh.
For intricate patterns, etching may be easier than cutting all the way through. This technique removes only the outer skin, leaving a thin layer of flesh to create a softer glow.
Step 6: Add the Lighting
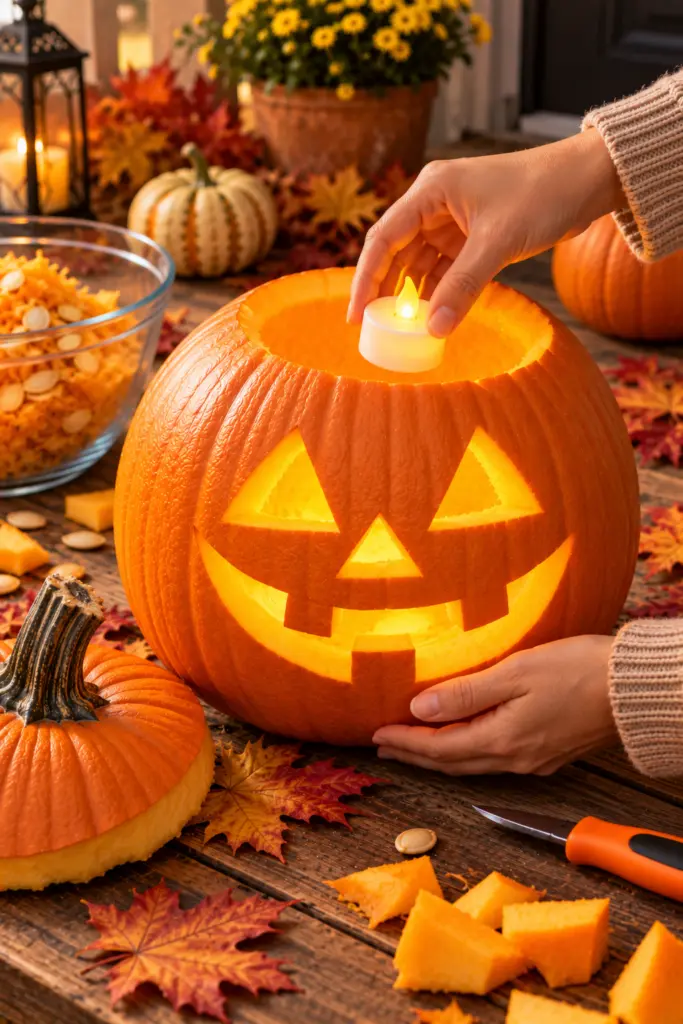
Place a battery-powered LED tea light or small LED lantern inside the pumpkin. Test the light before closing the lid to make sure the design illuminates evenly.
LED lights are preferable because they produce less heat than open flames. If you choose a real candle, never leave it unattended, and keep the pumpkin away from dry leaves, curtains, paper, and other flammable materials.
Step 7: Display Your Finished Pumpkin
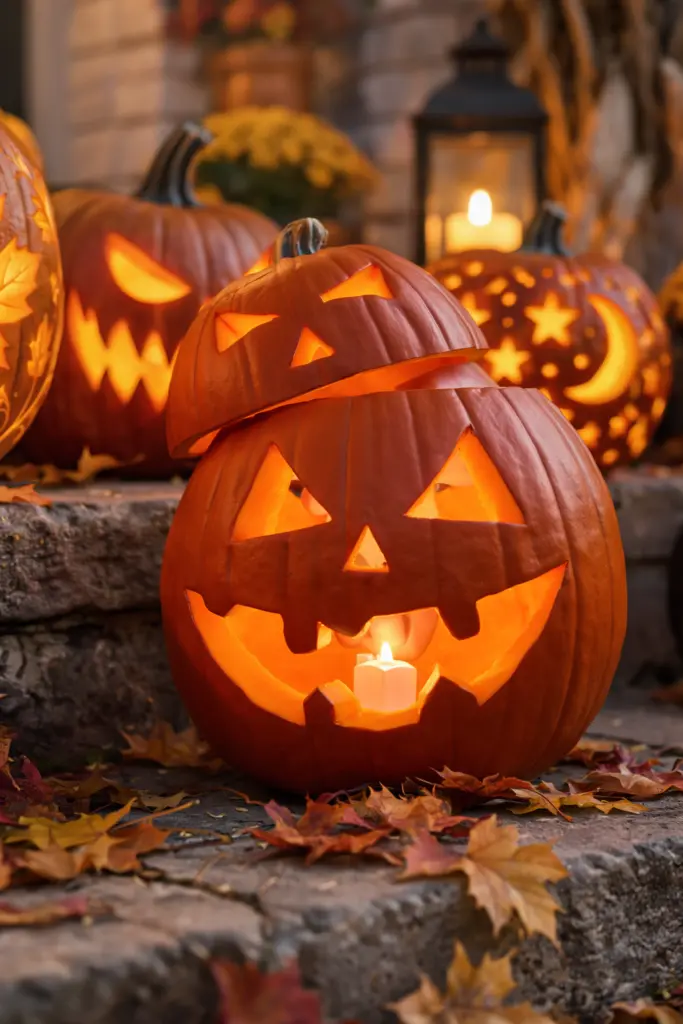
Place your finished decoration on a stable surface away from direct heat and strong sunlight. Group several pumpkins of different sizes to create a layered display.
For an autumn look, add leaves, pinecones, or small gourds around the base. For Halloween, try artificial cobwebs, paper bats, or a dark backdrop.
With these 41 easy pumpkin carving ideas, you can create everything from classic jack-o’-lanterns and funny monster faces to elegant autumn patterns and festive Christmas decorations.
If you’re just starting out, choose a simple design with large shapes and only a few cuts. Once you’re comfortable with the process, experiment with spiderwebs, glowing stars, woodland animals, and more detailed patterns.
Remember, your pumpkin doesn’t need to look perfect to be special. A slightly crooked smile or an unusual expression can give it even more personality.
Gather your supplies, choose your favorite design, and enjoy turning an ordinary pumpkin into a memorable seasonal decoration!
For more craft ideas to make this year our 29+ Easy Thanksgiving Crafts, 17+ Easy DIY Christmas Crafts Using Natural Materials, 25+ Rustic Wood Christmas Crafts.