Kitchen Countertop Paint offers a transformative solution, revitalizing worn surfaces with a fresh new look. When it comes to renovating your kitchen countertop, a simple coat of paint can work wonders.
Indeed, the process of replacing a kitchen countertop is far from simple. Beyond the investment of time and money, the initial hurdle of removing and properly disposing of the existing countertop can be daunting. As you contemplate the entirety of the task, the notion of rejuvenating your current countertop instead of completely replacing it might start to take root in your thoughts.
This is Why the option of Countertop paint is particularly appealing if you lack renovation skills yet desire a distinctive outcome.
By following this comprehensive guide, you can effortlessly revamp your kitchen through remarkable countertop paint makeovers.
Table of Contents
What you need to know about kitchen Countertop Paint?
Just a few years ago, the idea of achieving satisfactory results by painting your countertop was almost unheard of. The prevailing choice was to replace it entirely. However, in today’s era of resurfacing, DIY projects, and environmentally-conscious attitudes, more and more individuals are leaning towards the notion of refurbishing and revamping rather than discarding.
Various companies have developed innovative products that enable this transformation. In fact, some have managed to achieve exceptional outcomes, producing finishes that rival those of brand-new surfaces. The remarkable efficacy of these products has simplified their application, making countertop restoration an attainable endeavor for virtually anyone.
Thanks to these new offerings in the market, the concept of “making something new from something old” is now a tangible reality – or at least, very close to it.
Kitchen designers are in unanimous agreement regarding a crucial aspect of an ideal countertop: its durability. Therefore, the restoration of a kitchen countertop becomes a viable option as long as its structural integrity remains intact.
While the results achieved through countertop restoration can often surpass expectations, it’s essential to acknowledge that the surface being painted is not brand new. Consequently, its longevity may not match that of a newly acquired product. It’s important to recognize that this solution serves as a temporary fix.
Utilizing materials like epoxy or opting for a high-quality paint kit can certainly extend the lifespan of an aging countertop. However, to avoid any potential disillusionment, it’s advisable to thoroughly evaluate the associated costs before arriving at a decision.

Good to know:
- Never cut food directly on a countertop that has been painted. Not only will this damage the countertop, but it also increases the risk of contamination.
- Depending on the product applied and how it was applied, water may be more likely to damage a painted countertop.
The cost to paint kitchen Countertop
Like any home improvement endeavor, expenses can fluctuate based on the chosen materials and the extent of the surface area requiring attention.
To provide a rough estimate, a gallon of high-quality paint typically costs around $50. For resin application, allocating an additional $100 or thereabouts is prudent. Additionally, budgeting for necessary tools such as brushes, rollers, and sandpaper is essential.
DIY kits are also available, offering the advantage of product compatibility and sometimes encompassing all essential components for the project’s entirety.
Irrespective of the route chosen, completing the task for under $200 can be quite challenging.

Steps For Painting Kitchen Countertop
Of course, the basic rules apply in your Kitchen Countertop Paint:
- Ventilate the room,
- Make sure you work at a temperature that meets the manufacturer’s recommendations,
- Protect your eyes
- Wear a mask.
Here are the steps to follow when painting your kitchen countertop:
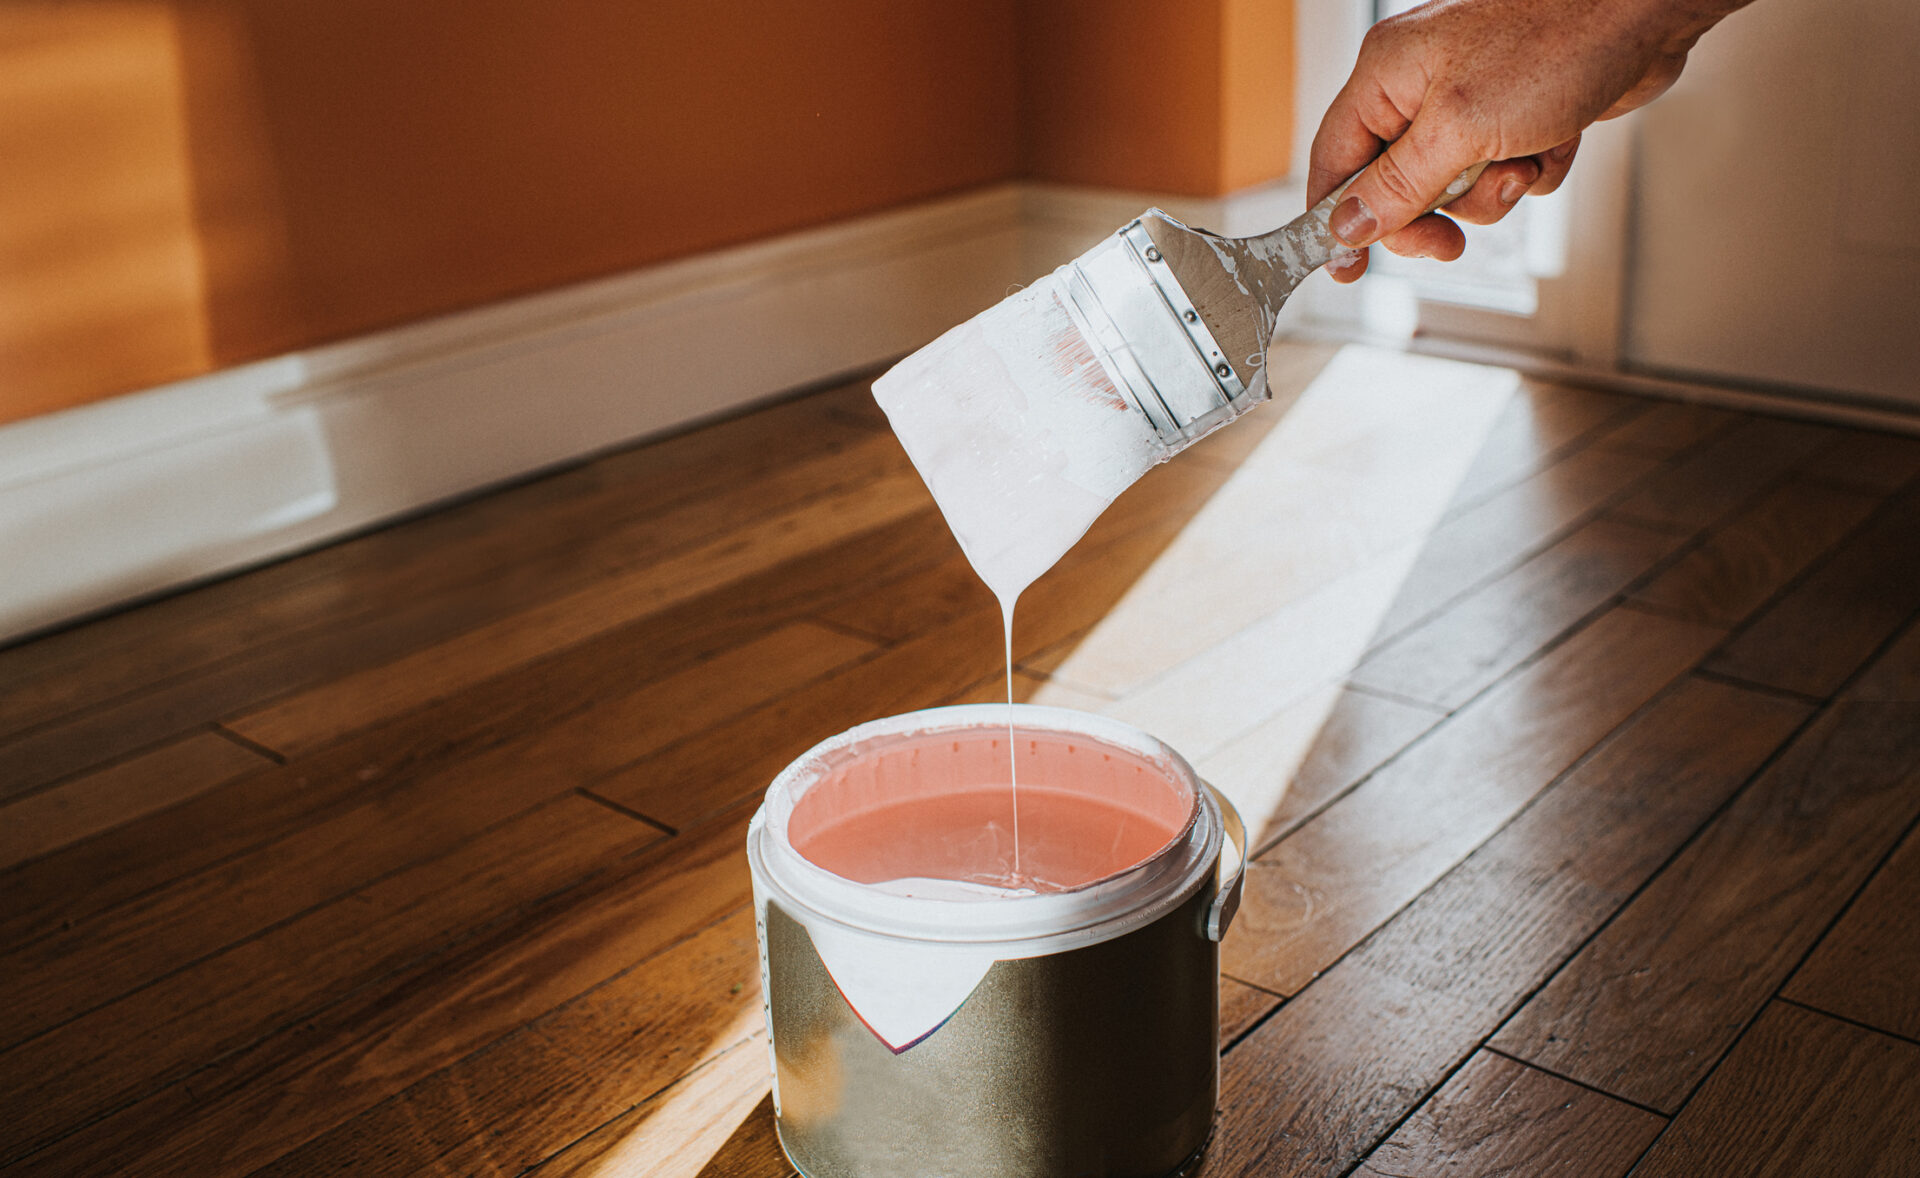
- Step 1: Prepare the area by protecting surfaces that shouldn’t be painted. Have all the necessary materials ready. Carefully read the instructions provided by the manufacturer to ensure the best results.
- Step 2: Clean the countertop with a strong degreaser like sodium triphosphate (TSP) and let it dry.
- Step 3: For any damaged surfaces, you can use laminate repair strips. Consult your paint dealer or cabinet manufacturer for recommendations on where to find them.
- Step 4: To ensure proper adhesion, lightly sand the surface with medium-grit sandpaper (150), making sure not to damage it. Then, remove the dust.
- Step 5: Apply the primer and allow it to dry thoroughly. Refer to the recommended drying time mentioned on the product packaging.
- Step 6: Once the surface is dry, use a long-nap roller to apply the paint to the countertop. You might need more than two coats. Between coats, lightly sand the surface with very fine grit sandpaper (320), and then remove the dust.
- Step 7: After the paint has completely dried, apply epoxy resin to protect the surface. A single coat of epoxy resin offers protection comparable to fifty-five coats of varnish!

Steps For kitchen Countertop Paint if your countertop is ceramic
If you’d like to restore a ceramic countertop with paint, here’s how:
- Step 1: Begin by preparing your work area. Protect cabinets, walls, and floors from any paint splatters.
- Step 2: Clean the countertop using a strong degreaser like TSP. This will remove the smooth, glossy ceramic finish. After cleaning, ensure the countertop is completely dry.
- Step 3: Sand the countertop surface using medium-grit sandpaper. After sanding, wipe down the surface with a damp cloth to remove any dust.
- Step 4: Apply a coat of Polyprep 3 oil-based primer to the countertop. Allow the primer to dry completely. Follow the recommended drying time provided by the manufacturer.
- Step 5: Apply three coats of melamine-finish oil paint to the countertop. Make sure to let each coat dry for at least 24 hours before applying the next one. If needed, you can apply an additional coat for better coverage.
These steps should help you restore your ceramic countertop using paint. Always follow the manufacturer’s instructions for the specific products you’re using for the best results.

Choose Paint for your kitchen countertop
Latex paint
When it comes to quickly refreshing your countertop, a simple coat of latex paint does wonders. Unlike other products that may demand some expertise, latex paint is an excellent choice for DIY enthusiasts. It’s also ideal for those who prefer a straightforward approach. It’s easy to apply, cleans up easily, and generally yields consistent results.
Ensure you use a primer and paint formulated specifically for laminate countertops. Follow the steps mentioned earlier for application. It’s worth noting that the primer should be applied thinly. After that, the process is fairly straightforward and user-friendly!

Get the look of granite with an epoxy coating
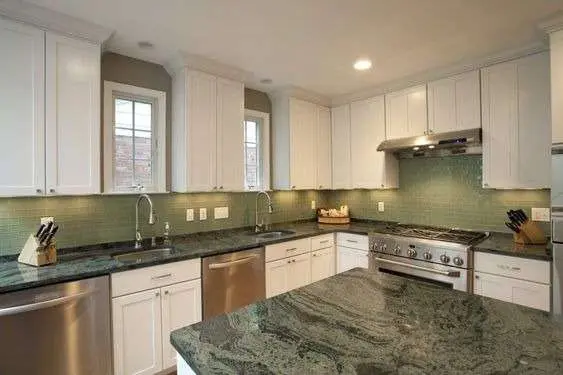
What could be better than granite for a kitchen countertop? A finish that imitates it perfectly at a fraction of the price!
Stone effects epoxy coating kit gives your countertop the look and texture of real granite. The result is both impressive and long-lasting. The products can be used on surfaces as varied as laminate, wood, tile, cement, stone or plastic. It’s a cost-effective way to restore your countertop with elegance and without major investment.
Here’s how to get started:
- Step 1: Lightly sand the surface to ensure proper primer adhesion.
- Step 2: Apply primer using a roller.
- Step 3: Use a trowel to apply the stone coating and then the sealer. Allow 24 hours of drying time.
- Step 4: Sand the stone covering with 180-220 grit sandpaper to level it and remove trowel marks. Wipe away any residue.
- Step 5: Mix the epoxy countertop coating for at least 3 minutes at room temperature. Do not use an electric mixer.
- Step 6: Mask adjacent surfaces with tape and protect floors before applying epoxy.
- Step 7: Immediately after mixing, apply the epoxy mixture using a quality brush. Spread it over the entire surface, ensuring even coverage. Pour the remaining mixture onto the center of the countertop and spread it (vertical surfaces may need two coats).
- Step 8: Eliminate air bubbles with a heat gun before the epoxy hardens.
- Step 9: While the epoxy is still pliable, use a metal squeegee to level the surface.
- Step 10. Remove masking tape immediately after

Color and Design of your kitchen Countertop Paint
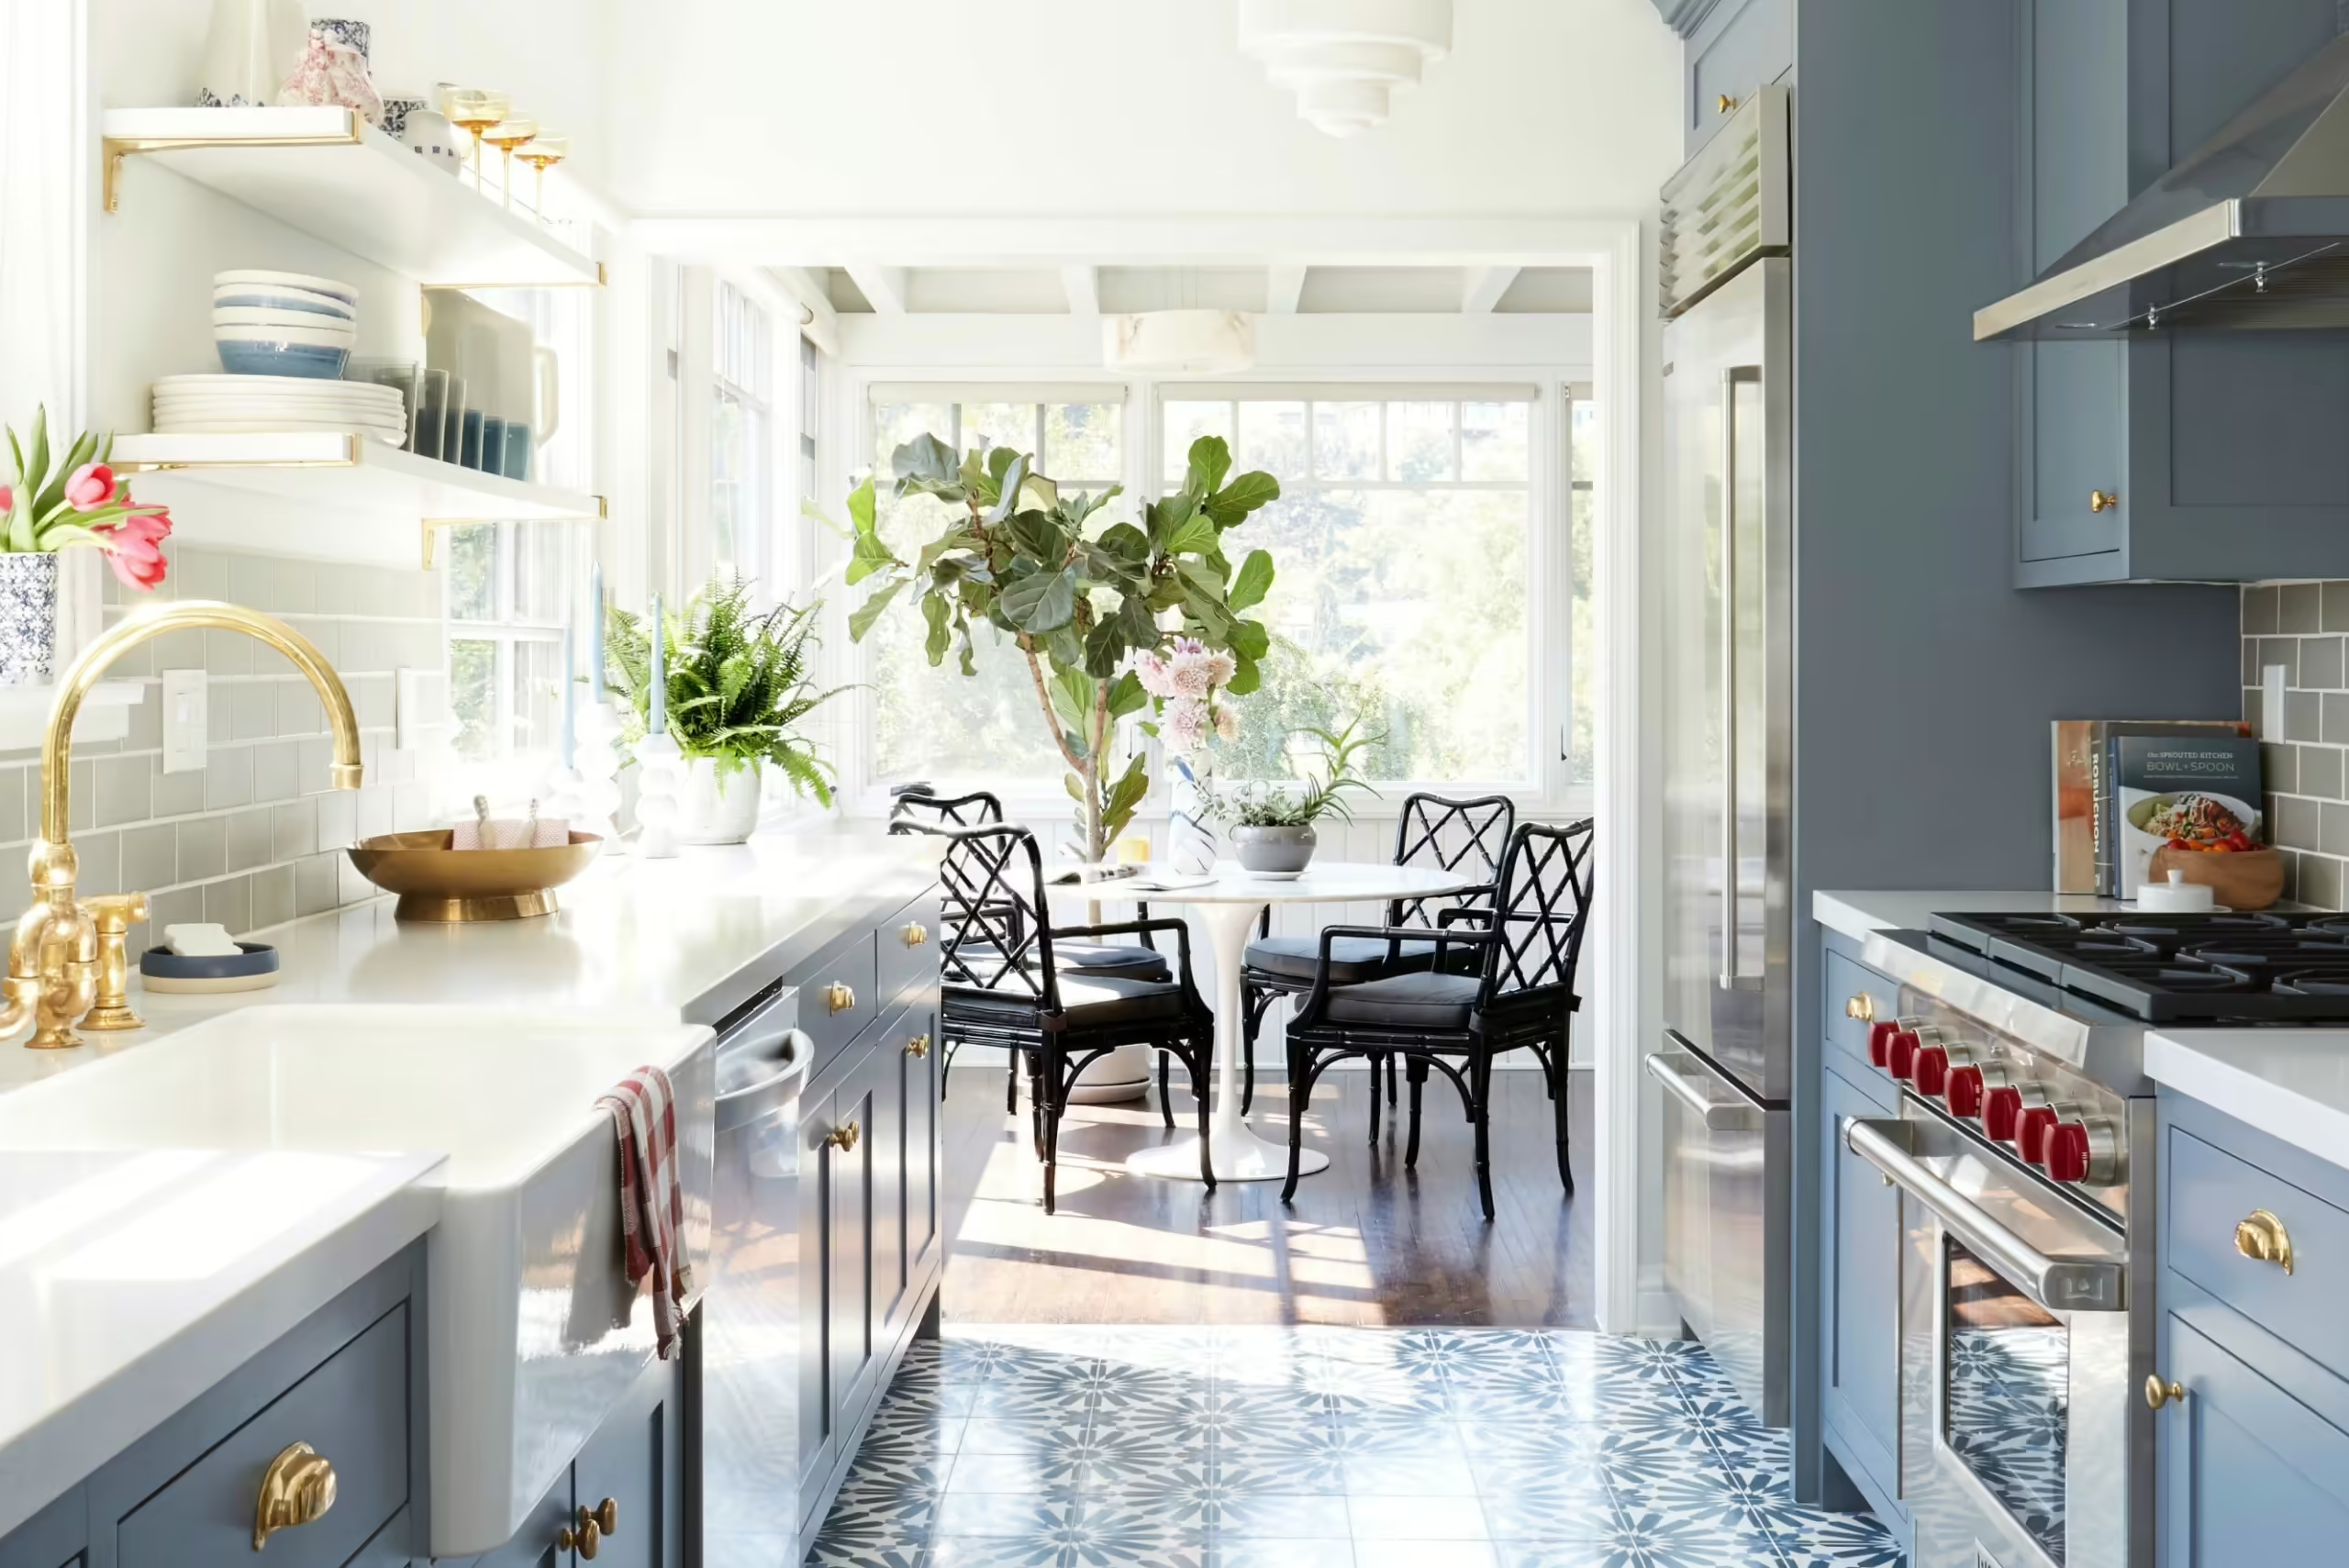
Explore the vast realm of creativity with an extensive palette of colors and patterns. Discover the art of selecting harmonious hues for your space and mastering the craft of crafting one-of-a-kind designs.

FAQ
Q: What you need to know about kitchen Countertop Paint?
A: Just a few years ago, the idea of achieving satisfactory results by painting your countertop was almost unheard of. The prevailing choice was to replace it entirely.
Q:How much does it cost to paint one’s kitchen counter?
A: Like any home improvement endeavor, expenses can fluctuate based on the chosen materials and the extent of the surface area requiring attention.
Q:How to paint kitchen countertops?
A: the basic rules apply in your Kitchen Countertop Paint is Ventilate the room, Make sure you work at a temperature that meets the manufacturer’s recommendations, Protect your eyes, Wear a mask. and there are a 7 steps to fallow to make the perfect Kitchen Countertop Paint.
Q:What if your kitchen countertop is ceramic?
A:You Have 5 steps should help you restore your ceramic countertop using paint. Always follow the manufacturer’s instructions for the specific products you’re using for the best results.
Q:Which paint to choose for your kitchen countertop?
A:When it comes to quickly refreshing your countertop, a simple coat of latex paint does wonders. or granite for a kitchen countertop.
Q:How you choose Color and Design of your kitchen Countertop Paint?
A:Unleash your creativity with a wide array of colors and patterns. Learn how to choose a color that complements your space and how to create unique designs.
