Alright, fellow DIY warriors! So, you’ve decided to take on the noble task of transforming your living space, starting with the unsung heroes of home décor – skirting boards and trim. Bravo! But before you dive into the paint cans and brushes, let’s whip up a foolproof guide on How to Paint Skirting Boards & Trim like a Pro (Step-by-Step). Get ready to jazz up your space with a splash of color and a dash of finesse!
Table of Contents
Choosing the Perfect Hue: Step 01
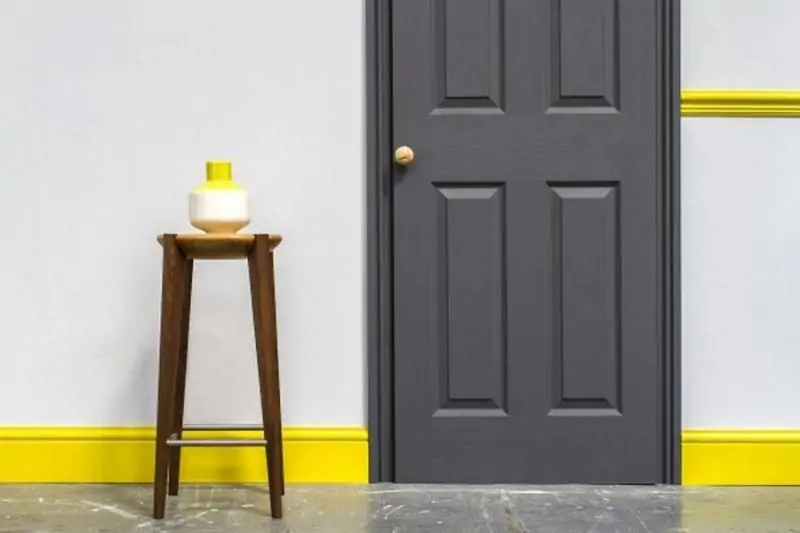
Selecting the right paint color for your skirting boards is pivotal in creating a cohesive and aesthetically pleasing environment. Our recommendation aligns with the general principle of maintaining the same color tone as your walls. However, let’s delve deeper into the impact of color choice on the overall ambiance.
Dark Elegance or Light Spaciousness?
Darker skirting boards exude a sense of modernity and contemporaneity, injecting a touch of elegance into your space. On the other hand, lighter colors contribute to the illusion of spaciousness, making smaller rooms appear more extensive. It’s a delicate balance that can significantly influence the atmosphere of your room.
Gather Your Arsenal: Step 02
Materials:
- High-quality paint (your favorite color, of course!)
- Painter’s tape
- Sandpaper
- Drop cloths or old bedsheets
- A trusty paintbrush a two-inch (5cm) brush is idea or a sprayer
- A small paint tray
- Wood filler (for any nicks or gaps)
- A putty knife
- A sturdy ladder or step stool
Step 2 Checklist:
- Confirm you have all materials
- Wear your favorite old clothes – things might get messy!

Clear the Battlefield: Step 03
Time to channel your inner general and declutter the area! Move furniture away from the walls, and cover the floor with those old bedsheets or a drop cloth. Trust me, your carpet will thank you later.
Tape it Up!: Step 04
Sub-Step 4.1: Precision is Key
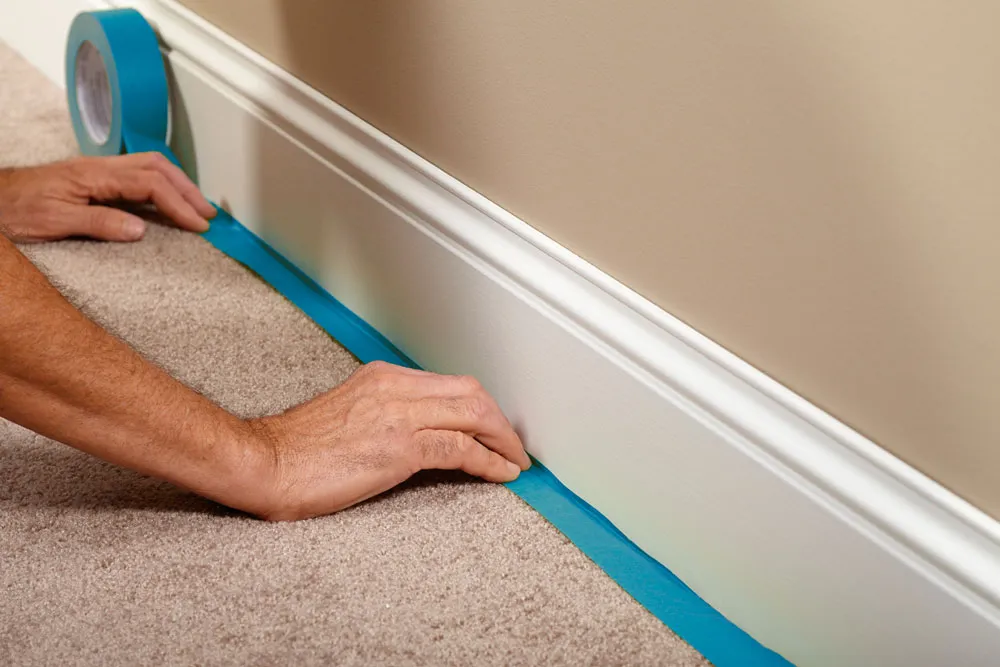
Grab that painter’s tape and start taping off the edges like a pro. This step is crucial – it ensures your paint job stays where it belongs!
Sub-Step 4.2: Perfection in the Details
Carefully tape around outlets, switches, and any other small features you don’t want to accidentally paint over. Remember, the devil’s in the details!
Cleaning for Clarity: Step 05
To achieve a truly professional look, cleanliness is paramount. If your skirting boards bear chips or dirt, a solution of mild soap and water (washing-up liquid or sugar soap) works wonders. This cleaning step guarantees a clean canvas for your paint application, eliminating potential imperfections
Sand, Baby, Sand!: Step 06
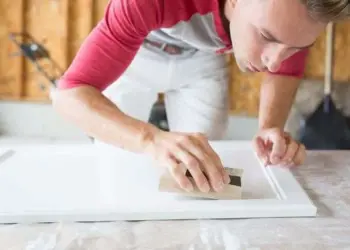
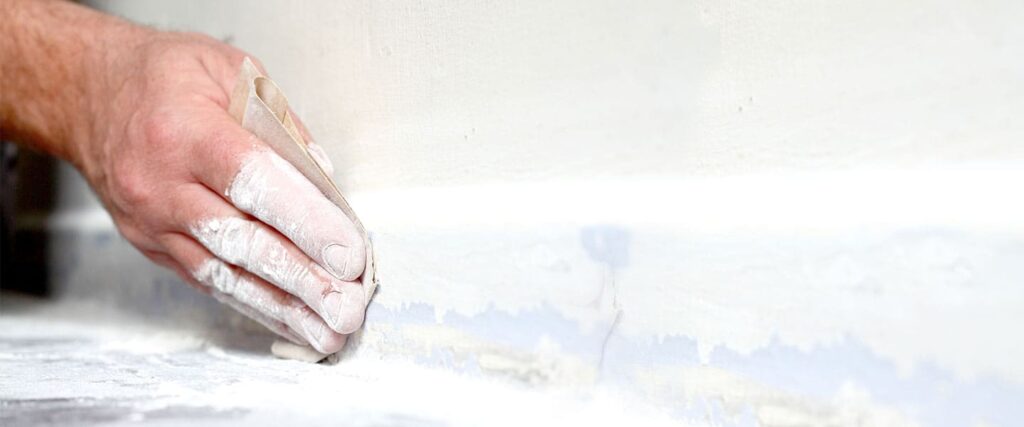
Before embarking on the painting process, it’s essential to prepare your surface adequately. Sanding not only ensures a smooth finish but also promotes better paint adhesion, preventing future chipping. Use a soft, dry brush to remove loose paint and dust, setting the stage for a durable and visually appealing outcome. Grab that sandpaper and give those skirting boards and trim a good once-over. This isn’t about punishment; it’s about creating the perfect canvas for your masterpiece.
Fill in the Gaps: Step 07
Life happens, and sometimes your trim might take a beating. Fear not! Use wood filler to patch up any nicks or gaps. Smooth it out with a putty knife, and voila – good as new!
Primetime!: Step 08
Sub-Step 8.1: Choose Wisely
Pick a high-quality primer that suits your paint. This step is your secret weapon against uneven color and peeling paint in the future.
Sub-Step 8.2: The Art of Application
Apply the primer evenly, and don’t be stingy! This step ensures your color sticks around for the long haul.
The Main Event – Painting Extravaganza! Step 09
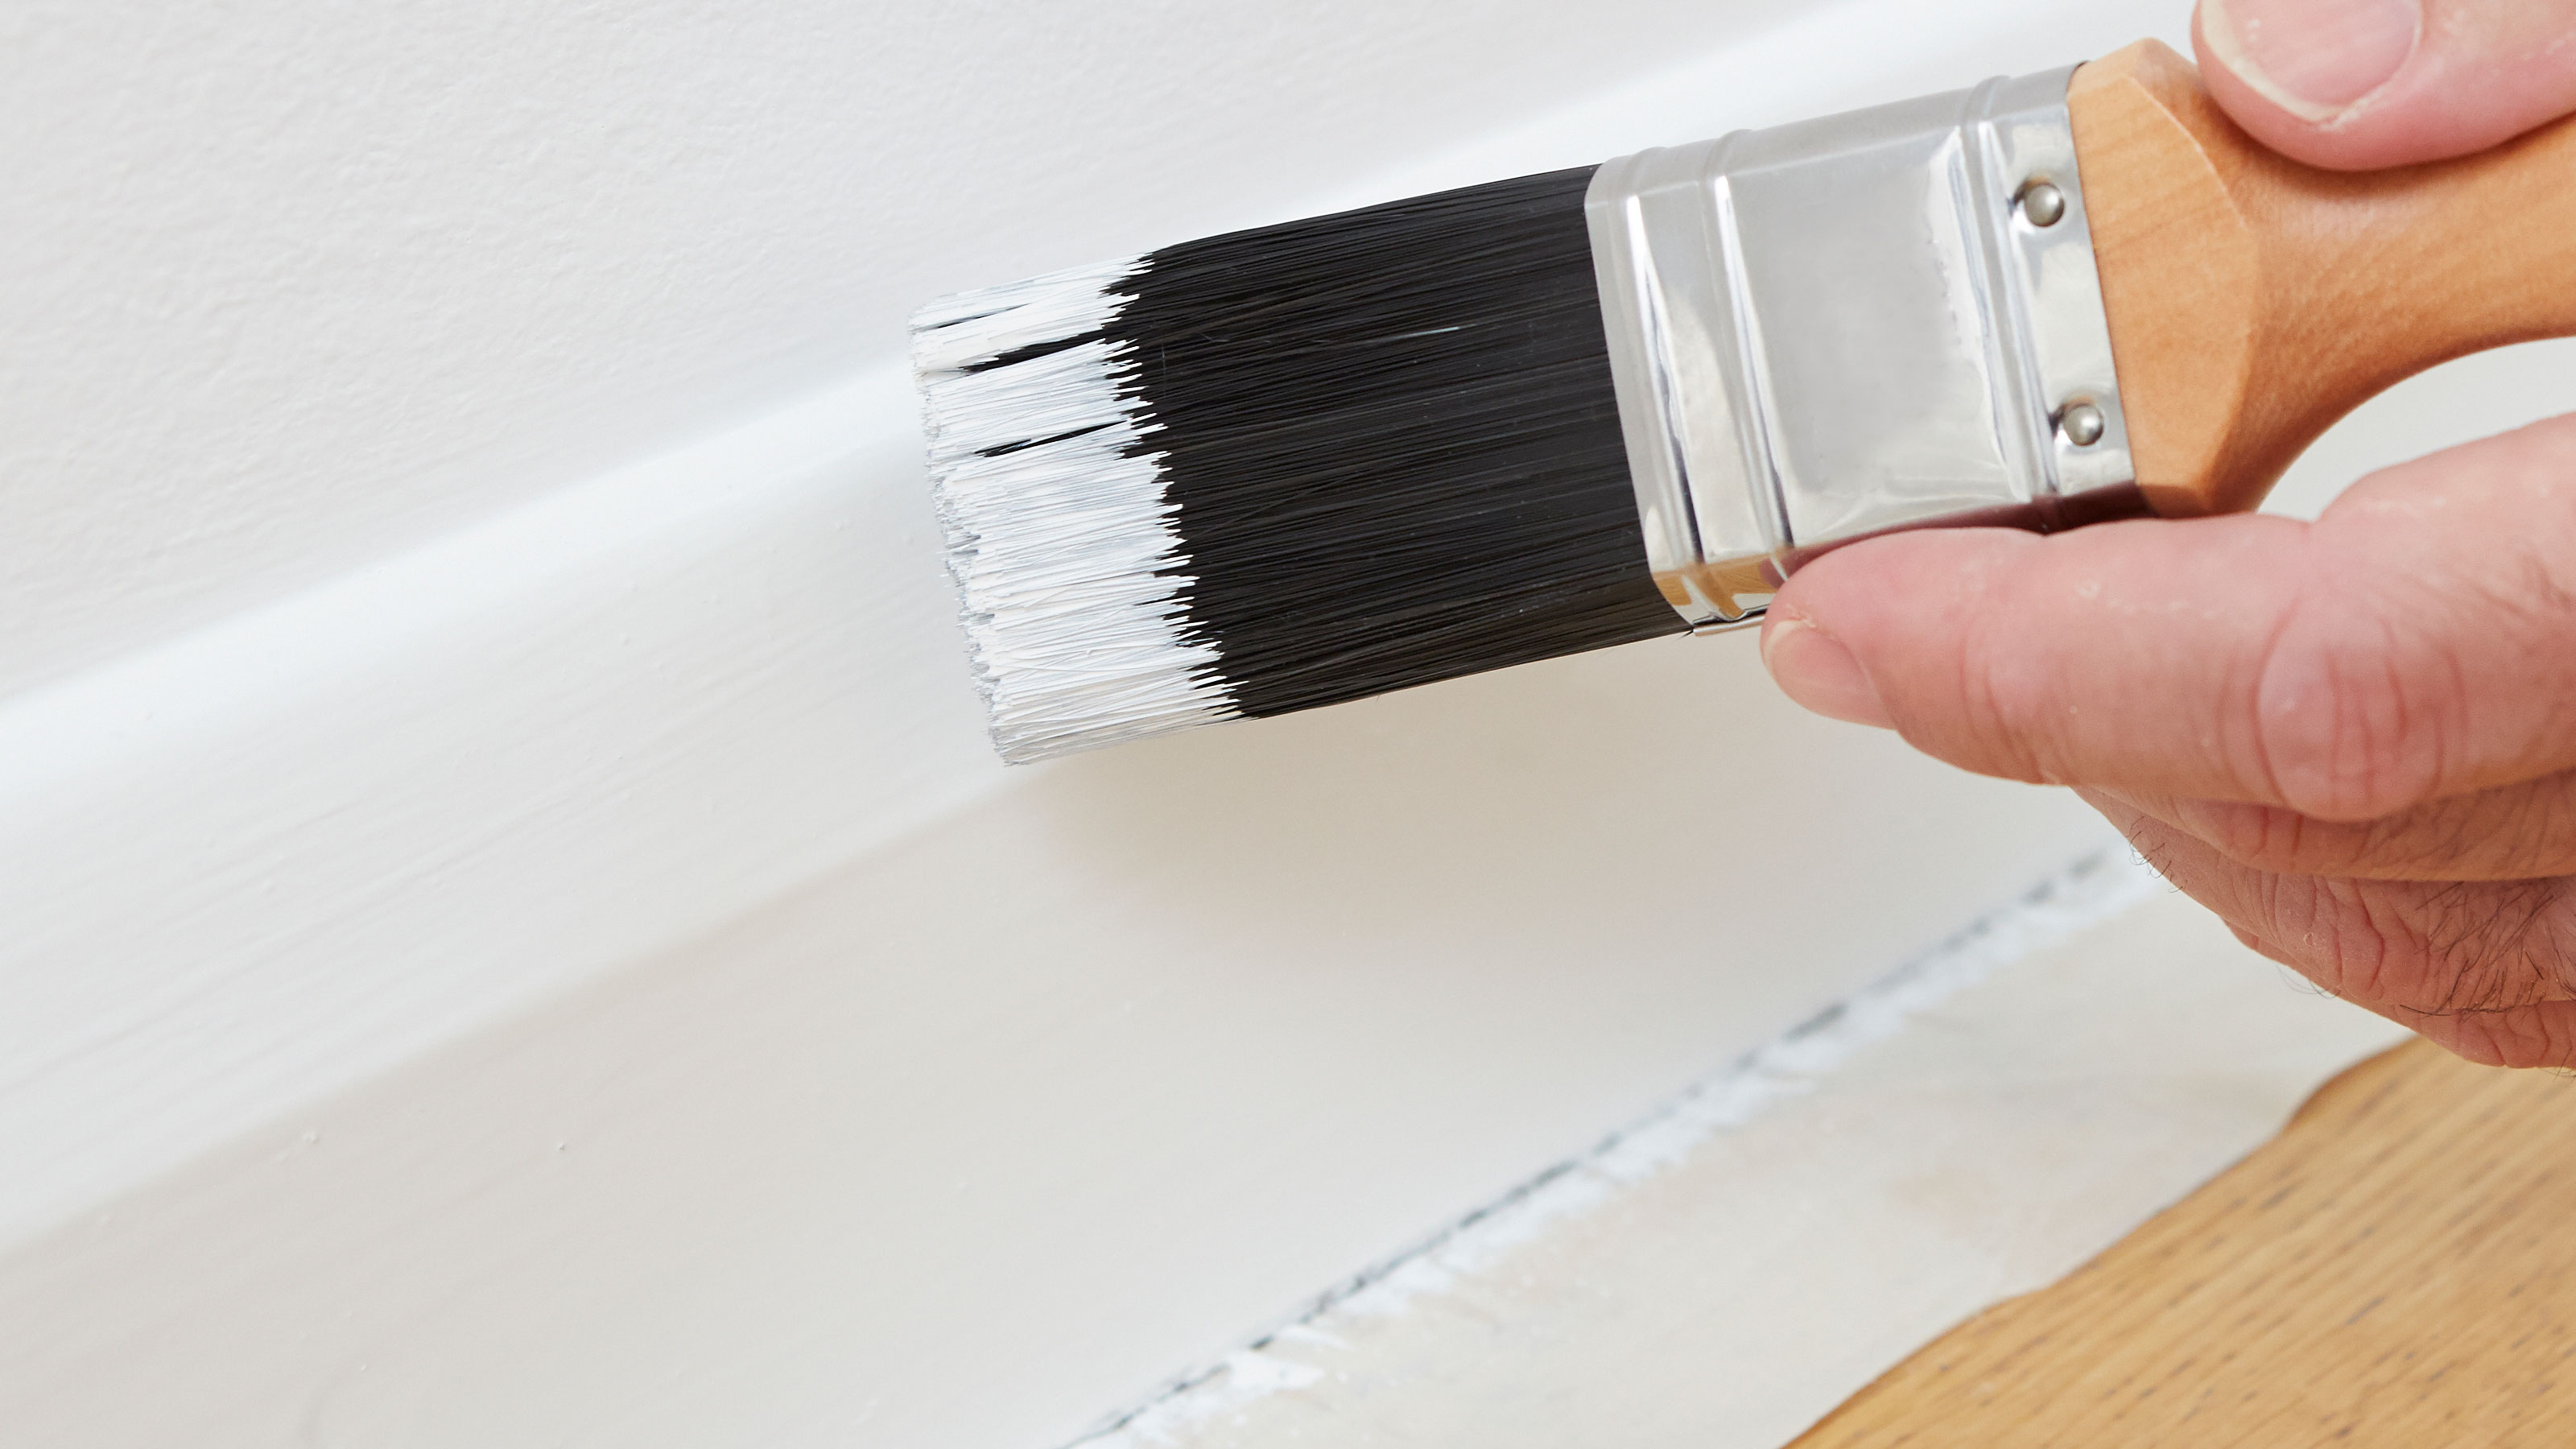
With your preparations complete, it’s time to apply the paint. Load the brush with paint, wiping away excess, and start by cutting into the top of the skirting. Work in sections, approximately a meter long, ensuring an even application. Always finish each stroke along the length of the board for a seamless result.
Second Coat: Building Excellence: Step 10
For an enduring and impeccable finish, applying a second coat is essential. The drying time depends on the type of paint used, so follow the recommendations on the can. Fortunately, there’s no need to sand between coats, making the process more efficient.

Unveiling the Masterpiece: Tape Removal
Once the second coat is fully dry, remove the masking tape with care. For carpeted floors, push down the tape’s edge to “break” the seal before unveiling your perfectly painted skirting boards.

There you have it, folks – a step-by-step guide on How to Paint Skirting Boards & Trim like a Pro! By now, your space should be radiating with newfound charm and color. Remember, the devil’s in the details, so take your time, enjoy the process, and revel in the satisfaction of a job well done. Now, sit back, relax, and admire your freshly painted skirting boards and trim – you’re officially a DIY Picasso!
FAQs
Can you just paint over skirting boards?
Yes, you can paint over skirting boards. However, for the best results, it’s recommended to properly prepare the surface before painting. This includes cleaning, sanding, and possibly priming the skirting boards to ensure better adhesion of the paint.
How do you prep skirting for painting?
To prep skirting for painting:
- Clean the skirting boards to remove dust, dirt, and grease.
- Fill any cracks or holes with wood filler and sand the surface smooth.
- Sand the skirting boards to create a slightly rough surface for better paint adhesion.
- Wipe down the skirting boards to remove any sanding dust.
- Apply painter’s tape to protect adjacent surfaces.
Should you paint skirting or walls first?
We recommended sequence is to paint the skirting boards before the walls. This helps avoid accidentally getting paint on the freshly painted walls when working on the lower portion. However, some people may prefer to paint the walls first and then the skirting boards, depending on personal preference and the specific project.
Do you paint skirting boards with a roller or brush?
Both rollers and brushes can be used to paint skirting boards. A brush is often used for precision and cutting in along the edges, while a small roller can be used for larger flat areas. Using a combination of both tools may provide the best results, with a brush for edges and a roller for broader sections.
How do you prevent brush marks when painting skirting boards?
To prevent brush marks when painting skirting boards:
- Use a high-quality paintbrush with fine bristles.
- Thin the paint slightly for smoother application.
- Paint in the direction of the wood grain.
- Work quickly and avoid overworking the paint.
- Use long, smooth strokes and feather the edges.
- Consider using a paint conditioner or extender to slow down the drying time.
How many coats of paint on skirting boards?
The number of coats needed depends on the color and type of paint, as well as the condition of the skirting boards. In most cases, We recommend using two coats for skirting boards to ensure greater protection. However, if you’re covering a dark color with a lighter one, or if the wood is porous, you may need an additional coat for proper coverage and a smooth finish.
