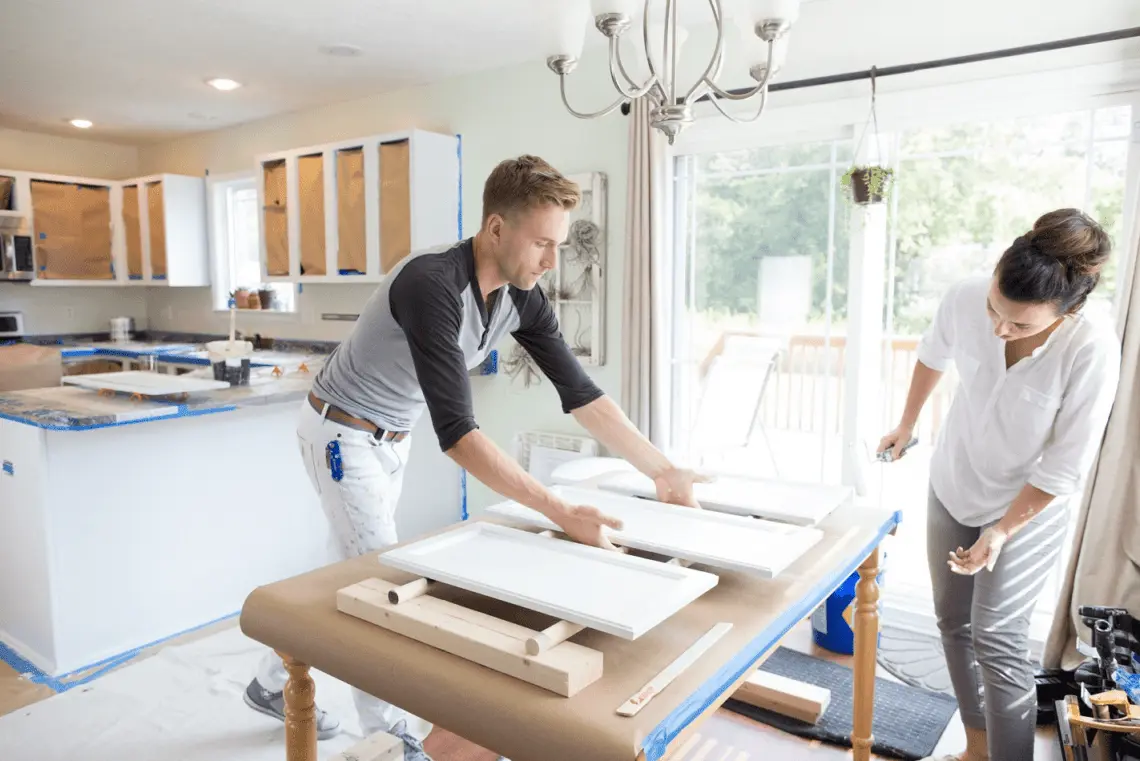
Painting kitchen cabinets gives homeowners a durable, long-lasting product at half of the cost of buying new! In 8-10 years you might be selling your house, or you might want to change your cabinets again, so if you don’t need new cabinets, consider cabinet painting for a quick
Painting kitchen cabinets is an excellent way to breathe new life into your kitchen without a full remodel. Whether you want to update the color, refresh worn-out cabinets, or give your kitchen a fresh and modern look, this step-by-step guide will walk you through the process of painting kitchen cabinets effectively and efficiently.
Table of Contents
Why painting kitchen cabinets?
Painting kitchen cabinets is a cost-effective way to give your kitchen a fresh look, and it allows you to express your style through color and finish choices. Whether you prefer a classic white kitchen, a bold pop of color, or a trendy two-tone design, painting your cabinets can transform your space.

Preparation: Gather Supplies and Prep the Area
Before you begin, gather the necessary supplies:
- Screwdriver or drill
- Painter’s tape
- Drop cloths or plastic sheeting
- Sandpaper (medium and fine grit)
- Tack cloth or microfiber cloth
- Primer suitable for cabinets
- High-quality paint (oil-based or latex)
- Paintbrushes and rollers
- Paint tray
- Cabinet hardware
Prep the area by removing items from your cabinets, covering countertops and appliances with drop cloths or plastic sheeting, and ensuring good ventilation.
Step 1: Remove Cabinet Hardware and Doors
Start by removing all cabinet hardware, including handles, knobs, and hinges. Use a screwdriver or drill to make this process faster. Take off the cabinet doors as well, making sure to label them for easy reassembly.

Step 2: Clean and Degrease Cabinets
Thoroughly clean cabinet surfaces with a mixture of warm water and a gentle, grease-cutting cleaner. Ensure that all dirt, grime, and grease are removed. Rinse with clean water and allow the cabinets to dry completely.

Step 3: Sand the Surfaces
Lightly sand the cabinet surfaces with medium-grit sandpaper to create a rough texture that will help the primer adhere. Follow up with fine-grit sandpaper to smooth the surface. After sanding, use a tack cloth or microfiber cloth to remove dust.

Step 4: Prime the Cabinets before painting kitchen cabinets
Apply a high-quality primer specifically designed for cabinets. Use a paintbrush or roller to ensure even coverage. Allow the primer to dry completely, typically for 24 hours, before moving on to the next step.
Step 5: Apply the Paint
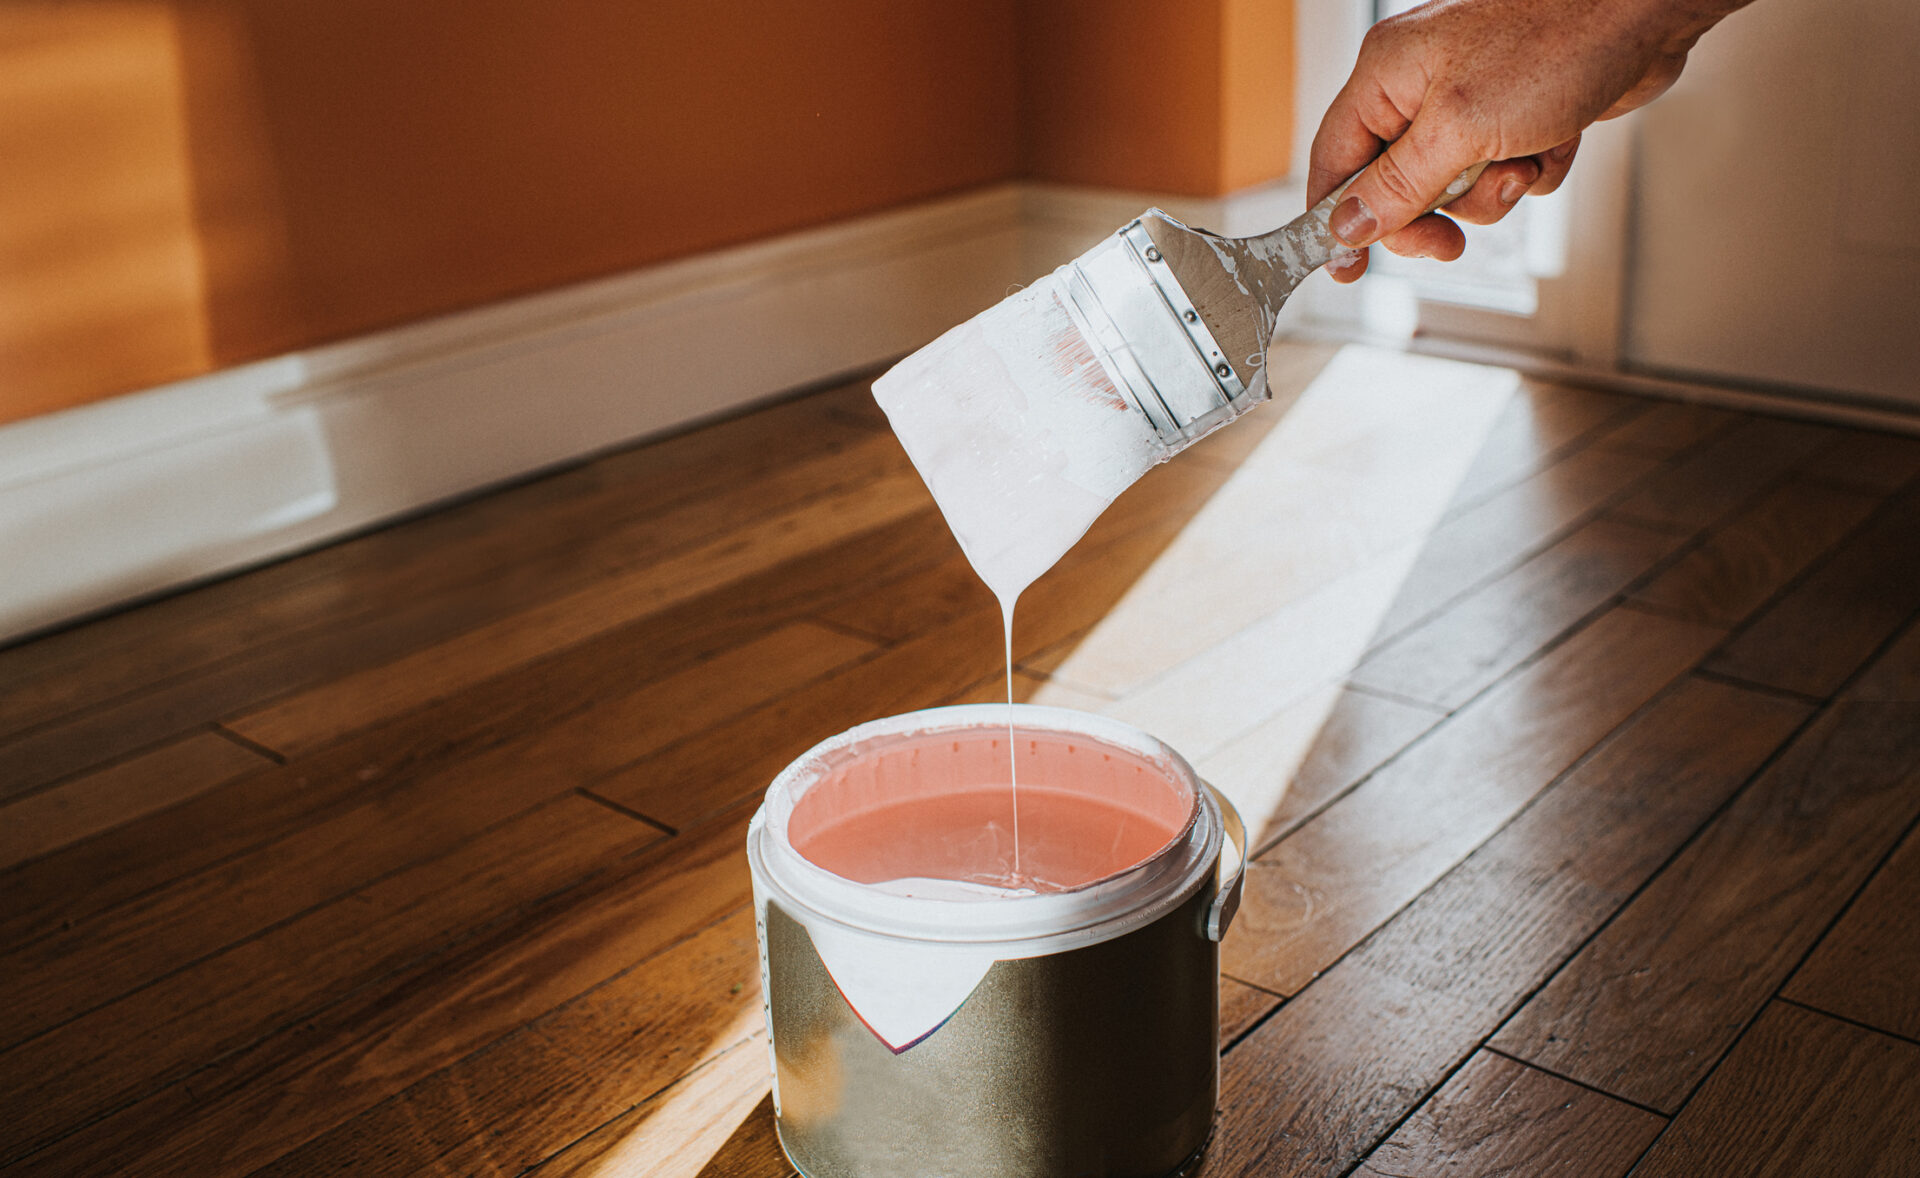
After choosing paint color we use a paintbrush or a paint sprayer, apply the first coat of paint to the cabinet frames and doors. Use long, even strokes to achieve a smooth finish. Be patient and take your time to avoid drips and uneven coverage.
The Importance of Choosing the Right Paint
Kitchen cabinets are exposed to daily wear and tear, including moisture, heat, and frequent use. Therefore, it’s crucial to select a high-quality paint that can withstand these conditions and maintain its finish over time. The right paint can also make the painting process more manageable, ensuring smooth application and a professional appearance.
Benjamin Moore Advance
Key Features:
- Benjamin Moore Advance is a waterborne alkyd paint, combining the best of both water-based and oil-based paints.
- It offers excellent durability and a smooth, furniture-like finish.
- The paint dries to a hard, durable surface, making it ideal for high-traffic areas like kitchens.
- It comes in a wide range of colors, allowing you to choose the perfect shade for your kitchen.
Sherwin-Williams ProClassic
Key Features:
- Sherwin-Williams ProClassic is known for its exceptional flow and leveling properties, resulting in a smooth and professional finish.
- It’s available in both water-based acrylic-alkyd and oil-based formulations.
- The water-based option is low in VOCs (volatile organic compounds), making it environmentally friendly.
- It provides excellent adhesion and durability, making it suitable for kitchen cabinets.
Valspar Cabinet Enamel
Key Features:
- Valspar Cabinet Enamel is a water-based paint specifically designed for cabinets.
- It offers a durable, semi-gloss finish that is easy to clean and maintain.
- The paint is self-leveling, reducing the appearance of brush strokes or roller marks.
- It provides good coverage, often requiring fewer coats for a satisfactory finish.
Behr Premium Cabinet and Trim Enamel
Key Features:
- Behr Premium Cabinet and Trim Enamel is a water-based, low-VOC paint.
- It provides a smooth and durable finish that resists stains and wear.
- The paint is easy to clean and maintain, making it suitable for kitchen cabinets.
- It is available in a range of colors and can be tinted to your desired shade.
Farrow & Ball Modern Eggshell
Key Features:
- Farrow & Ball Modern Eggshell is known for its luxurious, low-sheen finish.
- It offers excellent durability and is resistant to scuffs and stains.
- The paint is water-based, low in VOCs, and environmentally friendly.
- While it comes in a limited color palette, the shades are timeless and elegant.
Key Considerations When Choosing Cabinet Paint
When selecting paint for your kitchen cabinets, consider the following factors:
- Durability: Look for paints that offer good durability, as cabinets are subject to daily wear and tear.
- Finish: Choose a finish that suits your preferences, whether it’s a high-gloss, semi-gloss, or satin finish.
- Ease of Application: Opt for paints that are easy to apply, with good flow and leveling properties, to achieve a smooth finish.
- Color Options: Consider the range of colors available to ensure you can achieve your desired look.
- Environmental Impact: Check the paint’s VOC content if you are concerned about environmental factors.
- Budget: Determine your budget and choose a paint that offers the best balance of quality and cost.

Step 6: Apply Additional Coats
Allow the first coat to dry thoroughly, usually for 24 hours. Then, apply a second coat of paint. Depending on the color and finish, you may need to apply a third coat for full coverage. Ensure each coat dries completely before applying the next.

Step 7: Reattach Hardware and Doors
Once the final coat is dry, reattach the cabinet hardware and doors. Use your labels to match doors to their original positions. Make any necessary adjustments to ensure everything fits perfectly.

Step 8: Finish and Reassemble
Inspect the cabinets for any touch-ups or areas that may need additional paint. Once you’re satisfied with the finish, allow the paint to cure fully, which can take several days. During this time, avoid heavy use of the cabinets to prevent damage.

Maintaining Painted Cabinets
To keep your newly painted cabinets looking their best, clean them regularly with a mild, non-abrasive cleaner. Avoid harsh chemicals that can damage the paint. Be cautious when opening and closing cabinet doors to prevent chipping or scratching.
How Much Does It Cost to painting kitchen cabinets?
If you’re looking to give your kitchen a fresh and budget-friendly makeover, painting your kitchen cabinets can be an excellent choice. It can transform the look of your kitchen and give it a new lease on life without the high cost of a full kitchen renovation. However, the cost of painting kitchen cabinets can vary widely depending on several factors. In this article, we’ll break down these factors and provide you with a better understanding of the potential costs involved.
The Benefits of Painting Kitchen Cabinets
Painting kitchen cabinets is an attractive option for homeowners seeking a kitchen upgrade without the expense of replacing cabinets entirely. It allows you to change the color, style, and overall look of your kitchen, making it a popular choice for those on a budget.
Factors That Affect the Cost of Painting Kitchen Cabinets
Several factors can influence the cost of painting kitchen cabinets. It’s essential to consider these factors when planning your project:
- Cabinet Size and Quantity: The more cabinets you have and the larger they are, the more paint and time the project will require.
- Cabinet Condition: Cabinets in good condition may require less preparation work, while damaged or heavily worn cabinets might need repairs, filling, and sanding.
- Paint Quality: Higher-quality paints and primers typically cost more but can result in a better and more durable finish.
- Cabinet Material: Different materials (e.g., wood, laminate, MDF) may require specific primers and paints, affecting the cost.
- Professional vs. DIY: Hiring a professional painter will incur labor costs, while a DIY approach can save money but may require your time and effort.
- Color and Finish: Special paint colors, finishes (e.g., glaze, distressed), or two-tone designs can impact costs.
- Location: Labor costs can vary by region, affecting the overall project cost.
- Hardware Replacement: If you plan to replace cabinet hardware, this cost should be factored in.
Cost Breakdown: Labor vs. Materials
The cost of painting kitchen cabinets can typically be divided into labor and materials:
- Labor: This includes the cost of hiring a professional painter or the value of your own time if you choose to DIY. Labor costs can vary based on location, complexity, and the number of cabinets.
- Materials: This encompasses the cost of paint, primer, sandpaper, brushes, rollers, painter’s tape, drop cloths, and any additional materials needed for repairs or preparation.
Average Cost of Painting Kitchen Cabinets
The cost of painting kitchen cabinets can range from $1,000 to $5,000 or more, depending on the factors mentioned above. Here’s a rough breakdown of costs based on a mid-sized kitchen with 30 linear feet of cabinets:
- DIY Cost: If you choose to DIY, the cost of materials may range from $200 to $500. This includes paint, primer, sandpaper, and supplies.
- Professional Cost: Hiring a professional painter can cost between $1,000 and $3,000 or more, depending on the complexity of the job and your location. This cost includes both labor and materials.
- Additional Costs: If you plan to replace hardware or make repairs to damaged cabinets, budget for those expenses separately.
Ways to Save on Cabinet Painting Costs
If you’re looking to minimize the cost of painting kitchen cabinets, consider the following tips:
- DIY: If you have the time and skills, painting cabinets yourself can significantly reduce labor costs.
- Opt for Standard Colors: Choosing standard paint colors can be more budget-friendly than custom or specialty colors.
- Proper Preparation: Invest time in proper cleaning, sanding, and priming to ensure the best paint adhesion.
- Reuse Hardware: If your cabinet hardware is in good condition and matches your new design, consider keeping it.
- Get Multiple Quotes: If hiring a professional, obtain quotes from multiple painters to find the best value.
- Consider Refinishing: Instead of a complete repaint, refinishing cabinets with a fresh coat of the same color can save time and money.

FAQs
Is it better to paint or replace kitchen cabinets?
Whether to paint or replace kitchen cabinets depends on your budget and the condition of your cabinets. Painting is a cost-effective option that can give your cabinets a fresh look. If your cabinets are in good structural condition and you like the layout, painting is a viable choice. However, if your cabinets are severely damaged or outdated, replacement may be necessary for a complete transformation.
Should I use oil-based or latex paint for kitchen cabinets?
Both oil-based and latex paints can be used for kitchen cabinets. Oil-based paints offer durability and a smooth finish but require longer drying times and proper ventilation. Latex paints are easier to clean up and have a lower odor, but they may require more coats for full coverage. Choose the one that best suits your needs and preferences.
Do I need to sand cabinets before painting?
Yes, sanding cabinets before painting is a crucial step. It helps create a rough surface that allows the primer and paint to adhere better. Sanding also smooths out any imperfections on the cabinet surface. Start with medium-grit sandpaper and finish with fine-grit sandpaper for a smooth finish.
How long does it take painting kitchen cabinets?
Painting kitchen cabinets is a multi-day project. It typically takes a few days to complete, including time for cleaning, sanding, priming, and applying multiple coats of paint. Drying times between coats and curing time for the final finish should also be considered. Plan accordingly and be patient for the best results.
What’s the best way to ensure a smooth paint finish on cabinets?
To achieve a smooth paint finish on cabinets, use high-quality brushes and rollers specifically designed for cabinets or fine finishes. Apply paint with long, even strokes and avoid overloading the brush or roller. Proper preparation, including cleaning, sanding, and priming, is key to achieving a smooth finish. Additionally, choose a paint with a self-leveling formula to help eliminate brush strokes.
Can I change the hardware on painted cabinets?
Yes, you can change the hardware on painted cabinets. Swapping out knobs, handles, and hinges is a great way to update the look of your cabinets. Just be sure to properly fill any existing holes from the previous hardware before attaching the new hardware.
How can I prevent paint from chipping on cabinet edges?
To prevent paint from chipping on cabinet edges, ensure proper preparation by sanding and priming these areas. Use high-quality paint that is designed for cabinets and is resistant to chipping and wear. Be gentle when opening and closing cabinet doors to avoid undue stress on the paint.
Is it possible to paint laminate cabinets?
Yes, you can paint laminate cabinets, but proper preparation is essential. Laminate surfaces require special primers designed for adhesion to smooth, non-porous materials. Follow the same painting steps as with wooden cabinets, and ensure the primer and paint are suitable for laminate surfaces.
