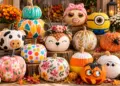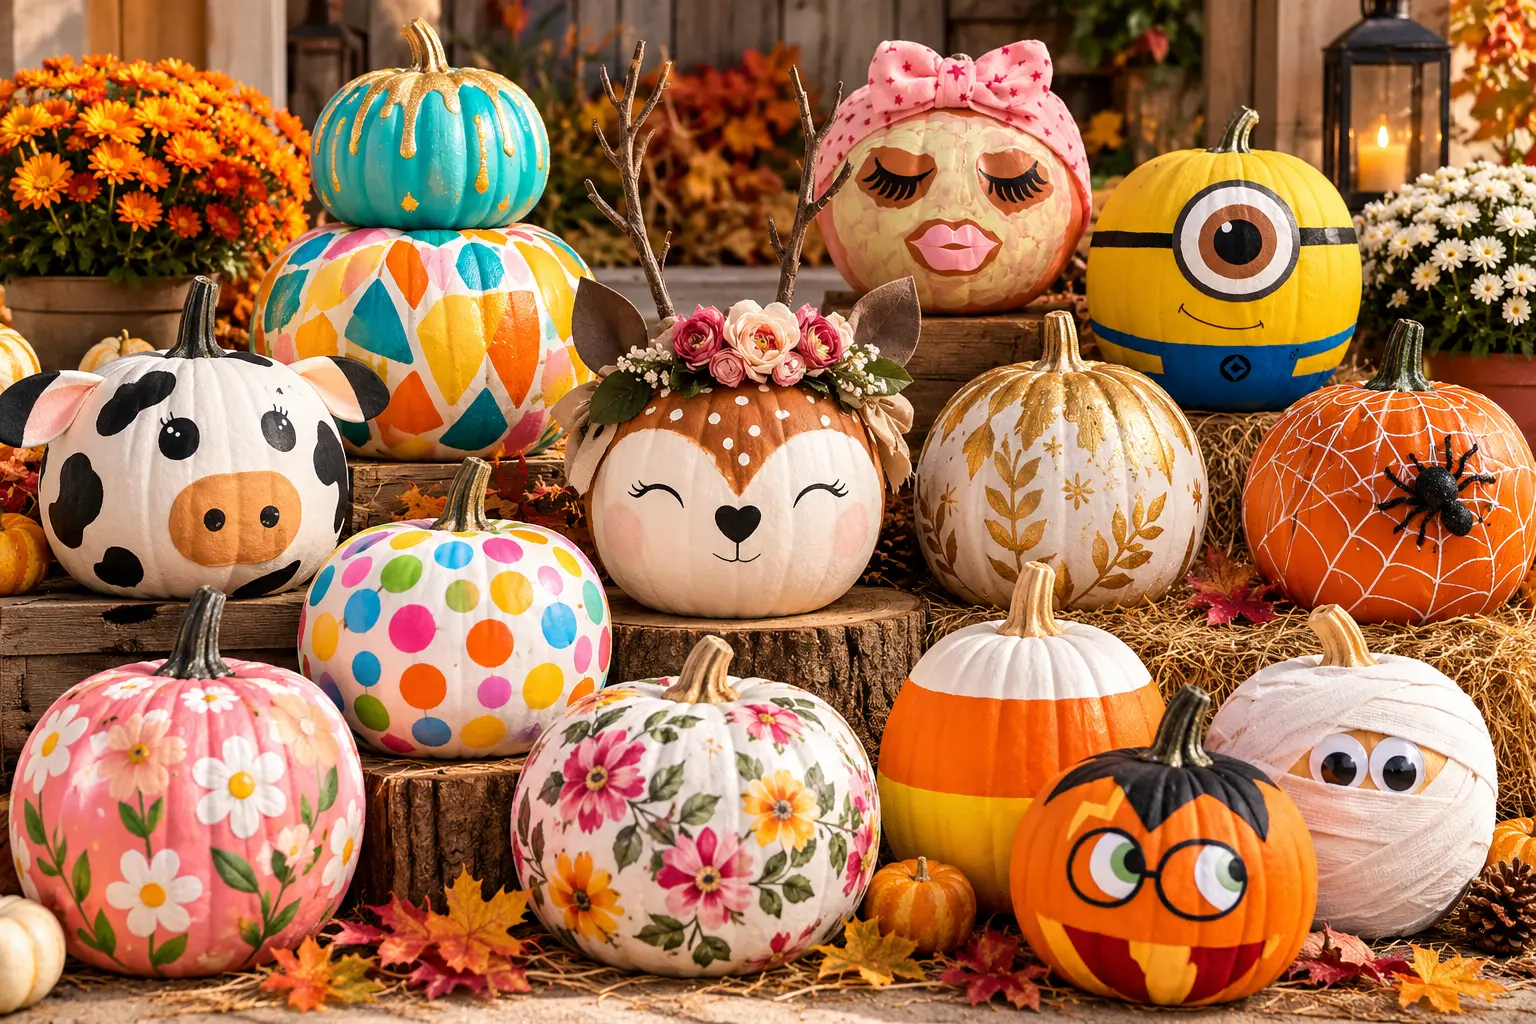
Looking for easy no carve pumpkin decorating ideas for Halloween and fall? You don’t need carving tools to create beautiful, funny, or spooky pumpkins! With a little paint, artificial flowers, ribbons, and simple craft supplies, you can transform ordinary pumpkins into eye-catching seasonal decorations.
Whether you prefer cute animal designs, colorful painted pumpkins, or elegant fall decor, these 31 ideas offer inspiration for every style and skill level. They’re perfect for decorating your porch, hosting a Halloween party, or enjoying a creative afternoon with family.
Table of Contents
What You’ll Need for No-Carve Pumpkin Decorating
You don’t need an entire craft room to get started. A few basic supplies can help you create many different designs.
Here are some useful materials to gather before beginning:
- Pumpkins: Choose real pumpkins or reusable artificial ones in different sizes.
- Acrylic craft paint: Useful for colorful patterns, characters, flowers, and solid backgrounds.
- Paintbrushes and sponges: These help you apply paint smoothly and create different textures.
- Permanent markers: Great for drawing facial expressions, lettering, and small decorative details.
- Artificial flowers and leaves: Perfect for romantic, boho, and autumn-inspired designs.
- Ribbon and twine: Ideal for farmhouse, rustic, and elegant pumpkin decorations.
- Googly eyes: An easy way to create funny monsters and playful characters.
- Craft glue: Useful for attaching lightweight decorations.
- Stickers and decorative paper: Perfect for quick, colorful designs.
- Glitter and metallic paint: Excellent for glamorous Halloween and party decorations.
Before decorating a real pumpkin, gently clean its exterior and let it dry completely. If you’re using paint or glue, test the materials on a small area first. Always follow the product instructions, especially when working with sealants or adhesives.
For projects involving hot glue, sharp pins, or small decorations, adult supervision is important when children are participating.
Now, let’s explore the creative ideas!
Cute Deer Pumpkin
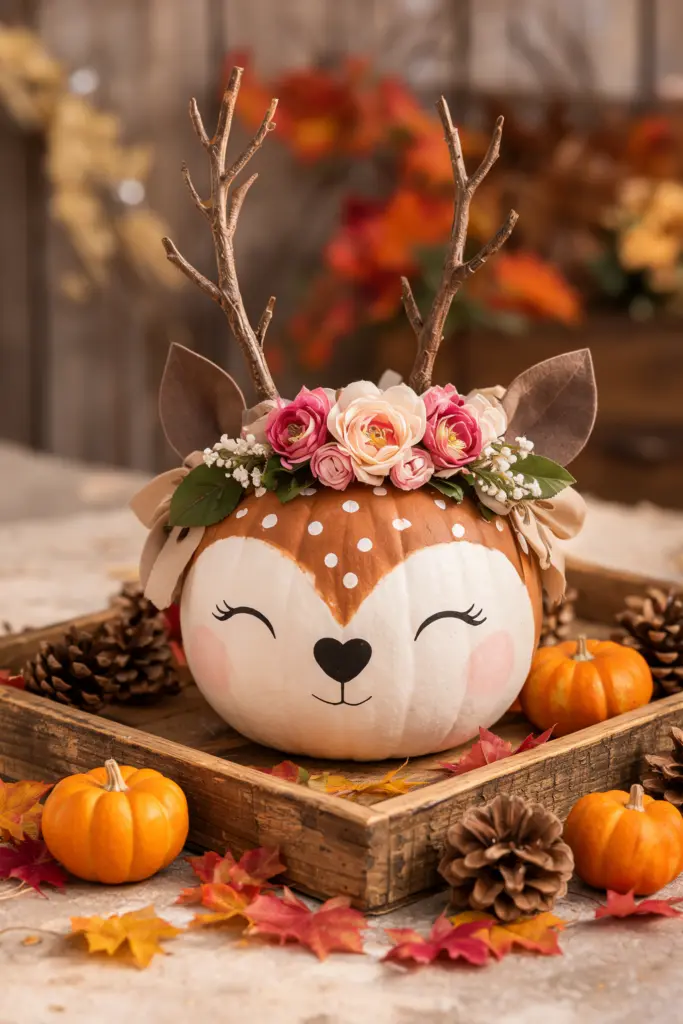
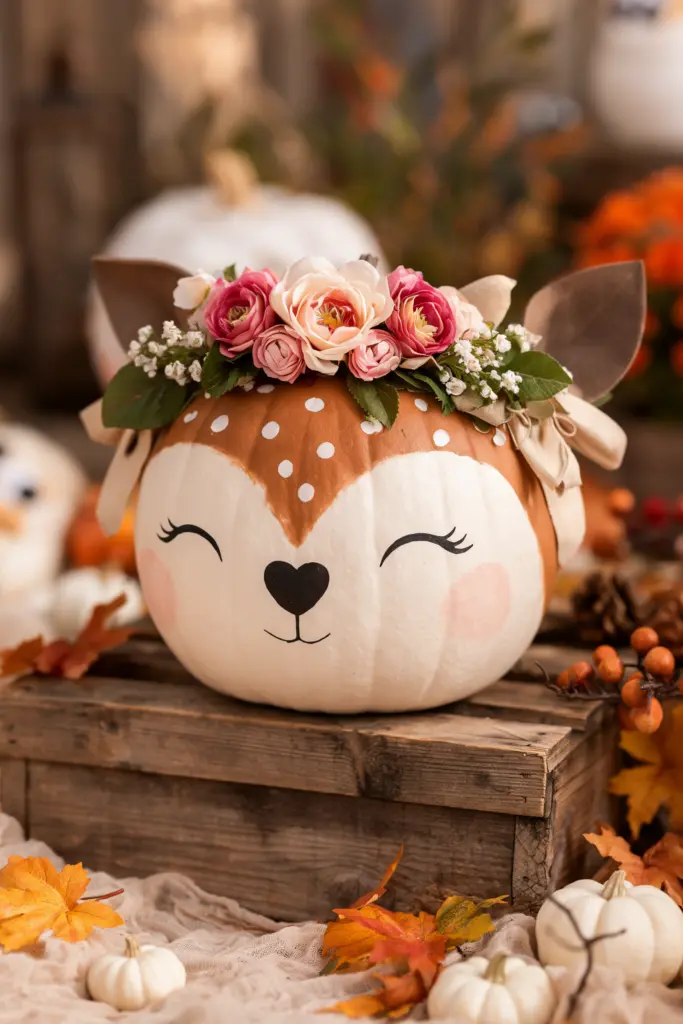
If you love woodland-inspired decorations, a deer pumpkin is one of the sweetest designs to try. Start with
- Paint a pumpkin creamy white or white pumpkin.
- Once the base is dry, paint a warm brown forehead patch across the top of the pumpkin, allowing it to curve naturally around the stem and small white spots.
- Draw closed eyes and a heart-shaped nose.
- Attach lightweight twig antlers and paper ears.
Floral Crown Pumpkin
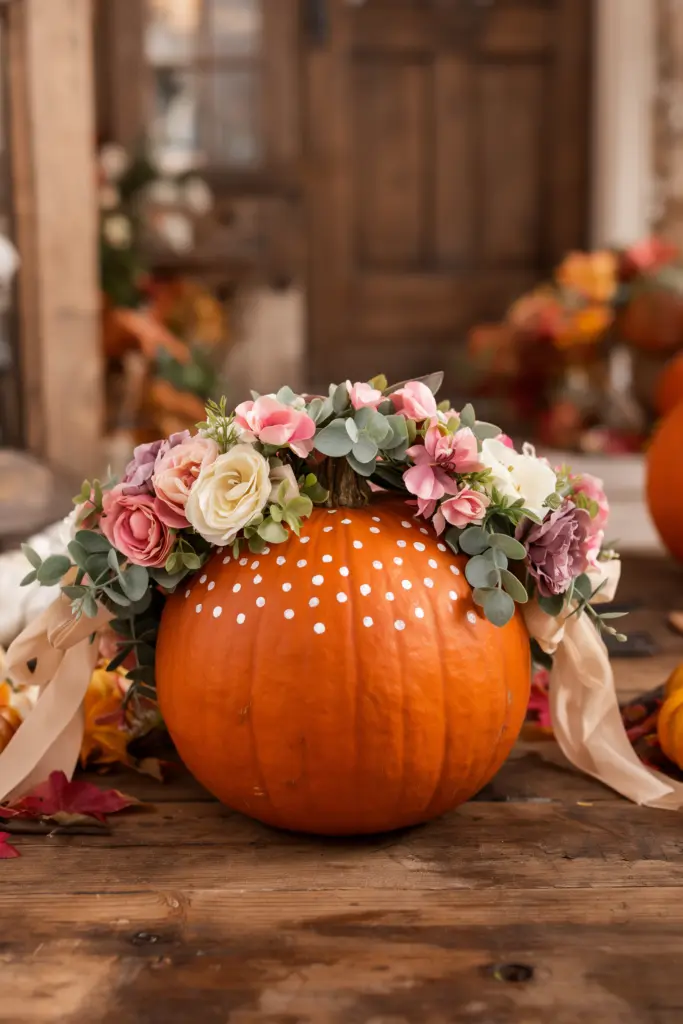
- Choose an orange or white pumpkin.
- Arrange artificial flowers and greenery around the stem.
- Secure the flowers with suitable craft glue.
- Finish with a soft pink or beige ribbon.
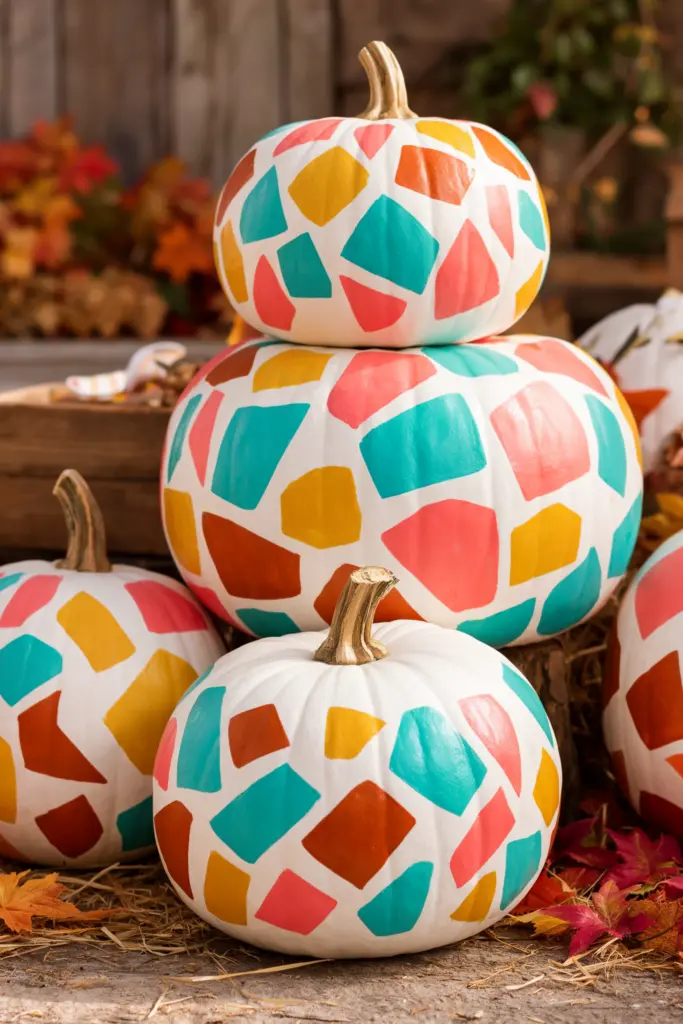
Colorful Geometric Pumpkin
- Paint the pumpkin white.
- Use painter’s tape to mark triangles and squares.
- Fill the shapes with turquoise, coral, yellow, and orange paint.
- Let everything dry before displaying.
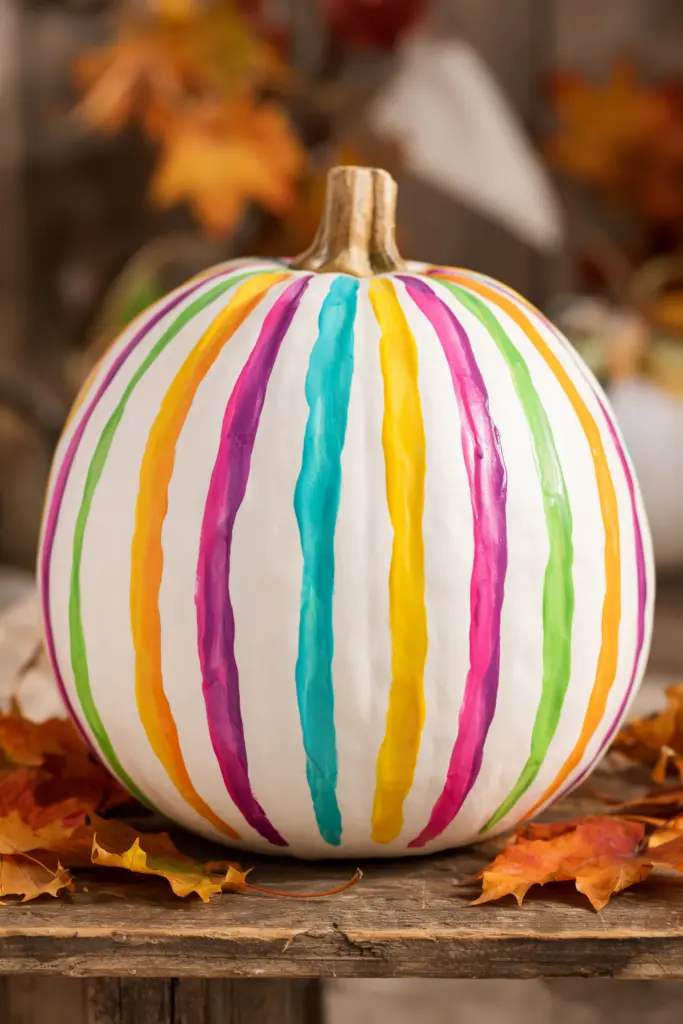
Rainbow Painted Pumpkin
- Apply a white base coat.
- Choose several bright paint colors.
- Paint rainbow stripes or colorful brushstrokes.
- Allow the design to dry completely.
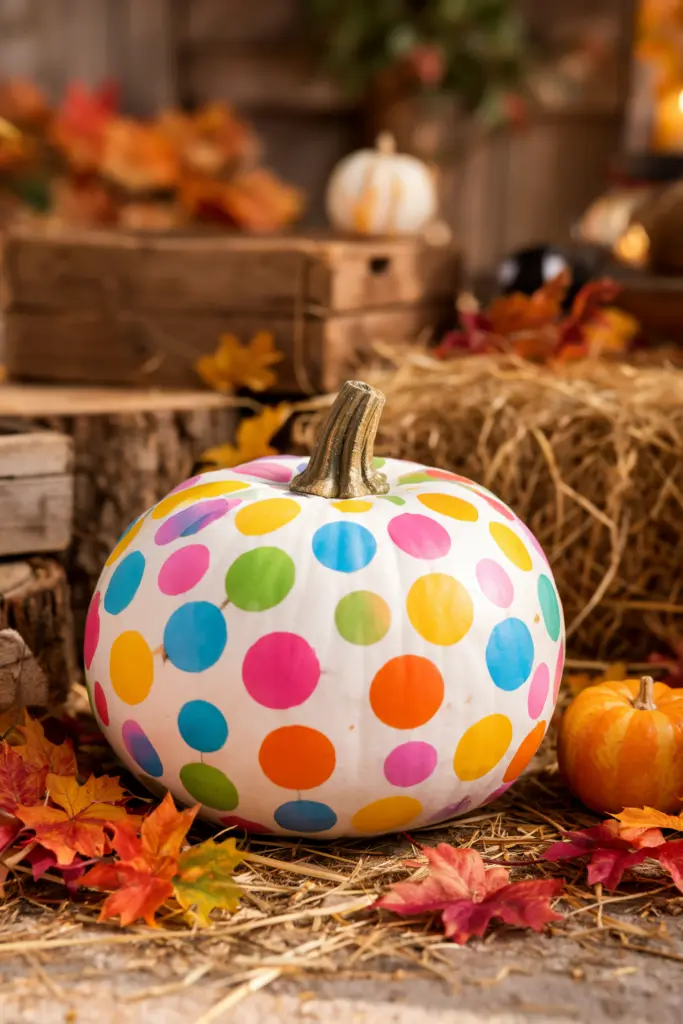
Polka Dot Pumpkin
- Choose a white or orange pumpkin.
- Dip a sponge brush into acrylic paint.
- Press colorful dots across the surface.
- Mix different sizes and shades for a playful look.
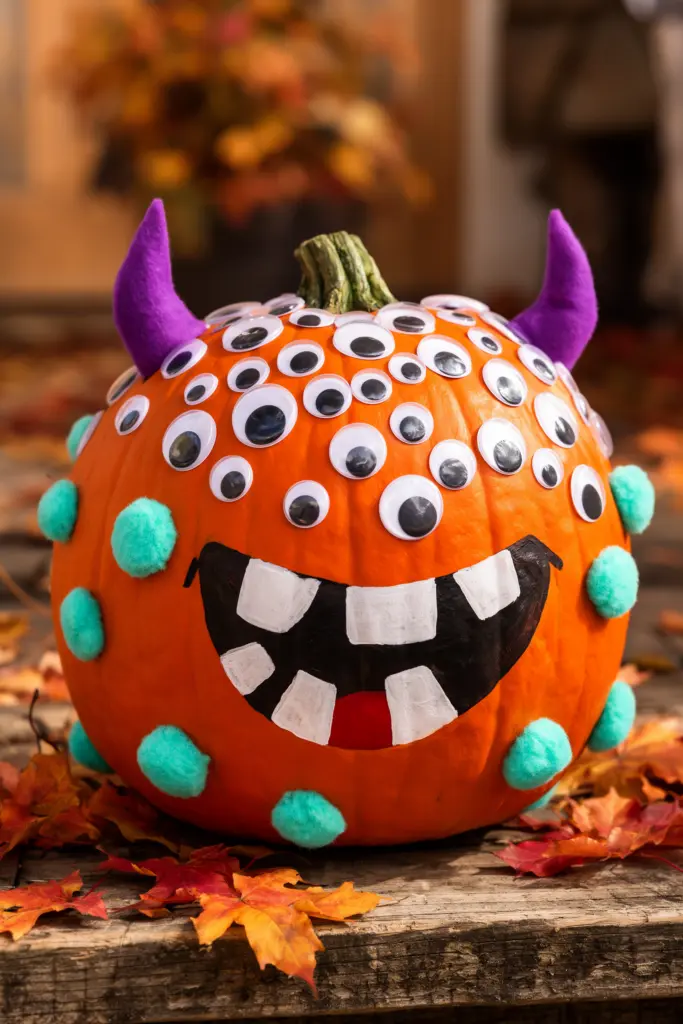
Funny Monster Pumpkin
- Choose a green, purple, orange, or white pumpkin.
- Attach googly eyes in different sizes.
- Paint a silly mouth and crooked teeth.
- Add paper horns, colorful spots, or felt eyebrows.
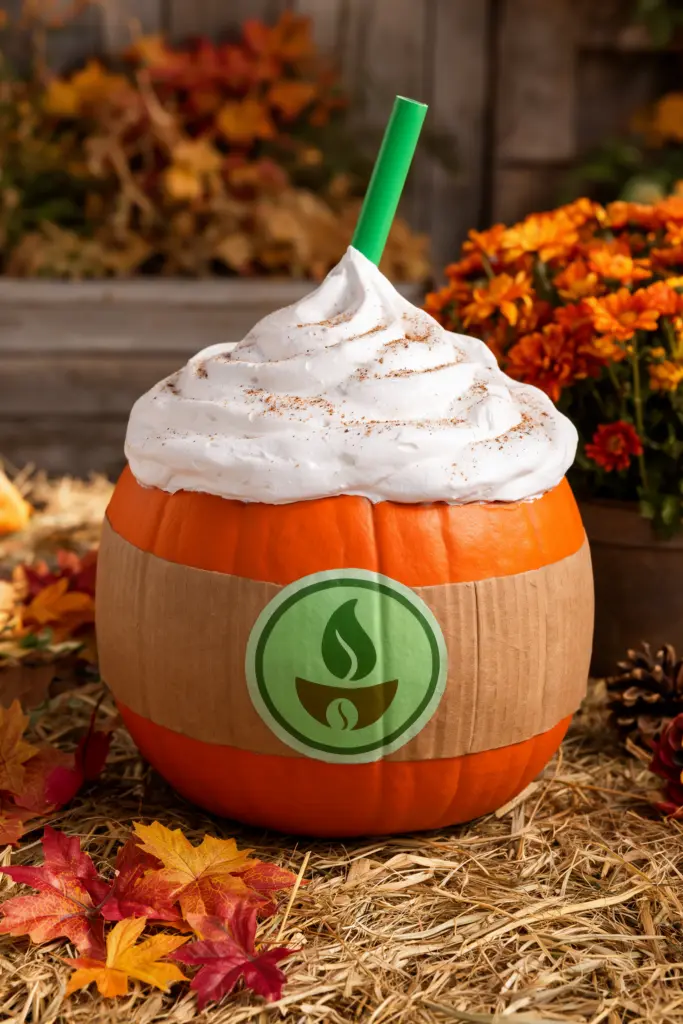
Pumpkin Spice Latte Pumpkin
- Start with an orange pumpkin.
- Paint a white band around the bottom.
- Add a brown coffee-cup sleeve.
- Paint white whipped cream near the stem and add cinnamon-colored dots.
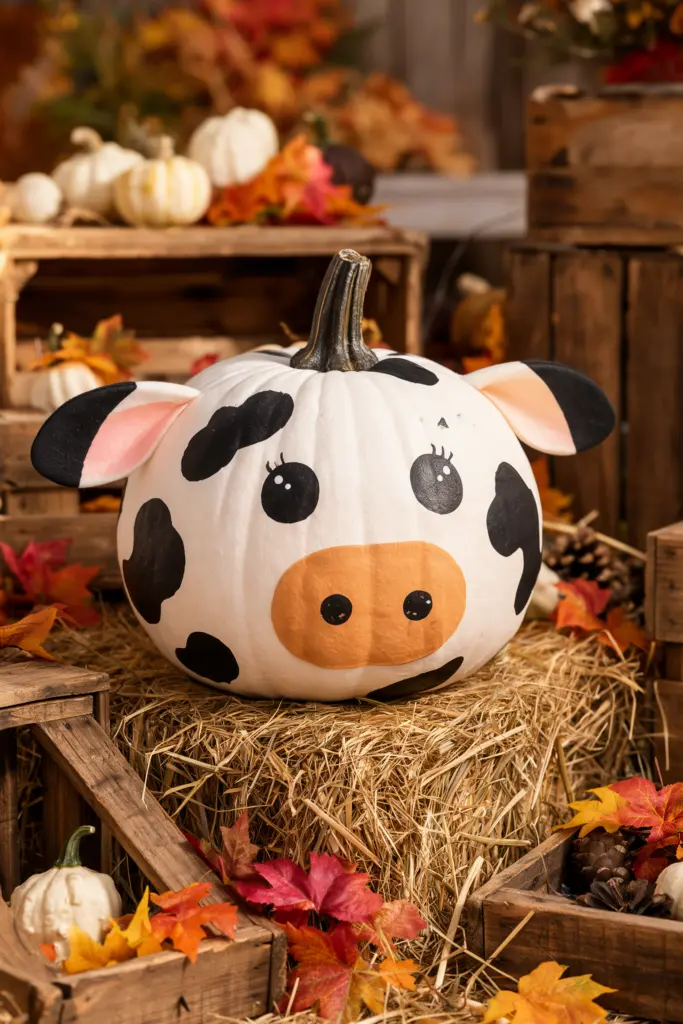
Adorable Cow Pumpkin
- Paint the pumpkin white.
- Add irregular black spots.
- Paint two eyes and a rounded brown muzzle.
- Attach small paper ears for extra charm.
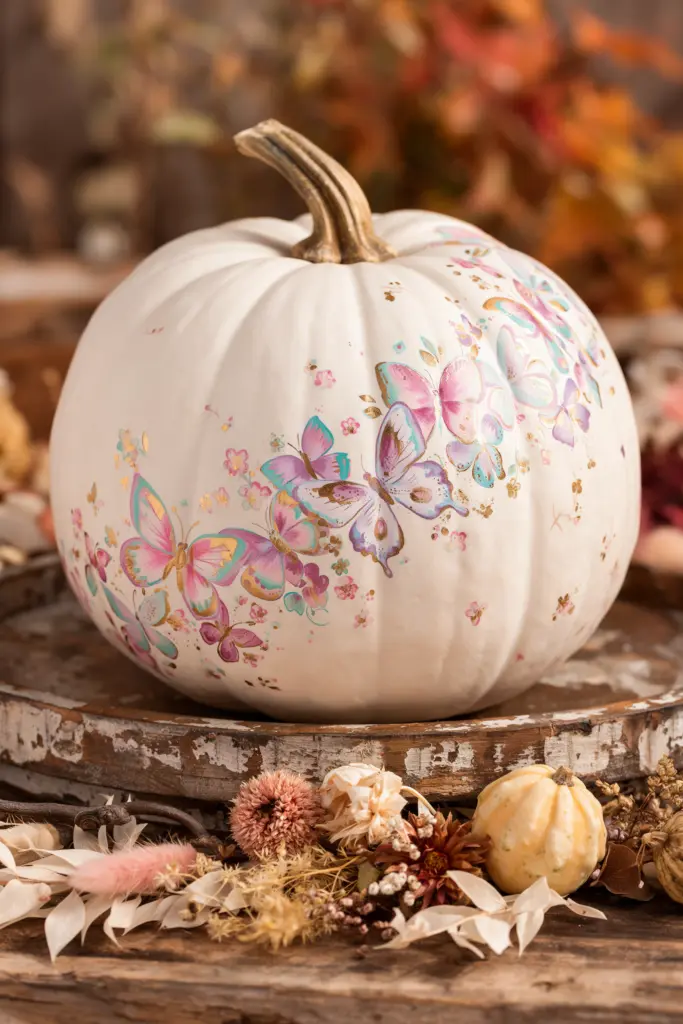
Beautiful Butterfly Pumpkin
- Paint a pumpkin white, cream, or pale pink.
- Draw butterfly outlines or apply butterfly stickers.
- Color the wings with pink, purple, turquoise, and gold.
- Add tiny flowers between the butterflies.
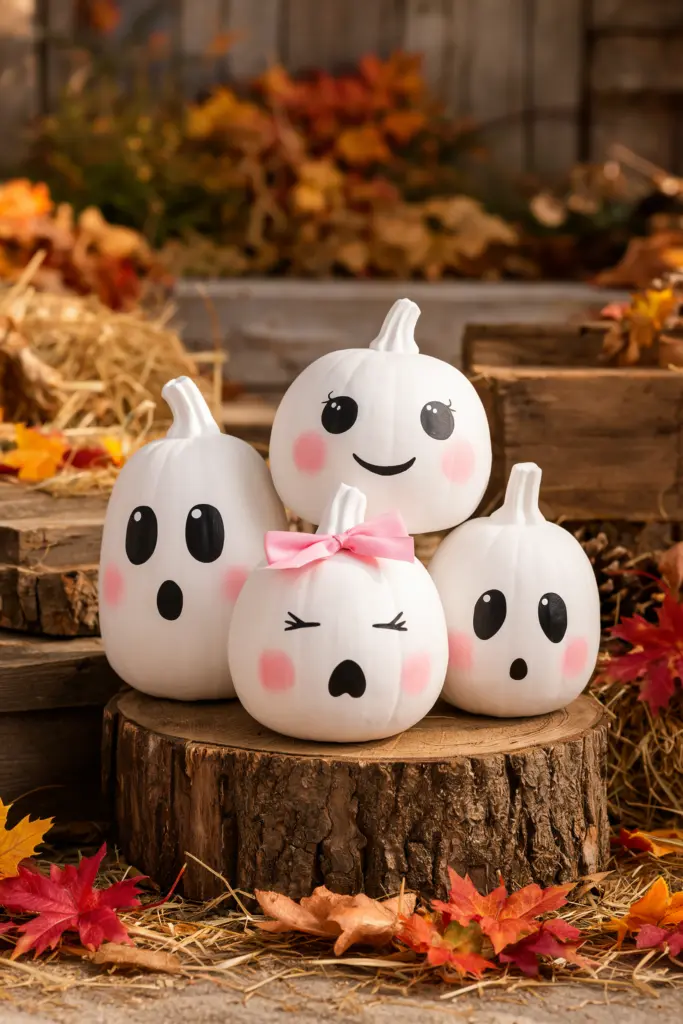
Ghost Family Pumpkins
- Paint three small pumpkins white.
- Draw black eyes and different facial expressions.
- Add rosy cheeks or little bows.
- Arrange the pumpkins together to create a ghost family.
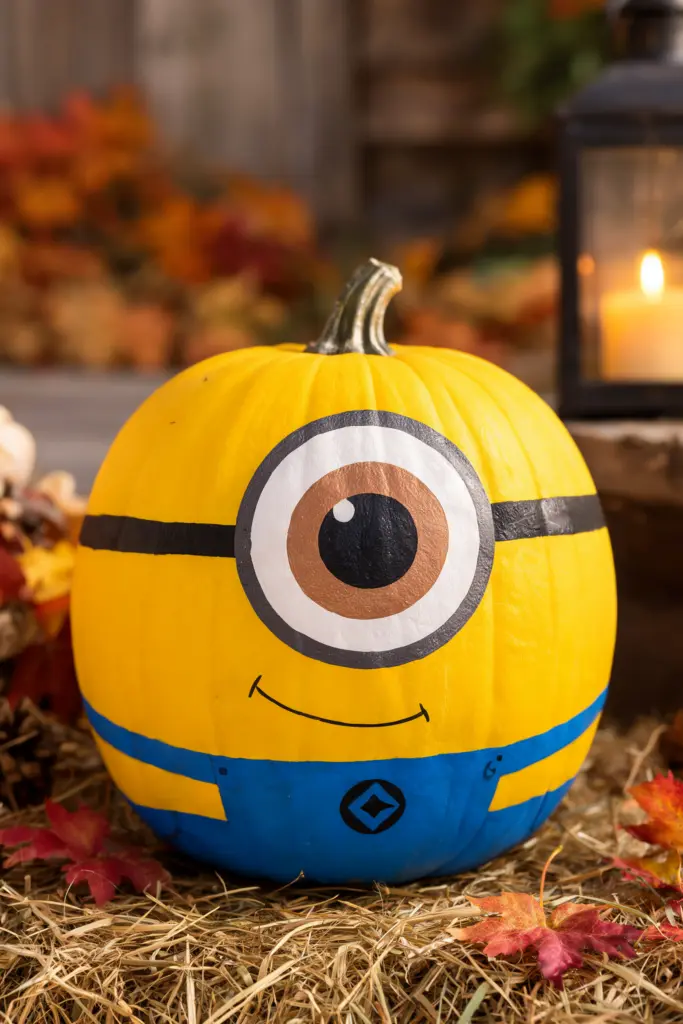
Minion Pumpkin
- Paint the pumpkin bright yellow.
- Add one or two large eyes.
- Paint silver goggle rings with black outlines.
- Add a blue overall band and a cheerful smile.
Pumpkin Ice Cream Cone
- Paint a small pumpkin pink, mint green, or cream.
- Add colorful sprinkle-shaped paint strokes.
- Draw a caramel-colored waffle pattern near the bottom.
- Attach a lightweight paper cone if desired.
Glamorous Gold Pumpkin
- Paint a pumpkin white or cream.
- Add metallic gold lines, dots, or leaves.
- Leave some of the base color visible.
- Display it with neutral flowers and wooden accessories.
Candy Corn Pumpkin
- Choose an orange pumpkin.
- Paint the bottom section yellow.
- Paint the top section white.
- Keep the middle orange to recreate the classic candy colors.
Spiderweb Pumpkin
- Paint the pumpkin orange or black.
- Draw thin white lines radiating from one point.
- Connect the lines with curved strokes.
- Add a small decorative spider.
Mummy Pumpkin
- Start with a white pumpkin.
- Wrap white gauze or fabric strips around it.
- Leave a small opening at the front.
- Attach two googly eyes inside the opening.
Floral Decoupage Pumpkin
- Paint a pumpkin white or cream.
- Cut flower and leaf designs from decorative paper.
- Attach them using suitable decoupage adhesive.
- Smooth the paper gently and allow it to dry.
Autumn Leaf Pumpkin
- Choose an orange or cream pumpkin.
- Gather artificial leaves in red, gold, and yellow.
- Arrange the leaves around the stem and sides.
- Secure them with suitable craft glue.
Boho Neutral Pumpkin
- Paint the pumpkin cream or beige.
- Add small brown dots or botanical lines.
- Wrap twine around the stem.
- Display it with dried grasses and woven baskets.
Glitter Pumpkin
- Clean and dry the pumpkin.
- Apply craft adhesive to selected areas.
- Sprinkle gold, silver, or colorful glitter over the adhesive.
- Let it dry and use a suitable sealer if recommended.
Chalkboard Pumpkin
- Paint an artificial pumpkin with suitable chalkboard paint.
- Let the paint cure according to its instructions.
- Draw stars, bats, or Halloween messages with compatible chalk.
- Refresh the design whenever you like.
Personalized Pumpkin
- Choose a smooth white or orange pumpkin.
- Sketch a name, initial, or short message.
- Trace the lettering with a paint marker.
- Add small leaves, hearts, or stars.
Cute Hedgehog Pumpkin
- Paint the pumpkin brown.
- Add a beige face at the front.
- Draw tiny eyes, a nose, and a smile.
- Attach lightweight brown felt or paper spines.
Vampire Pumpkin
- Paint the pumpkin black or deep burgundy.
- Add expressive eyes and a dark mouth.
- Paint two white fangs.
- Attach a small black fabric cape behind the pumpkin.
Pastel Pink Pumpkin
- Paint the pumpkin soft pink.
- Add white stars, flowers, or polka dots.
- Include gold details or black Halloween lettering.
- Finish with a ribbon near the stem.
Farmhouse Buffalo Plaid Pumpkin
- Paint the pumpkin white.
- Mark a grid using painter’s tape.
- Fill selected squares with black paint.
- Remove the tape when dry and add a twine bow.
Button Art Pumpkin
- Choose a white or cream pumpkin.
- Arrange colorful buttons into a flower, heart, or star.
- Attach them with suitable craft adhesive.
- Use two or three coordinated colors for a neat finish.
Floral Succulent Pumpkin
- Choose a cream or white artificial pumpkin.
- Arrange artificial succulents around the stem.
- Secure the plants with suitable adhesive.
- Add small flowers or greenery to fill empty spaces.
Drip-Painted Pumpkin
- Paint the pumpkin white.
- Select two to four contrasting paint colors.
- Apply small amounts near the top and let them drip downward.
- Leave the pumpkin in a stable position until dry.
Stacked Pumpkin Tower
- Choose three pumpkins in different sizes.
- Paint each one with a coordinated design.
- Arrange them from largest to smallest.
- Ensure the stack is stable before displaying it.
Funny Face Pumpkin
- Clean the pumpkin and choose an expression.
- Draw oversized eyes and expressive eyebrows.
- Paint a crooked smile or silly teeth.
- Add colorful cheeks or funny accessories.
Tips for Decorating Pumpkins Without Carving
- Clean first: Make sure the pumpkin is dry before painting or gluing.
- Choose matching colors: Two to four complementary shades can create a polished look.
- Allow paint to dry: Finish one layer before adding another.
- Use artificial pumpkins: They’re ideal for detailed designs you want to reuse.
- Protect your workspace: Cover the table before painting or applying glitter.
- Keep crafts safe: Supervise children when using glue and small decorations.
Real vs. Faux Pumpkins: Which Should You Choose?
Real pumpkins offer natural shapes and an authentic autumn appearance, but they eventually spoil. Artificial pumpkins cost more initially, yet they can be reused for several seasons.
Choose real pumpkins for simple seasonal displays and faux pumpkins for elaborate painted designs, floral arrangements, and decorations you want to keep.
FAQs
What are the easiest no-carve pumpkin decorating ideas?
Some of the easiest options include polka dot pumpkins, ghost faces, funny monster pumpkins, and pumpkins decorated with stickers. These projects require minimal supplies and are suitable for beginners. You can make them more elaborate by adding ribbons, artificial flowers, or colorful paint.
What paint works best for decorating pumpkins without carving?
Acrylic craft paint is a popular choice for painting pumpkins because it is available in many colors and can create a range of finishes. Clean and dry the pumpkin before painting, and allow each coat to dry completely. For outdoor displays, choose products suitable for the intended surface and conditions.
How can I decorate a pumpkin without making a mess?
Choose simple projects that use paint markers, stickers, decorative tape, or lightweight accessories. Cover your work surface before painting, use small amounts of adhesive, and organize your supplies before beginning. If you’re decorating with children, washable craft materials can make cleanup easier.
These 31 no-carve pumpkin decorating ideas prove that you don’t need carving tools to create beautiful, memorable autumn decorations. With a little paint, a few craft supplies, and some imagination, you can transform an ordinary pumpkin into an adorable woodland animal, a glamorous centerpiece, a colorful work of art, or a hilarious Halloween character.
The best project is the one that fits your style, budget, and available time. Start with a simple design, enjoy the process, and don’t be afraid to add your own creative touches.
So gather your pumpkins, prepare your favorite colors, and turn your home into a festive autumn space. Which of these no-carve pumpkin decorating ideas would you love to try first?
And for more DIY Pumpkin Decorations see our 40+ Easy Pumpkin Carving Ideas.